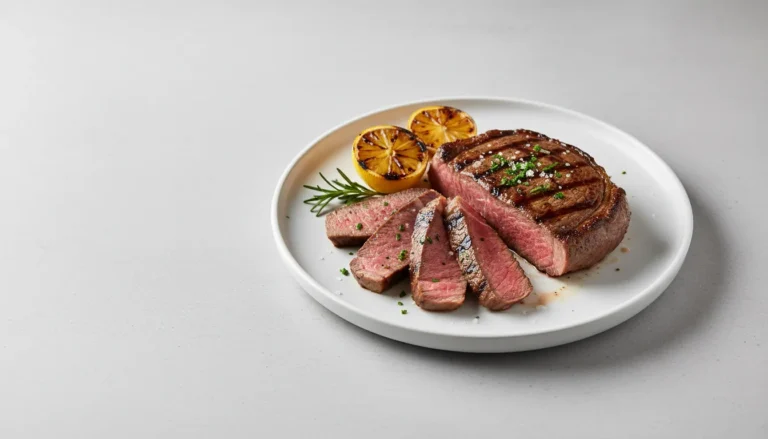
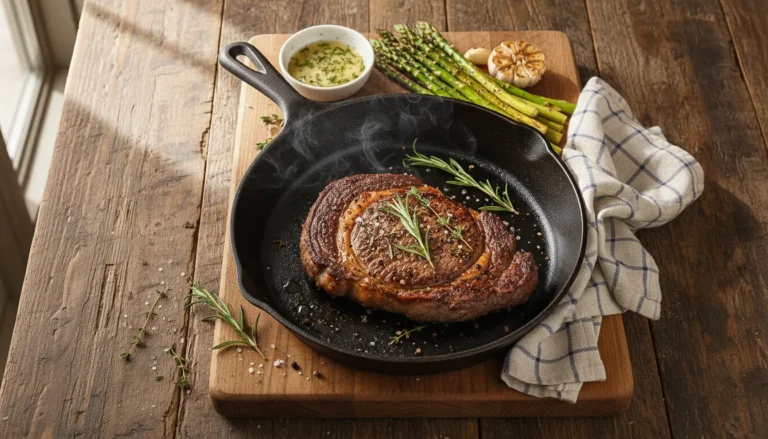
How to cook steak on stove: Best Butter Basting Tips
How to cook steak on the stove: Preheat a cast iron skillet over high heat until smoking. Sear a dry, seasoned steak for 3–4 minutes per side. Add butter, garlic, and thyme, then baste continuously for the final 60 seconds. Pull at 5°F below your target internal temperature and rest for 5–10 minutes before slicing.
You have spent $50 at a steakhouse before, only to be handed a grey, overcooked slab of beef that you could have done better with yourself — and you probably could have. The frustration is real, and it is common. But here is the truth that most home cooks never discover: a steakhouse-quality steak is not about magic technique or secret ingredients. It is about heat, timing, and one simple step that changes everything — butter basting. If you want to understand which cuts of beef are worth spending on and how to select the best steak at the butcher, start with our ultimate guide to steak cuts. But when you are ready to cook, this is the method that delivers a deeply seared crust and a blush-pink, juicy interior every single time. Grab your cast iron skillet. We are making the perfect stovetop steak.
Why This Stovetop Steak Recipe Is Better Than a Steakhouse
- Done in under 15 minutes. From seasoning to resting, this method is faster than most people take to order at a restaurant.
- Costs a fraction of the price. A 12-ounce ribeye runs $12–18 at the grocery store versus $45–65 on a steakhouse menu.
- Total control over doneness. A meat thermometer and this technique mean you will never overcook again. Ever.
- The Maillard reaction is guaranteed. A screaming-hot cast iron skillet and a bone-dry steak produce a crust so deep and flavorful, no restaurant can reliably beat it.
- Butter basting adds layers of flavor. Garlic and thyme infuse into the butter as it bastes, creating a nutty, aromatic finish that seeps into every crack of the crust.
Choosing the Best Steak for This Recipe
The Cut
For stovetop cooking, ribeye is king. It is sometimes called the “butcher’s cut” because professionals already know what home cooks are only now discovering: ribeye has the ideal balance of marbling and tenderness for a pan sear. That ribbon of fat running through the center of the cut — the marbling — is where all the flavor lives. When exposed to high heat, intramuscular fat renders and self-bastes the meat from the inside out. A leaner cut like top sirloin can work in a pinch, but it will never match the depth of a well-marbled ribeye or New York strip. If you want serious flavor without the premium price, a New York strip is an excellent middle-ground choice.
Thickness
Buy steaks that are at least 1 to 1.5 inches thick. This is non-negotiable. A thin steak — anything under three-quarters of an inch — will overcook before you achieve a proper sear. The thicker the steak, the more time you have to build that crust on the outside while keeping the center pink and tender. Thickness is your margin for error, and you want as much of it as possible.
Buying Tips
Look for bright red meat with firm, white fat caps and visible marbling throughout the muscle. Avoid anything grey or dull — that indicates oxidation and age. The USDA grades beef based on marbling and maturity; aim for at least USDA Choice for a reliable stovetop sear. For a deeper understanding of what those grade labels actually mean, the USDA’s guide to beef grades is an excellent, authoritative resource.
Ingredients
| Quantity | Ingredient |
|---|---|
| 2 (12 oz) | Ribeye steaks (1–1.5 inches thick) |
| 1 tbsp | Avocado oil |
| 3 tbsp | Unsalted butter |
| 4 cloves | Garlic, smashed |
| 4 sprigs | Fresh thyme |
| 1 tsp | Kosher salt (per steak) |
| ½ tsp | Freshly ground black pepper (per steak) |
Ingredient Notes
The Oil: We use avocado oil for the initial sear because it has a smoke point of approximately 520°F — well above the temperatures required to trigger the Maillard reaction. Extra virgin olive oil, by contrast, begins to break down and turn bitter around 375°F. At the heat levels needed for a proper sear, olive oil is not just suboptimal; it actively ruins the flavor of the crust. Avocado oil or canola oil are clean, neutral, and built for this job.
The Salt: Kosher salt is the only salt worth using here. Its coarse, flat crystals adhere to the surface of the steak and draw moisture outward through osmosis. That drawn moisture then reabsorbs back into the meat along with the dissolved salt, seasoning it deeply from within. Kosher salt also seasons more evenly than fine table salt, which can clump and create hot spots of saltiness. Season generously — it should look like a light, even coating on every surface.
Step-by-Step Instructions
Recipe Card
🛠 Equipment Needed
- Cast Iron Skillet
- Meat Thermometer
- Tongs
Prep & Salting
Remove your steaks from the refrigerator at least 30 minutes before cooking. A cold steak dropped into a hot pan drops the pan’s surface temperature instantly, which delays the sear and leads to uneven cooking. While they come to room temperature, pat each steak completely dry on all sides with paper towels. This step is critical and non-negotiable. Any moisture sitting on the surface of the steak must evaporate before the meat can begin to brown. If the surface is wet, the steak steams instead of sears, and you end up with a grey, lackluster exterior. Once dry, season both sides and the edges generously with kosher salt and black pepper.
The Sear
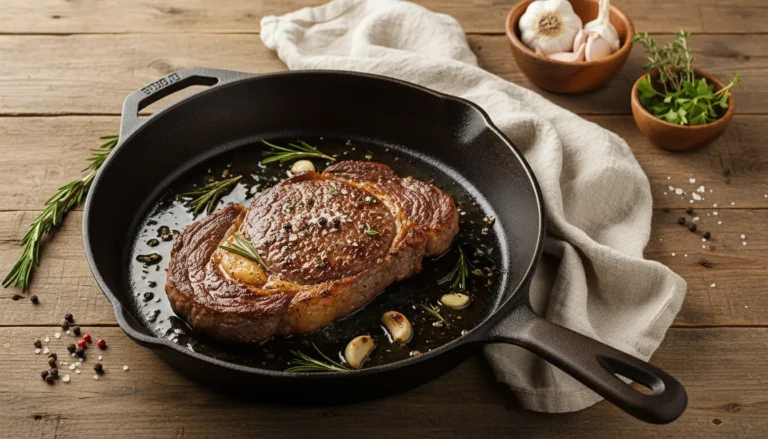
Place your cast iron skillet on the stovetop over high heat. Let it preheat for a full 3–5 minutes. You want the pan smoking hot — not warm, not shimmering, but actively smoking when the oil hits it. Add the avocado oil and swirl to coat the surface. Carefully lay the steaks into the pan, placing them away from you to avoid oil splatter. The moment they make contact, you should hear an aggressive, loud sizzle. That sound is the Maillard reaction beginning — a chemical reaction between the proteins and sugars on the steak’s surface that produces hundreds of new flavor compounds, deep brown color, and a crust with a texture that no other cooking method can replicate. Do not touch the steaks. Do not press them down. Do not move them. Leave them completely undisturbed for 3–4 minutes. The steak will release from the pan naturally when the crust has formed. If it resists, it is not ready. Flip once and sear the second side for another 2–3 minutes.
The Butter Baste
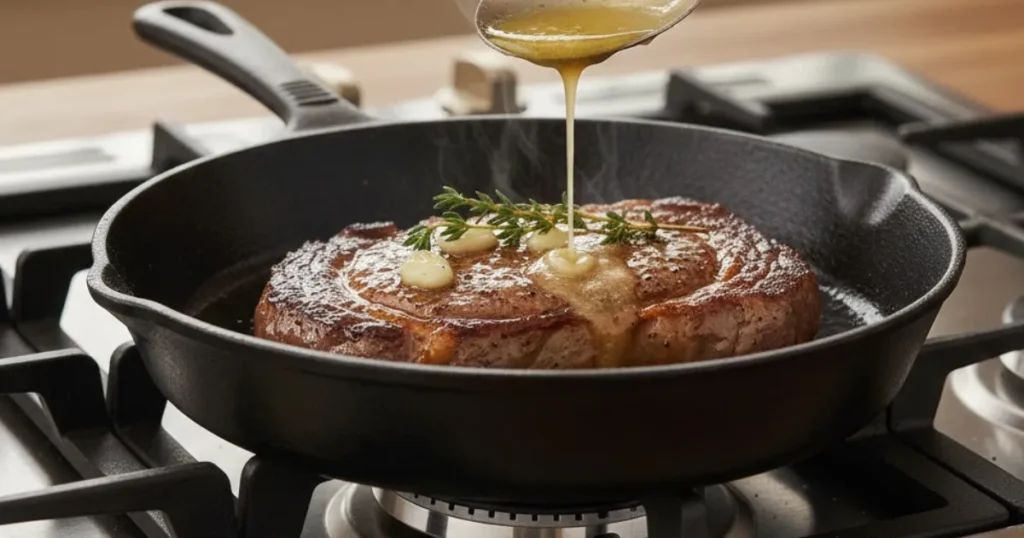
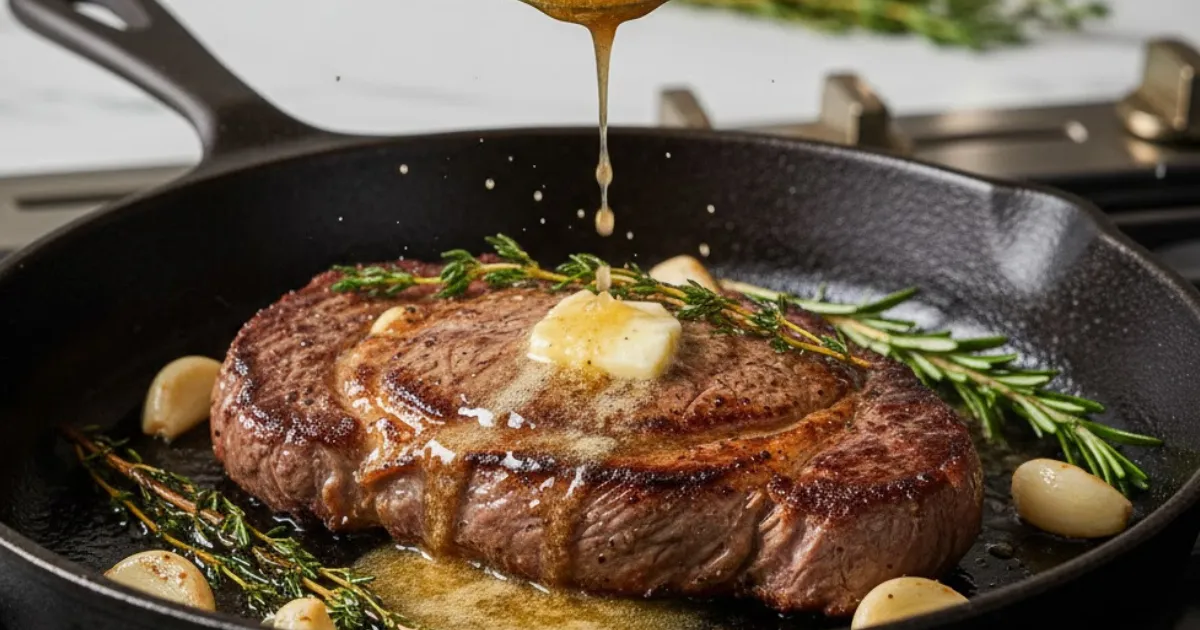
This is where stovetop steak transcends everything you have ever eaten at a restaurant. With about 60 seconds of cooking time remaining, reduce the heat to medium and add the butter, smashed garlic, and thyme sprigs to the pan. The butter will foam immediately — that foam is the milk solids beginning to toast, which adds a nutty, caramelized depth to the baste. Using a spoon, continuously scoop the melted butter up from the pan and pour it over the top of the steak. Keep basting in a steady rhythm. The garlic and thyme infuse the butter as it heats, and that aromatic, golden liquid seeps into the crust, into the crevices, and into the meat itself. This is butter basting, and it is the single most important technique in this entire recipe. It adds richness, deepens the sear, and ensures the steak stays moist all the way through.
Doneness Guide
| Doneness | Internal Temperature | Pull Temperature |
|---|---|---|
| Rare | 120–125°F | 115°F |
| Medium-Rare | 130–135°F | 125°F |
| Medium | 140–145°F | 135°F |
| Medium-Well | 150–155°F | 145°F |
| Well-Done | 160°F+ | 155°F |
Always pull the steak 5°F below your target temperature. The residual heat in the meat will continue to raise the internal temperature for several minutes after it leaves the pan — this is called carryover cooking. Ignoring this is the single most common reason home cooks end up with an overcooked steak.
Resting
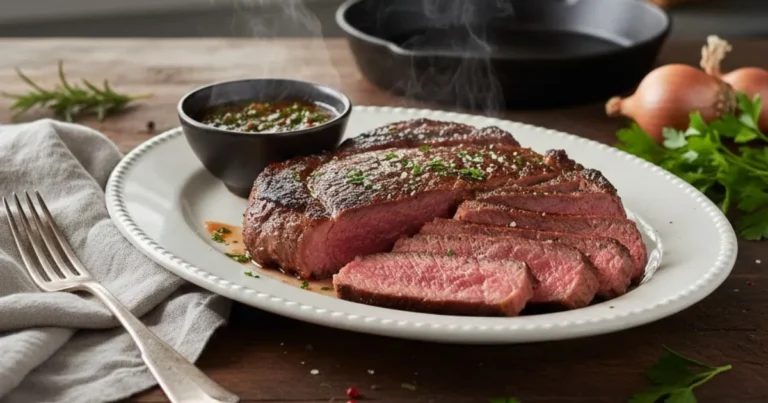
Transfer the steak to a warm plate — not a cutting board, not a cold plate — and let it rest for 5 to 10 minutes. Do not cut into it. During cooking, the muscle fibers contract and push moisture toward the center of the steak. Resting allows those fibers to relax and the juices to redistribute evenly throughout the meat. If you slice immediately, you will watch all of that juice pool onto the cutting board. The meat will be dry, and the flavor will be thin. Resting is not optional. It is the final step that separates a good steak from a great one.
Expert Tips for the Perfect Crust
Cast iron is essential. No other pan retains and distributes heat as effectively as cast iron. It holds a consistent, scorching surface temperature across the entire cooking area, which is exactly what you need for an even, deep sear. Stainless steel is a capable backup, but cast iron is the gold standard. If you own only one skillet, make it cast iron.
Bring the steak to room temperature. Pull your steaks out of the refrigerator 30 minutes before cooking. A cold steak causes the pan to lose heat rapidly when you add it, and that temperature drop delays browning. Room-temperature meat sears faster, more evenly, and produces a better crust with less effort.
Never crowd the pan. If your skillet is not large enough to hold both steaks with at least an inch of space between them, cook one at a time. Crowding traps steam between the steaks, and steam prevents browning. The moment your pan starts steaming instead of sizzling, your crust is already compromised. Patience here pays enormous dividends.
Serving Suggestions & Steakhouse Sides
A perfect stovetop steak deserves sides that match its caliber. Creamed spinach is a classic steakhouse companion — its rich, velvety texture plays beautifully against the char and fat of the beef. Garlic mashed potatoes are a natural pairing; pile them on the plate and let any residual pan juices from the basting cascade over both. Roasted asparagus with a squeeze of lemon adds a bright, slightly bitter contrast that cuts through the richness without competing with the steak.
For sauces, a vibrant chimichurri — fresh parsley, oregano, garlic, and red wine vinegar blended into a punchy green oil — is the perfect counterpoint to the deep, buttery sear. If you prefer something richer, a classic peppercorn sauce made with heavy cream, brandy, and crushed green peppercorns elevates the plate into fine-dining territory with minimal extra work.
Storage & Reheating
Leftover steak stores beautifully in an airtight container in the refrigerator for up to 3 days. Slice it thin and use it in steak sandwiches, over a simple arugula salad with shaved parmesan, or alongside rice for a quick weeknight meal.
When it comes to reheating, do not use the microwave. Microwaves distribute heat erratically and turn beef rubbery in seconds. The best method is a low oven: preheat to 275°F, place the steak on a wire rack set over a baking sheet, and warm for 15–20 minutes until the internal temperature reaches about 110°F. This gentle approach preserves the texture and keeps the meat juicy. If you want to re-crisp the crust, finish with a 30-second sear in a hot cast iron skillet before serving.
Frequently Asked Questions
How do I know when it’s medium-rare without a thermometer? A meat thermometer is always the most reliable method — there is no shortcut that matches its accuracy. However, if you do not have one, use the touch test: press the center of the steak with the pad of your index finger. If it feels soft and gives way with almost no resistance, the steak is rare. A slight firmness with a little spring indicates medium-rare. Compare that feeling to the firmness of the base of your thumb when your hand is open (rare) versus when you press your index finger to your thumb (medium-rare). It takes practice, but it works.
Can I use a nonstick pan? You can, but you will not achieve the same quality of crust. Nonstick surfaces are engineered to prevent food from adhering, which also prevents the deep, high-heat contact needed for the Maillard reaction to develop fully. Cast iron or stainless steel will always outperform nonstick for searing. If nonstick is your only option, preheat it as high as your stove allows and accept a lighter, less developed crust.
When do I put the butter in? The butter goes in during the final 60 seconds of cooking — never at the beginning. Butter burns at approximately 300°F, and your pan during the sear is well above 400°F. Adding butter too early will scorch it, turning the fat bitter and acrid. By the time you add butter, reduce the heat to medium first. The butter should foam gently, not smoke. That gentle foam is where the nutty, golden flavor comes from.
Conclusion
Learning how to cook steak on the stove is one of the most rewarding skills any home cook can master. It requires no grill, no oven, and no special equipment beyond a cast iron skillet and a meat thermometer. The technique is simple: dry heat, a smoking-hot pan, patience during the sear, and a final butter baste that ties every element together. Once you nail this method, steakhouse dinners become an optional luxury rather than a necessity. Give this recipe a try tonight and taste the difference for yourself. Rate this recipe and tell us your favorite cut in the comments!