Corned Beef Hash Recipe How to Use Leftovers Perfectly
This corned beef hash recipe transforms leftover corned beef into a crispy, golden breakfast masterpiece. Dice cooked corned beef and potatoes, then pan-fry in butter until deeply caramelized. Top with a runny egg for the ultimate comfort meal ready in just 25 minutes.
Staring at leftover corned beef in your fridge, wondering what to do beyond plain sandwiches? That perfectly seasoned meat deserves better than becoming boring lunch fodder.
This corned beef hash recipe is the ultimate solution for transforming yesterday’s dinner into today’s breakfast sensation. The technique creates crispy, golden-brown edges while keeping the interior tender and flavorful.
The secret lies in proper dicing and patience with your skillet. High heat and minimal stirring allow the Maillard reaction to work its magic, creating those irresistible crusty bits that make hash unforgettable. A cast iron pan’s even heat distribution ensures perfect browning across every morsel.
Here is everything you need to know to master this classic corned beef hash recipe.

Why This Corned Beef Hash Recipe is a Keeper
This recipe delivers maximum flavor with minimal effort, making it perfect for busy mornings or lazy weekend brunches.
Zero waste cooking: Transforms leftover corned beef into a completely different dish. You’ll actually look forward to having leftovers.
Ready in 25 minutes: From refrigerator to plate faster than waiting in a diner line. Perfect for weekday breakfasts when time is tight.
Budget-friendly: Uses ingredients you already have. No special shopping trips or expensive add-ons required.
One-pan simplicity: Everything cooks in a single skillet. Minimal cleanup means more time enjoying your meal.
Customizable base: Add bell peppers, onions, or jalapeños to suit your taste. The technique remains foolproof regardless of additions.
Protein-packed breakfast: Keeps you satisfied until lunch. The combination of beef, potatoes, and eggs provides sustained energy.
Restaurant-quality results: Achieve that elusive crispy-creamy texture diners charge premium prices for.
Choosing the Best Corned Beef for Hash
The Ideal Choice: Leftover Homemade Corned Beef
Homemade corned beef brisket produces the best hash because you control the seasoning level and cooking method. The flat cut brisket offers consistent texture throughout, while the point cut provides richer marbling that adds moisture to your hash.
The slow-braised texture of properly cooked corned beef holds up beautifully when diced and pan-fried. Unlike fresh beef, corned beef is already seasoned and tender, requiring only crisping to reach perfection.
Look for corned beef with visible fat streaks. This intramuscular fat melts during cooking, preventing dry, crumbly hash.
Substitutions:
Deli corned beef works in a pinch. Ask your deli counter to slice it thick (¼-inch), then dice at home. Avoid pre-sliced thin deli meat—it shreds instead of forming proper cubes.
Canned corned beef is the budget option. Drain thoroughly and break into chunks rather than dicing. The texture differs from fresh, but the flavor remains authentic.
Pastrami creates an interesting variation with its peppery crust adding extra depth. Use the same technique and proportions.
Buying Tips:
If purchasing fresh corned beef specifically for hash, choose the flat cut for easier, more uniform dicing.
Avoid corned beef with excessive liquid in the package. This indicates lower quality meat that may turn mushy when cooked.
Check the ingredient list on packaged corned beef. Quality versions list beef, water, salt, and spices. Skip products with long lists of unpronounceable additives.
Ingredients Notes & Preparation
Corned Beef Prep:
Dice your corned beef into ½-inch cubes for optimal texture. Smaller pieces dry out, while larger chunks don’t crisp properly.
Cut against the grain for maximum tenderness. Corned beef has visible muscle fibers—slice perpendicular to these lines.
Remove any large chunks of fat but leave thin marbling intact. Fat equals flavor and moisture in hash.
Pat diced beef dry with paper towels. Excess moisture creates steam instead of the crispy crust you’re after.
Potato Preparation:
Use Yukon Gold potatoes for the best flavor and texture. Their moderate starch content creates creamy interiors with crispy exteriors.
Russet potatoes work but may fall apart more easily. Their high starch content can make hash gummy if overworked.
Dice potatoes to match your corned beef size—uniform pieces ensure everything finishes simultaneously.
Parboil potatoes for 8 minutes before frying. This pre-cooking guarantees tender interiors while the skillet focuses on creating that golden crust.
Seasoning Strategy:
Corned beef is already well-seasoned, so taste before adding salt. A pinch of black pepper and a dash of paprika enhance without overwhelming.
Fresh thyme or parsley adds brightness that cuts through the richness.
A splash of Worcestershire sauce deepens the savory notes and adds subtle complexity.
Equipment:
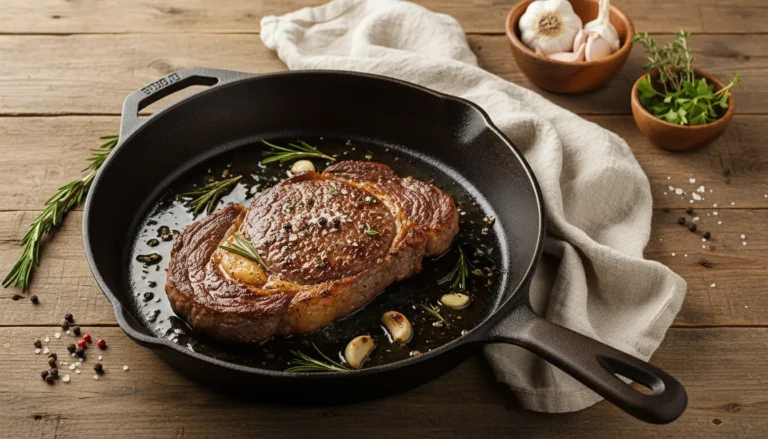
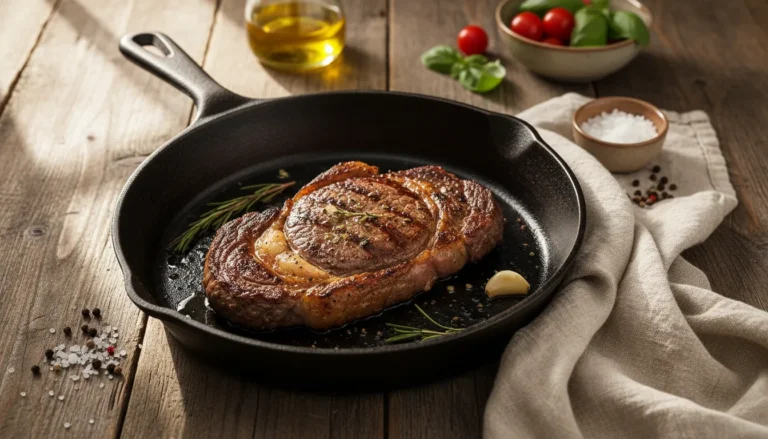
Cast iron skillet (10-12 inch) distributes heat evenly and promotes superior browning. This is non-negotiable for perfect hash.
Metal spatula with a thin edge gets under the hash without breaking it apart.
Large pot for parboiling potatoes before frying.
Step-by-Step Instructions
Prep Your Ingredients
Dice 3 cups of cooked corned beef into ½-inch cubes. Set aside on a paper towel-lined plate to absorb excess moisture.
Peel and dice 3 cups of Yukon Gold potatoes into ½-inch cubes. Bring a large pot of water to boil, add potatoes, and parboil for 8 minutes. Drain thoroughly and let steam dry for 2 minutes.
Dice 1 medium onion finely. Mince 2 garlic cloves. These aromatics provide the flavor foundation.
The Cooking Process
Heat 3 tablespoons of butter in your cast iron skillet over medium-high heat until it foams and the foam just begins to subside. This indicates the perfect temperature for browning.
Add diced onions and cook for 3 minutes until softened and translucent. Don’t let them brown—you want sweetness, not bitterness.
Add the parboiled potatoes in an even layer. Resist the urge to stir. Let them sit undisturbed for 5 minutes. You’ll hear them sizzle and smell them caramelizing. This patience creates those coveted crispy bits.
After 5 minutes, use your metal spatula to flip sections of potatoes. You’re looking for deep golden-brown color on the bottom. Cook another 4 minutes on the second side.
Add diced corned beef and minced garlic. Gently fold everything together, then press the mixture down firmly with your spatula. Let it cook undisturbed for 4 minutes.
Flip large sections again. Press down. Cook for 3 more minutes until the corned beef develops crispy, caramelized edges.
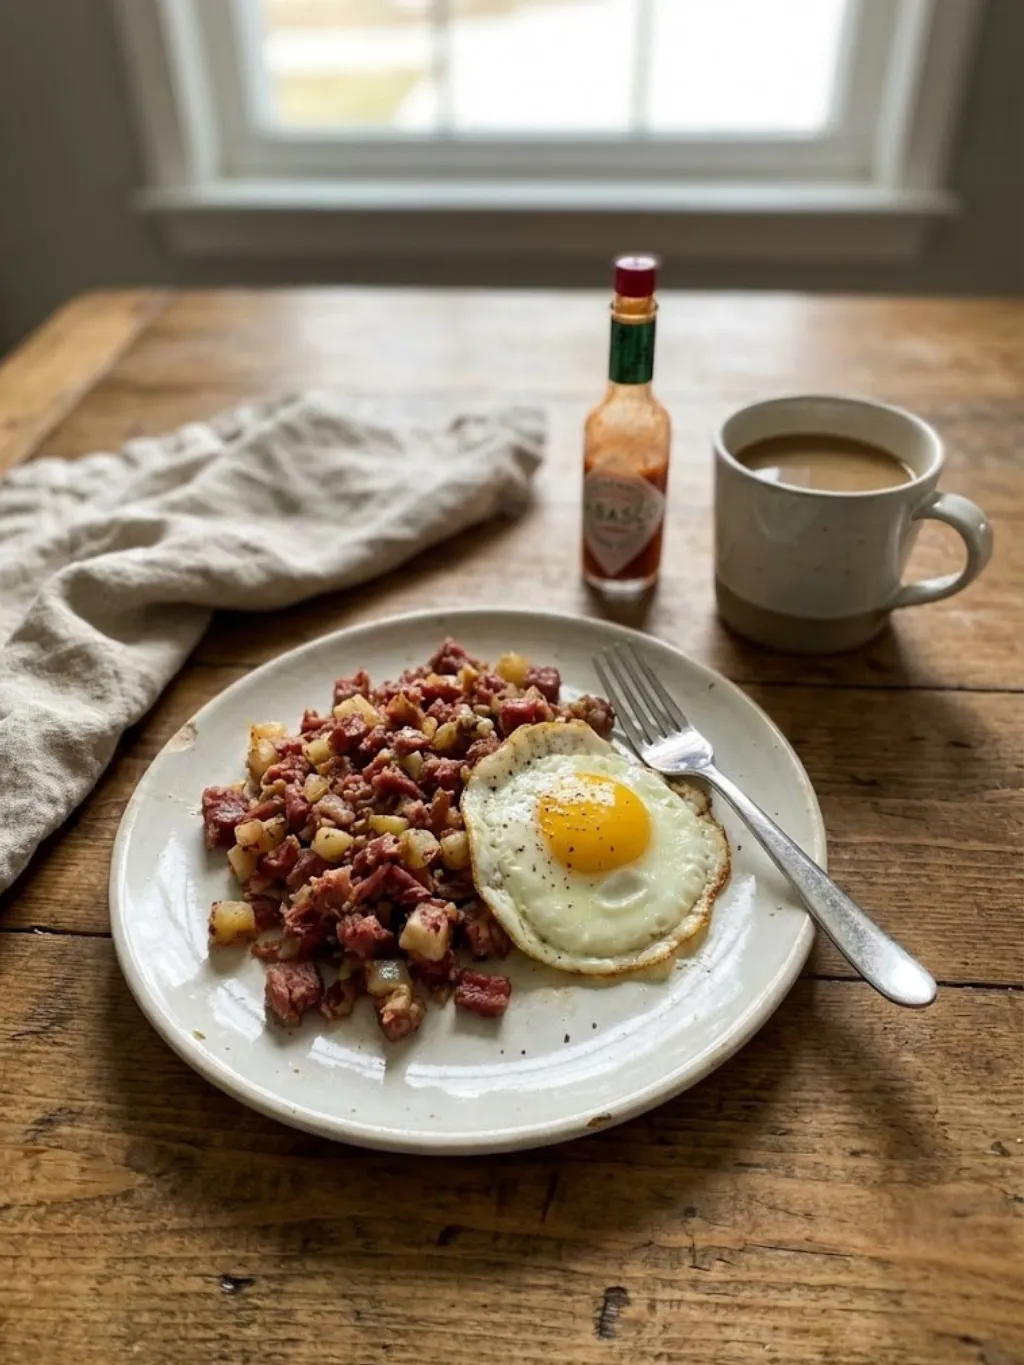
The finished hash should have a mix of textures: crispy golden crust on the outside, tender and moist inside. The beef and potatoes should stick together in satisfying chunks, not separate into individual pieces.
Doneness Guide for Hash
Hash doesn’t follow internal temperature guidelines since the corned beef is already fully cooked. Instead, rely on visual and textural cues:
Undercooked: Potatoes feel firm when pressed, no golden color visible. Needs 5+ more minutes.
Perfect: Deep golden-brown crust on bottom and edges, potatoes yield easily to fork pressure, corned beef edges are crispy. Mixture holds together when scooped.
Overcooked: Dark brown to black spots, dry texture, potatoes falling apart. If you smell burning, you’ve gone too far.
The Egg Topping
While hash finishes, fry eggs in a separate skillet. The runny yolk acts as a built-in sauce, adding richness and binding everything together.
Cook eggs sunny-side up over medium heat for 3-4 minutes. The whites should be set but the yolk still liquid.
For extra decadence, make a well in your hash and crack eggs directly into it. Cover the skillet for 3 minutes to steam the eggs right on top of the hash.
Expert Tips for Perfect Hash Every Time
Tip 1: Dry ingredients are crucial.
Moisture is the enemy of crispy hash. Pat both your corned beef and parboiled potatoes completely dry before they hit the pan. Even a little excess water creates steam that prevents proper browning.
Tip 2: Don’t stir constantly.
The biggest hash mistake is treating it like a stir-fry. Let it sit undisturbed so the Maillard reaction can create that golden crust. Flip in large sections only 2-3 times during cooking.
Tip 3: Use enough fat.
Three tablespoons of butter sounds like a lot, but it’s necessary for proper crisping and flavor. The butter coats every piece, promoting even browning. Don’t skimp here.
Tip 4: Preheat your skillet properly.
A properly heated cast iron skillet makes all the difference. The pan should be hot enough that butter sizzles immediately when added. If it’s too cool, hash will stick and steam instead of fry.
Tip 5: Parboil for success.
Raw potatoes take too long to cook through in the skillet, burning before becoming tender. Parboiling gives them a head start so they crisp beautifully without overcooking the corned beef.
Serving Suggestions & Pairings
Breakfast Combinations:
- Top with fried or poached eggs for classic diner-style presentation. The runny yolk creates a natural sauce.
- Serve alongside buttered toast for soaking up every bit of yolk and beef juices.
- Add a simple side salad with vinaigrette to cut through the richness. Arugula or mixed greens work perfectly.
- Fresh fruit—sliced oranges or grapefruit—provides refreshing acidity that balances the savory hash.
Finishing Touches:
- Sprinkle with fresh chopped parsley for color and a hint of brightness.
- Add a dollop of sour cream or crème fraîche for tangy richness.
- Hot sauce enthusiasts should drizzle their favorite brand over the top. The acidity and heat complement the beef beautifully.
- Grated sharp cheddar cheese melted over hot hash adds another layer of indulgence.
Storage, Freezing & Reheating
Fridge Life:
- Store leftover hash in an airtight container for up to 3 days. The crispy texture softens during storage but returns with proper reheating.
- Separate any eggs if you topped your hash with them. Reheated fried eggs turn rubbery—better to fry fresh ones.
Freezing:
- Hash freezes well for up to 2 months. Portion into individual servings for easy weekday breakfasts.
- Cool completely before freezing to prevent ice crystals from forming. Freeze flat in freezer bags for space-efficient storage.
Reheating:
- Skillet method (best): Heat 1 tablespoon butter in a skillet over medium heat. Add hash and press it down firmly. Cook undisturbed for 5-7 minutes until the bottom crisps up again. This method restores that essential crispy texture.
- Oven method: Spread hash on a baking sheet and reheat at 400°F for 12-15 minutes, stirring halfway through. Great for larger portions.
- Microwave (last resort): Heat in 1-minute intervals at 70% power. The hash will be hot but won’t regain its crispy texture. Only use this method when you’re truly rushed.
Frequently Asked Questions
Can I use fresh beef instead of corned beef for hash?
- Traditional corned beef hash specifically uses cured, seasoned corned beef. Fresh beef lacks the distinctive briny, spiced flavor that defines the dish. If you must substitute, use leftover pot roast or brisket, but know you’re making beef hash rather than authentic corned beef hash.
Do I have to parboil the potatoes first?
- Yes, for best results. Raw potatoes require 20+ minutes of cooking time to become tender, which overcooks the corned beef and burns the edges. Parboiling for 8 minutes gives potatoes a head start, allowing everything to finish simultaneously with proper texture.
What’s the best potato for this corned beef hash recipe?
- Yukon Gold potatoes deliver ideal results with their creamy texture and natural buttery flavor. Russets work but can become gummy when pressed. Avoid red potatoes—their waxy texture doesn’t crisp as well and they can taste soapy when paired with corned beef.
Can I make corned beef hash ahead of time?
- You can prep ingredients ahead, but hash is best cooked fresh. The crispy texture that makes hash special disappears once cooled. If you must prep ahead, dice and parboil potatoes, then refrigerate. Cook the hash fresh when ready to serve for optimal results.
Conclusion
- This corned beef hash recipe proves that leftovers can be even better than the original meal. The combination of crispy edges, tender interiors, and that satisfying runny egg creates breakfast perfection.
- The beauty of corned beef hash lies in its simplicity and versatility. Once you master the basic technique, you can customize vegetables and seasonings to create your signature version while maintaining that essential crispy-creamy contrast.
- Transform your leftover corned beef into tomorrow’s favorite breakfast. Rate this recipe and share your photos on Pinterest! Show me how you made this classic corned beef hash recipe your own.
Recipe Card Data
- Prep Time: 10 minutes
- Cook Time: 15 minutes
- Total Time: 25 minutes
- Servings: 4
- Calories (Estimate): 425 per serving
- Course: Breakfast/Brunch
- Cuisine: American/Irish-American
Equipment Needed:
- 10-12 inch cast iron skillet
- Large pot for parboiling potatoes
- Sharp chef’s knife
- Metal spatula
- Colander
- Measuring cups and spoons