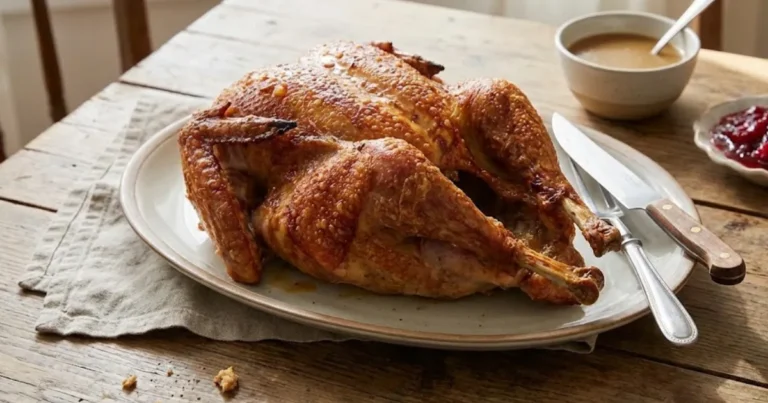
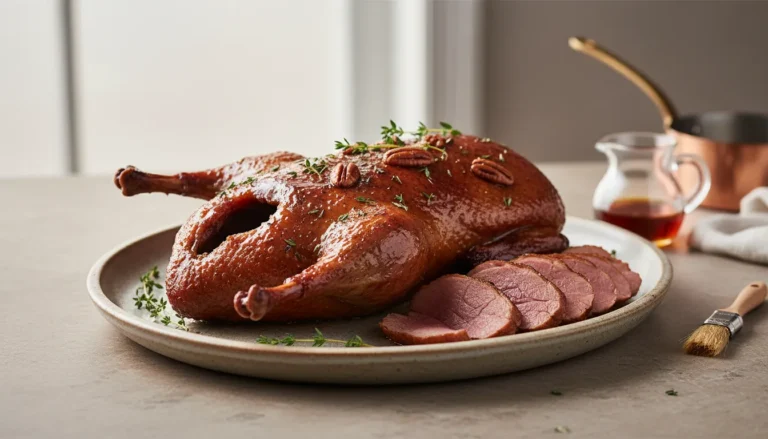
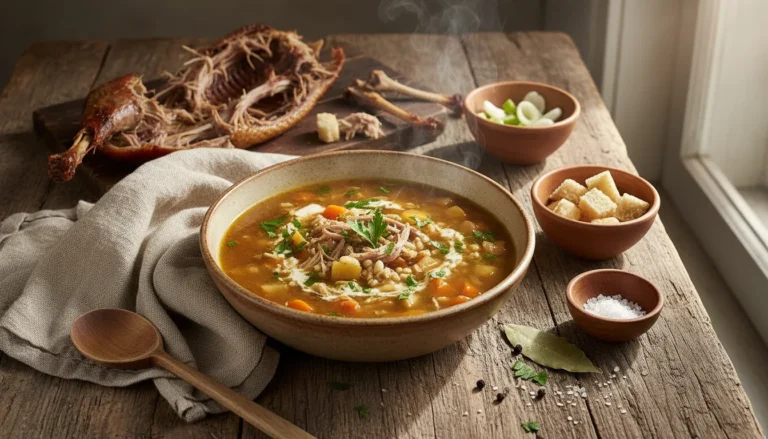
Roast Duck Recipes: Best Holiday Centerpiece
Roast duck recipes for holidays require scoring the skin, air-drying overnight, then roasting at 350°F for 2 hours while basting with pan drippings every 30 minutes. The key is the air-dry step—24 hours uncovered in the fridge removes surface moisture for crackling-crisp skin that rivals any restaurant.
Pale, flabby duck skin that disappoints your holiday guests. Greasy meat that leaves everyone reaching for napkins. The fear that duck is too difficult for home cooks to master.
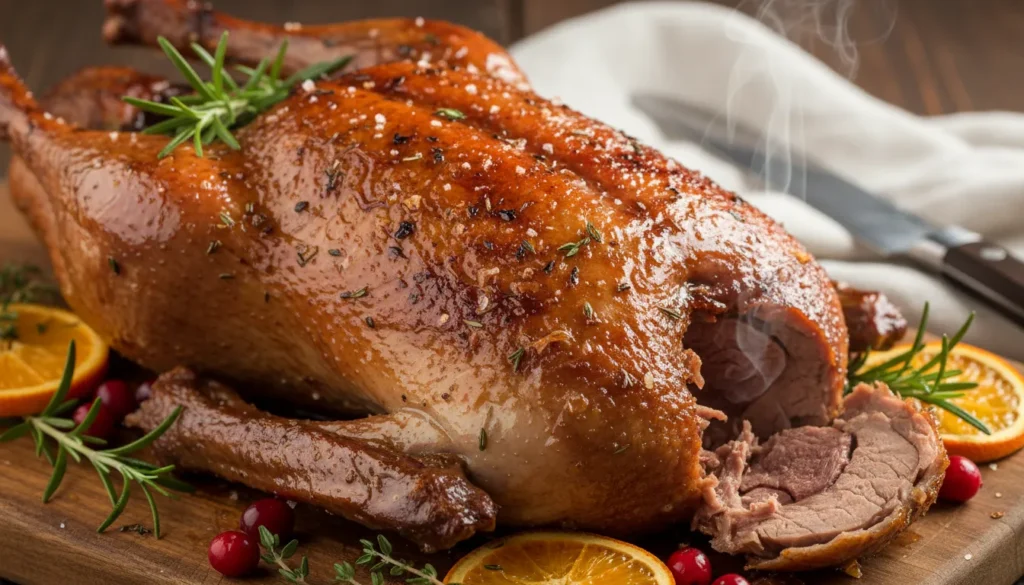
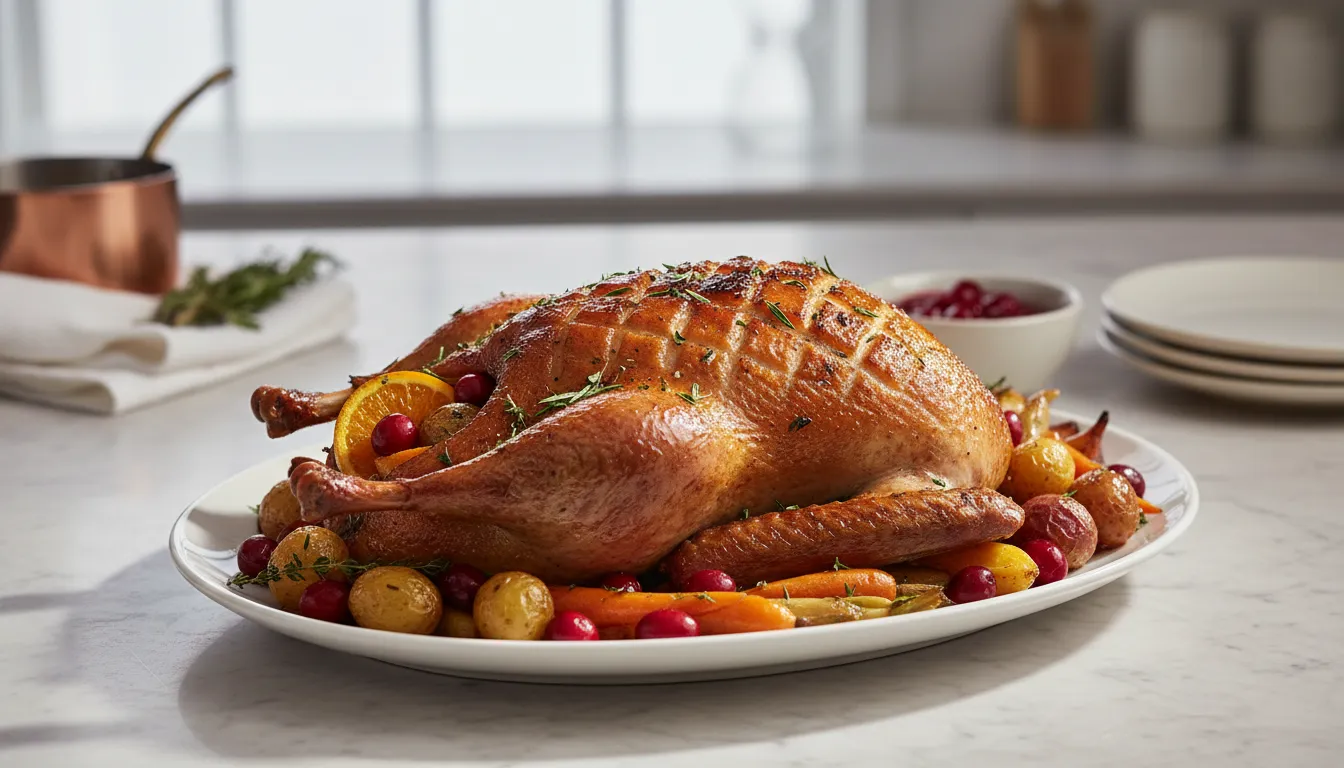
But golden-brown roast duck with shattering-crisp skin and tender, juicy meat can be the showstopper of your holiday table. This recipe delivers restaurant results using proven techniques that remove the guesswork.
The secret? Scoring plus overnight drying renders the fat layer and dehydrates the skin so it crisps instead of steaming. For more holiday poultry techniques, explore our ultimate guide to cooking chicken techniques and tips.
Get ready to start a new holiday tradition that rivals turkey or ham.
Why This Roast Duck Recipe Works
- Show-Stopping Presentation: Golden, glistening centerpiece
- Crispy Skin Guaranteed: Science-based moisture removal
- Rich, Elegant Flavor: Perfect for special occasions
- Feeds 4-6: One duck is the right size for intimate holiday dinners
- Make-Ahead Friendly: Prep the day before, roast day-of
- Rendered Fat Bonus: Save the drippings for the best roasted potatoes ever
Choosing the Best Duck
Type: Long Island (Pekin) duck, 4-5 lbs is standard. This breed has the right fat-to-meat ratio. Avoid Muscovy (too lean) or Moulard (too large).
Fresh vs. Frozen: Fresh duck is ideal, but frozen works if completely thawed in the refrigerator for 48 hours. Pat extra dry before prep.
Quality Check: Look for intact, creamy-colored skin with a thick layer of yellow fat underneath. Avoid ducks with torn skin or excessive bruising.
Safety First: Never wash raw duck. According to the USDA poultry safety standards, washing spreads bacteria. Roasting to 165°F eliminates all pathogens safely.
Ingredients List
| Quantity | Ingredient |
|---|---|
| 1 | Whole Duck (4-5 lbs) |
| 2 tbsp | Kosher Salt |
| 1 tbsp | Black Pepper |
| 2 tsp | Five-Spice Powder |
| 1 tsp | Garlic Powder |
| 1 | Orange (quartered) |
| 1 | Onion (quartered) |
| 6 sprigs | Fresh Thyme |
| 4 sprigs | Fresh Rosemary |
| 2 | Bay Leaves |
Ingredients Notes
The Salt: Kosher salt is essential for drawing moisture out of the skin during the overnight rest. Table salt is too fine and over-salts.
The Five-Spice: Traditional Chinese blend adds aromatic complexity. If you don’t have it, use extra black pepper and a pinch of cinnamon.
The Aromatics: Orange, onion, and herbs inside the cavity flavor the meat from within and add moisture that steams the interior while the skin crisps.
No Oil Needed: Duck has so much fat that adding oil is unnecessary. The fat renders and bastes itself.
Step-by-Step Instructions
Recipe Card
🛠 Equipment Needed
- Wire rack
- roasting pan
- sharp knife
- instant-read thermometer
- bulb baster
- aluminum foil
Day 1: Prep and Air-Dry
Remove giblets and neck from the cavity. Trim excess fat from the opening but leave the layer under the skin.
Score the skin: Using a sharp knife, make shallow crosshatch cuts through the skin (NOT into the meat) all over the breast and thighs. Space cuts about 1 inch apart. This allows fat to render out.
Prick all over with a fork, especially the fatty areas. Pierce only the skin, not the meat.
Stuff the cavity with orange quarters, onion quarters, thyme, rosemary, and bay leaves.
Season aggressively inside and out with salt, pepper, five-spice powder, and garlic powder. Really rub it into the scored skin.
Place on a wire rack set over a baking sheet or roasting pan.
Refrigerate uncovered for 24 hours. This is the most critical step—the cold, dry air removes surface moisture for crispy skin.
Day 2: Roast
Remove from refrigerator 30 minutes before roasting. The skin should feel papery and dry.
Preheat oven to 350°F. Position rack in the lower third of oven.
Place duck breast-side up on the wire rack in a roasting pan. The rack elevates it so air circulates underneath.
Roast for 1 hour without opening the oven. The skin will start turning golden.
After 1 hour, begin basting with pan drippings every 30 minutes. Use a bulb baster or spoon.
Continue roasting for another hour (2 hours total), basting twice more.
The Doneness Test
Insert an instant-read thermometer into the thickest part of the thigh without touching bone. It should read 165°F (74°C) minimum.
For maximum tenderness, duck can go to 175-180°F. The extra collagen in dark meat benefits from higher temps.
The skin should be deep mahogany brown and crackling-crisp. Tap it with a spoon—it should sound hollow.
Juices should run clear, not pink, when you pierce the thigh.
Resting
Transfer duck to a cutting board and tent loosely with foil. Rest for 20 minutes minimum. This allows juices to redistribute.
Don’t skip this—cutting immediately causes all the flavorful juices to run out onto the board.
3 Secrets for Holiday-Perfect Roast Duck
Secret #1: The 24-Hour Air-Dry Is Non-Negotiable – This is what creates restaurant-quality crispy skin. Without it, the skin steams and stays rubbery. The dry fridge air dehydrates the surface.
Secret #2: Score Deeply, Prick Everywhere – You want to create escape routes for the thick fat layer. The more holes you make, the more fat renders out, the crispier the skin gets.
Secret #3: Low-and-Slow Beats High Heat – 350°F allows fat to render gradually without burning. Higher temps cook the exterior before the fat escapes, leaving you with greasy skin.
Carving and Serving
Remove the crispy skin first in large sections. Cut into pieces and arrange on a platter.
Carve the breast meat into thin slices against the grain.
Remove leg quarters and separate drumsticks from thighs.
Traditional Serving: Serve duck with roasted root vegetables, wild rice, and cranberry-orange sauce.
Pan Gravy: Pour off most of the fat from the roasting pan. Add chicken stock, scrape up brown bits, simmer, and thicken with a flour slurry.
Storage & Reheating
Refrigerator: Store carved duck in airtight containers for 3-4 days. Keep skin separate—it stays crispier.
Freezer: Freeze meat (not skin) for 2-3 months.
Reheating: Warm meat in a 325°F oven with a splash of broth for 15 minutes. Re-crisp skin under the broiler for 2 minutes.
Save the Fat: Strain rendered fat from the roasting pan and refrigerate. Use for the most incredible roasted potatoes, fried eggs, or sautéed vegetables.
Frequently Asked Questions
Can I skip the overnight drying?
Not if you want crispy skin. You can reduce it to 12 hours minimum, but 24 hours is ideal. Without drying, the skin will be soft and chewy.
My skin is burning but the meat isn’t done. What do I do?
Tent the duck with foil to protect the skin and continue roasting at 325°F until the thigh reaches 165°F.
How much rendered fat will I get?
About 1-1½ cups. Save it! Duck fat is liquid gold for cooking potatoes, vegetables, and eggs.
Can I stuff the duck with traditional bread stuffing?
Not recommended. The stuffing absorbs too much fat and becomes greasy. Use aromatics only, and serve stuffing on the side.
Conclusion
A perfectly roasted duck with crackling-crisp skin and juicy meat proves this elegant bird deserves a place at your holiday table. When you master the score-and-dry technique, you create restaurant-quality results that rival any turkey.
The formula is simple: score deeply, air-dry 24 hours, roast low-and-slow. That’s how you make roast duck the new holiday tradition.
Pin this recipe, leave a comment about your holiday duck success, and tell me what centerpiece you want to master next!