Duck Soup Recipe: How to Use the Leftover Carcass
This duck soup recipe simmers a roasted duck carcass with aromatics and vegetables for 3-4 hours to create rich, deeply flavored broth. Strain, add noodles and shredded duck meat, and simmer until tender. The original duck was cooked to 165°F (74°C) for safety.
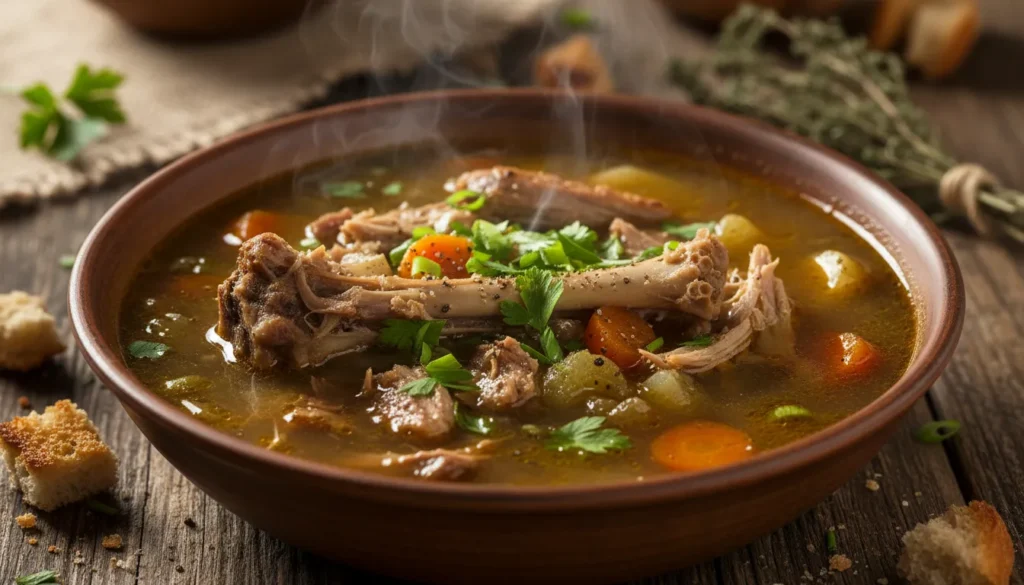
Every time you roast a duck, you’re throwing away the most valuable part—the carcass. That picked-over skeleton seems like garbage, but it’s actually packed with collagen, minerals, and concentrated duck flavor that can transform into the most nourishing, deeply satisfying soup you’ve ever tasted.
The solution? This duck soup recipe turns what would be trash into liquid gold—a rich, aromatic broth that’s worlds beyond anything store-bought. No more watery, bland soups. No more wasting money on expensive duck stock. Just deeply flavored, restaurant-quality soup made from bones you almost discarded.
Why it works: Duck bones contain collagen and gelatin that dissolve during long simmering, creating a thick, richly flavored broth with natural body. Roasted duck bones add intense, caramelized depth that raw bones can’t match. Combined with aromatic vegetables, Asian spices, and patient simmering, you extract every bit of flavor and nutrition from what would otherwise be waste.
Preview: Get ready to make this duck soup recipe your post-roast ritual. Once you taste homemade duck soup, you’ll never throw away another carcass—it’s too valuable.
Why This Duck Soup Recipe Works
- Zero-waste cooking – Uses every scrap of your expensive duck purchase
- Deeply nourishing – Rich in collagen, minerals, and gelatin for gut and joint health
- Intensely flavorful – Roasted bones create depth store-bought stock can’t match
- Budget hero – One carcass yields 8-10 cups of soup worth $30+ if purchased
- Freezer-friendly – Portions freeze for 6 months, ready when you need comfort
- Customizable base – Asian, French, or classic styles all work beautifully
- Healing properties – Traditional medicine values duck soup for respiratory health
Choosing the Best Duck Carcass
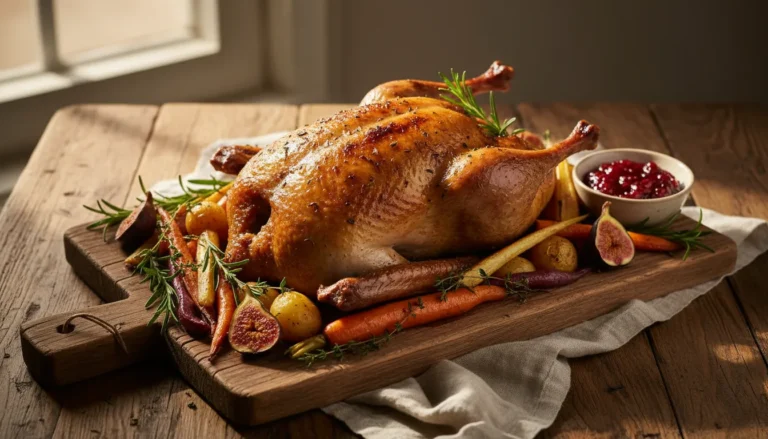
Carcass Selection: This duck soup recipe works with any roasted duck carcass—the breast bones, rib cage, wings, neck, and backbone. Include bones with meat still clinging—those flavorful bits enrich the broth. If you roasted a whole duck, use the entire carcass. If you cooked duck breasts, save those bones too (though the yield will be smaller).
Quality of Original Duck: The carcass should come from duck properly roasted to 165°F (74°C) and stored safely. If the original duck sat at room temperature for more than 2 hours before refrigeration, discard the carcass—bacterial growth makes it unsafe. Check dates: use refrigerated carcasses within 3-4 days or frozen within 4 months.
Fresh vs. Frozen Carcass: Frozen duck carcasses work perfectly—no need to thaw before making soup. Freezing actually breaks down cell walls slightly, releasing more flavor during simmering. Just add 30 minutes to cooking time if starting frozen.
Additional Bones (Power Move): If you have extra raw duck wings, necks, or backs, roast them at 400°F for 40 minutes until deeply browned, then add to your soup. These raw bones boost gelatin content, creating broth so rich it jiggles when chilled—the hallmark of quality stock.
Prep Safety—Crucial Tip: When handling the duck carcass, never leave it at room temperature for more than 30 minutes during prep—warm bones are breeding grounds for bacteria. Work quickly, then refrigerate or freeze if not using immediately. Do not wash the carcass—it splashes bacteria across your sink and countertops. The long simmering process (reaching temperatures well above 165°F) kills any pathogens completely. Always wash hands with soap and hot water for 20 seconds after handling the carcass.
Ingredients List
| Quantity | Ingredient |
|---|---|
| 1 | Duck Carcass (from 4-5 lb roasted duck) |
| 10 cups | Cold Water (plus more to cover) |
| 2 medium | Yellow Onions (quartered, skin on) |
| 3 large | Carrots (roughly chopped) |
| 3 stalks | Celery (roughly chopped, leaves included) |
| 6 cloves | Garlic (smashed, unpeeled) |
| 2-inch piece | Fresh Ginger (sliced, unpeeled) |
| 3 | Star Anise (whole) |
| 1 stick | Cinnamon |
| 2 | Bay Leaves |
| 6 sprigs | Fresh Thyme |
| 1 tsp | Black Peppercorns (whole) |
| 2 tsp | Kosher Salt (adjust to taste) |
| 2 tbsp | Soy Sauce (for finishing) |
| 1 tbsp | Rice Wine or Sherry (optional) |
| 8 oz | Rice Noodles or Egg Noodles |
| 2 cups | Bok Choy or Baby Spinach (chopped) |
| 3 | Scallions (sliced, for garnish) |
| 1 tsp | Sesame Oil (for finishing) |
Ingredient Notes
The Duck Carcass (Foundation): Break the carcass into manageable pieces—don’t worry about being neat. The more surface area exposed, the more flavor and gelatin extract. Include any crispy skin still clinging to bones—that roasted skin adds incredible depth and richness that raw bones can’t provide.
The Aromatics (Flavor Builders): Keep onion skins on—they add beautiful golden color to the finished broth. Unpeeled ginger and garlic contribute flavor without requiring prep work. The combination of star anise, cinnamon, and ginger creates classic Asian duck soup flavor—warming, aromatic, and sophisticated.
The Vegetables (Supporting Cast): Carrots add sweetness, celery provides savory depth, and their combined aromatics create complexity. Include celery leaves—they contain concentrated flavor. These vegetables aren’t for eating (you’ll strain them out); they’re purely for flavoring the broth.
The Asian Seasonings (Authentic Flavor): Soy sauce adds umami depth and beautiful amber color. Rice wine or dry sherry contributes subtle complexity. Don’t add these during the initial simmer—they’re finishing touches added at the end so their delicate flavors don’t get lost during the long cooking process.
The Noodles and Greens (Finishing Elements): Rice noodles create classic Asian duck soup; egg noodles give homestyle comfort. Bok choy or spinach add color, nutrition, and textural contrast. These components are added at the very end, cooked just until tender.
Step-by-Step Instructions
Recipe Card
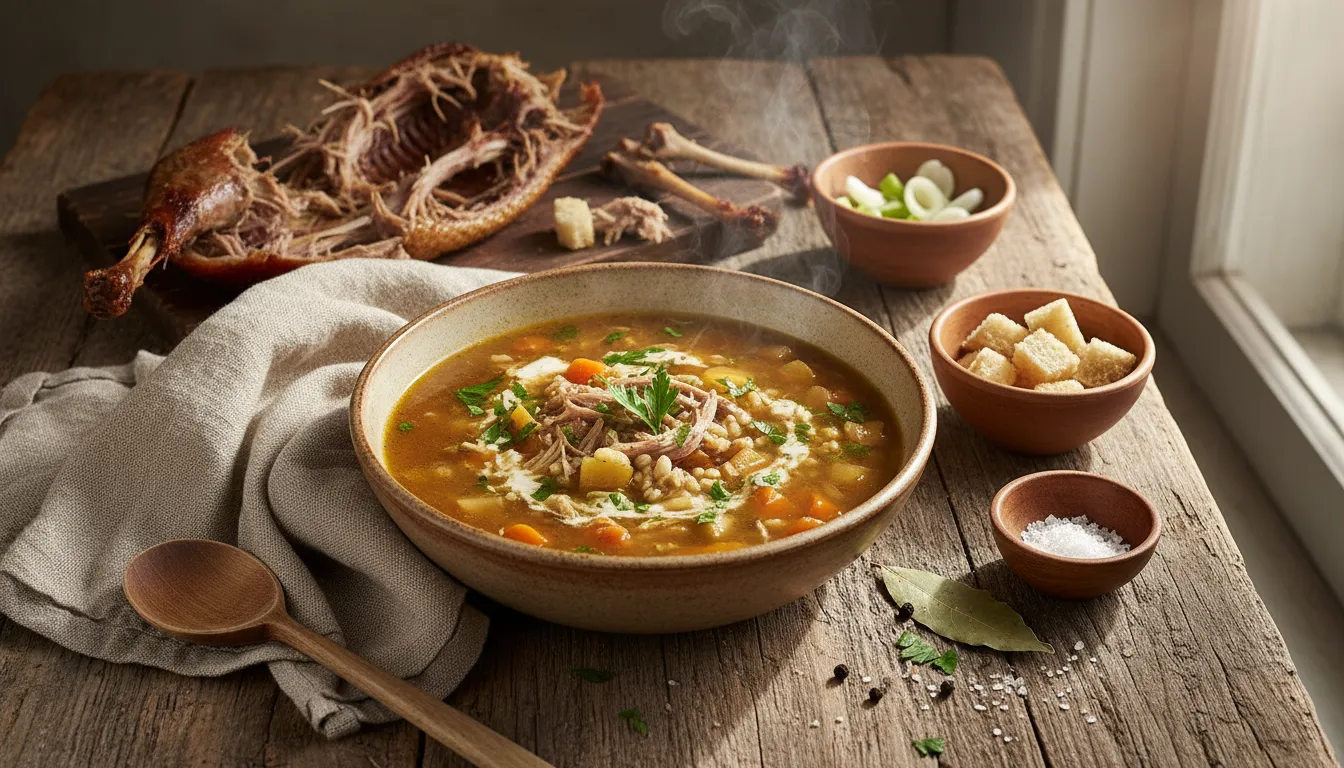
🛠 Equipment Needed
- Large stockpot (8+ quarts)
- fine-mesh strainer
- cheesecloth (optional)
- tongs
- ladle
- large bowl for ice bath
- storage containers
Prep: Breaking Down the Carcass
Remove the duck carcass from refrigeration. Using your hands or kitchen shears, break it into 4-6 large pieces so it fits comfortably in your stockpot. Crack the rib cage, snap the backbone—this isn’t delicate work.
If there are large chunks of meat still attached, remove and reserve them for adding to the finished soup. Small meat scraps clinging to bones can stay—they’ll flavor the broth.
Place all bones in your largest stockpot. Add onions (quartered, skin on), carrots, celery, garlic, ginger, star anise, cinnamon stick, bay leaves, thyme, and peppercorns.
The Cook: Long, Gentle Simmering
Pour in cold water until bones are covered by 2 inches—typically 10-12 cups. Starting with cold water extracts more flavor than adding hot water. Don’t oversalt at this stage—you’ll reduce and concentrate flavors later.
Place pot over high heat and bring to a boil, about 15-20 minutes. As soon as you see rapid bubbles, immediately reduce heat to low. You want a bare simmer—just a few lazy bubbles breaking the surface every few seconds, not an aggressive boil.
Skim off any foam or scum that rises during the first 30 minutes. This gray foam is coagulated proteins and impurities—removing it creates clearer, cleaner-tasting soup.
Simmer uncovered for 3-4 hours minimum, up to 6 hours for maximum extraction. Check periodically and add hot water if the level drops below the bones. The longer it simmers, the richer and more gelatinous the broth becomes. Your kitchen will smell incredible—deep, savory, aromatic.
Straining and Finishing
Remove pot from heat. Using tongs, carefully remove and discard the large bones and spent vegetables—they’ve given everything they have.
Set a large fine-mesh strainer over another pot. Line it with cheesecloth if you want crystal-clear broth. Slowly pour or ladle the broth through, letting gravity do the work. Don’t press on solids—this clouds the broth.
Discard all solids. If you reserved any meat chunks earlier, shred them and set aside.
Cool the broth rapidly using an ice bath—set your container in a larger bowl filled with ice water, stirring occasionally. The broth must cool from cooking temperature to 40°F within 2 hours for food safety.
Refrigerate overnight. A layer of solidified duck fat will form on top—skim and discard (or save for cooking—it’s fantastic for roasting vegetables). Properly made duck soup should gel when cold—this thick, jiggly consistency indicates high collagen content.
Final Assembly
Bring the defatted broth back to a simmer. Taste and season with salt, soy sauce, and rice wine. The broth should taste deeply savory with subtle sweetness from the aromatics.
If using rice noodles, soak them in hot water for 5-10 minutes until pliable, then drain. If using egg noodles, cook separately according to package directions.
Add noodles to the simmering broth and cook for 2-3 minutes. Add bok choy or spinach and any reserved shredded duck meat. Cook for 2 minutes until greens wilt and meat is heated through.
Remove from heat and stir in sesame oil for aromatic finishing note.
Ladle into bowls and garnish with sliced scallions.
3 Secrets for Restaurant-Quality Duck Soup
Tip 1: Roast Additional Bones for Deeper Flavor: If you have access to extra duck parts (wings, necks, backs), roast them at 400°F for 45 minutes until deeply caramelized before adding to the soup. This caramelization creates exponentially richer broth through the Maillard reaction—the difference between good and extraordinary. Professional chefs always roast bones first.
Tip 2: Never Let It Boil Aggressively: The temperature matters more than you think. Gentle simmering (180-190°F) extracts gelatin and flavor while keeping broth clear. Aggressive boiling emulsifies fat into the broth, creating cloudy, greasy soup with an off flavor. If you see rapid bubbling at any point, immediately reduce heat. Low and slow wins the race.
Tip 3: Season at the End, Not the Beginning: Adding salt and soy sauce early seems logical, but as the broth reduces and concentrates during the long simmer, early seasoning becomes overpowering. Wait until after straining to season properly—you’ll have perfect control over the final flavor. Taste multiple times and adjust gradually.
Serving Suggestions
Noodle Variations: Beyond rice noodles and egg noodles, try udon (thick, chewy Japanese noodles), ramen (for a ramen-shop experience), vermicelli (delicate thin noodles), or soba (nutty buckwheat noodles).
Vegetable Additions: Customize with shiitake mushrooms (umami boost), bamboo shoots (textural crunch), snow peas (sweet crispness), bean sprouts (fresh crunch), corn (sweetness), or cabbage (heartiness).
Protein Upgrades: Add soft-boiled eggs (marinated in soy sauce), tofu (silken or firm), wontons, or dumplings for more substantial soup.
Garnishes: Elevate presentation with fresh cilantro, Thai basil, crispy fried shallots, chili oil, lime wedges, or toasted sesame seeds.
Bread Pairing: Serve with crusty baguette, scallion pancakes, or steamed bao buns for dipping.
For comprehensive poultry techniques, explore The Ultimate Guide to Cooking Chicken: Techniques & Tips.
Storage & Reheating
Refrigerator: Store strained, cooled broth in airtight containers with the fat cap intact for up to 5 days. The fat layer protects against spoilage—remove it only when ready to use. Always smell broth before using—if it smells sour or off, discard immediately.
Freezing (Best Method): Freeze in portions sized for your needs. Ice cube trays create 2-tablespoon portions perfect for adding to sauces. 2-cup containers work for individual soup servings. Quart bags (freeze flat for space efficiency) are ideal for family meals. Label with date and contents. Frozen duck soup keeps for 6 months at 0°F.
Storing Complete Soup: If you’ve added noodles and vegetables, the soup keeps for 3-4 days refrigerated. Don’t freeze assembled soup—noodles become mushy and vegetables lose texture. Freeze just the broth, then add fresh noodles and vegetables when serving.
Thawing: Transfer frozen broth to refrigerator 24 hours before needed. For faster thawing, place sealed container in cold water, changing water every 30 minutes. Never thaw at room temperature—this creates ideal bacterial growth conditions.
Reheating: Bring broth to a full boil (212°F) before adding noodles and vegetables—this kills any bacteria that may have developed during storage. Taste and adjust seasoning after reheating—flavors mellow during storage.
Frequently Asked Questions
How long should I simmer duck soup?
Duck bones develop optimal flavor in 3-4 hours of gentle simmering. Longer cooking (up to 6 hours) extracts more gelatin, creating richer body, but won’t dramatically improve flavor. Beyond 6 hours, you risk bitter, over-extracted broth. Beef or pork bones benefit from 12+ hour simmering, but duck bones give their best in less time.
Can I use a slow cooker or Instant Pot for this duck soup recipe?
Absolutely. Slow cooker: Cook on low for 8-10 hours. Instant Pot: Pressure cook on high for 90 minutes, then natural release. Both methods work beautifully. The Instant Pot creates incredibly gelatinous broth in fraction of the time, though some argue traditional simmering develops more complex flavor.
Why is my duck soup cloudy?
Cloudiness comes from boiling too aggressively (emulsifies fat and proteins) or not skimming the initial foam. Cloudy soup tastes fine—it just lacks visual appeal. For clear broth, maintain gentle simmer and skim diligently in the first 30 minutes. Double-straining through cheesecloth also helps.
What if the soup tastes too greasy?
Refrigerate overnight—fat solidifies on top for easy removal. If you need to serve immediately, drag paper towels across the surface—they absorb floating fat droplets. Or use a fat separator (measuring cup designed for this purpose). Properly defatted duck soup should taste rich but not oily.
Conclusion
This duck soup recipe proves that the most valuable part of your roasted duck isn’t the crispy skin or tender breast—it’s the bones you almost threw away. By investing 15 minutes of active work and a few hours of patient simmering, you create deeply nourishing, intensely flavored soup that elevates every meal it touches.
Remember the key principles: break carcass into pieces for maximum extraction, simmer gently (never boil hard), skim diligently for clarity, cool rapidly for safety, season at the end, and freeze in usable portions. Master this fundamental technique, and you’ll never waste another duck carcass or buy inferior store-bought broth again.
Did this duck soup recipe change how you think about food waste? Leave a comment sharing what you added to your finished soup—I love hearing creative variations!