Hibachi chicken recipe: Best Benihana Copycat at Home
How to make hibachi chicken: Marinate bite-sized chicken pieces in soy sauce, butter, and garlic, then cook on a screaming-hot flat griddle or skillet for 3-4 minutes per side until golden and caramelized, reaching an internal temperature of 165°F for juicy, restaurant-quality results.
Have you ever ordered hibachi chicken at Benihana and wondered why yours never tastes the same at home? The #1 culprit is dry, overcooked chicken that’s lost all its flavor on the stovetop. The difference between rubbery disappointment and tender, butter-glazed perfection comes down to three things: high heat, the right cut, and knowing exactly when to stop cooking.
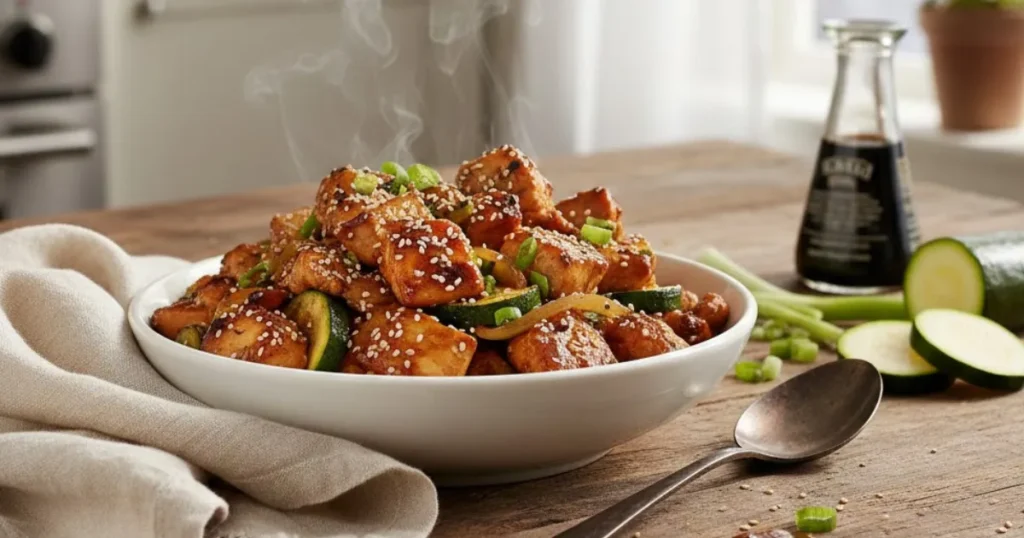
This hibachi chicken recipe delivers that iconic Japanese steakhouse experience—sizzling, garlicky, and irresistibly savory—without leaving your kitchen. The secret? A quick soy-butter marinade that tenderizes the meat while building layers of umami, plus a foolproof cooking technique that locks in moisture.
For more deep dives into achieving poultry perfection every time, check out our ultimate guide to cooking chicken for techniques that work across any recipe. Today, let’s make the best hibachi chicken you’ve ever tasted—crispy edges, juicy interior, and ready in under 20 minutes.
Why This Hibachi Chicken Recipe is a Winner
- Kid-Friendly Flavor: Savory and slightly sweet without being spicy—even picky eaters ask for seconds
- High-Protein, Low-Effort: 35+ grams of protein per serving with minimal prep
- Restaurant Quality at Home: Save $20 per person while controlling the sodium and butter
- Ready in 20 Minutes: From fridge to table faster than takeout delivery
- One-Pan Wonder: Less cleanup means more time enjoying your meal
Choosing the Best Chicken for This Recipe
Cut Selection: Boneless, skinless chicken thighs are my top choice for hibachi chicken. They stay juicier than breasts due to higher fat content and handle high heat without drying out. However, chicken breasts work beautifully if you prefer leaner meat—just cut them into uniform 1-inch cubes and watch your cooking time closely.
Quality Tips: Look for air-chilled chicken if available. It absorbs less water during processing, which means better browning and more intense flavor. Organic or free-range options offer superior texture, but conventionally raised chicken works perfectly fine.
Prep Safety: Do not wash raw chicken before cooking. Rinsing spreads bacteria across your sink and countertops. Proper cooking to the correct internal temperature (more on that below) is what kills harmful pathogens, not rinsing.
Ingredients List
| Quantity | Ingredient |
|---|---|
| 1.5 lbs | Boneless, skinless chicken thighs (or breasts), cut into 1-inch cubes |
| 3 tbsp | Soy sauce (low-sodium preferred) |
| 2 tbsp | Unsalted butter, melted |
| 1 tbsp | Vegetable oil (for cooking) |
| 1 tbsp | Garlic, minced |
| 1 tbsp | Ginger, minced (fresh or jarred) |
| 1 tbsp | Sake or dry white wine |
| 1 tsp | Sesame oil |
| 1 tsp | Sugar |
| ½ tsp | Black pepper |
| 2 | Green onions, sliced (for garnish) |
| 1 tbsp | Sesame seeds (optional, for garnish) |
Ingredients Notes
The Chicken: Cut all pieces to the same size—this ensures even cooking and prevents smaller bits from drying out while larger chunks finish. If using chicken breasts, consider pounding them to ¾-inch thickness before cubing for more uniform doneness.
The Marinade Magic: Soy sauce isn’t just for flavor—it contains enzymes that gently break down proteins, creating a more tender bite. The butter adds richness and helps achieve that signature golden-brown caramelization. Don’t skip the sugar; it balances the saltiness and promotes the Maillard reaction (that delicious browning).
Sake vs. Wine: Traditional hibachi uses sake, but dry white wine or even chicken broth works as a substitute. Avoid sweet wines, which can make the dish cloying.
Step-by-Step Instructions
Recipe Card
🛠 Equipment Needed
- Large cast-iron skillet or flat griddle
- instant-read meat thermometer
- mixing bowl
- chef's knife
- cutting board
Preparation: Marinate for Maximum Flavor
- Combine the marinade: In a medium bowl, whisk together soy sauce, melted butter, minced garlic, ginger, sake, sesame oil, sugar, and black pepper.
- Add the chicken: Toss the cubed chicken in the marinade until evenly coated. Let it sit for 15-30 minutes at room temperature (no longer, for food safety) or up to 2 hours refrigerated. Pat the chicken lightly dry with paper towels before cooking—this step is crucial for getting a good sear instead of steaming.
The Cooking Method: High Heat is Your Friend
- Preheat your pan: Use a large cast-iron skillet, stainless steel pan, or flat griddle. Heat over medium-high to high heat for 2-3 minutes. Add 1 tablespoon of vegetable oil and swirl to coat.
- Sear in batches: Don’t overcrowd! Add chicken pieces in a single layer with space between each cube. You should hear an immediate sizzle. Let them cook undisturbed for 2 minutes to develop a golden crust.
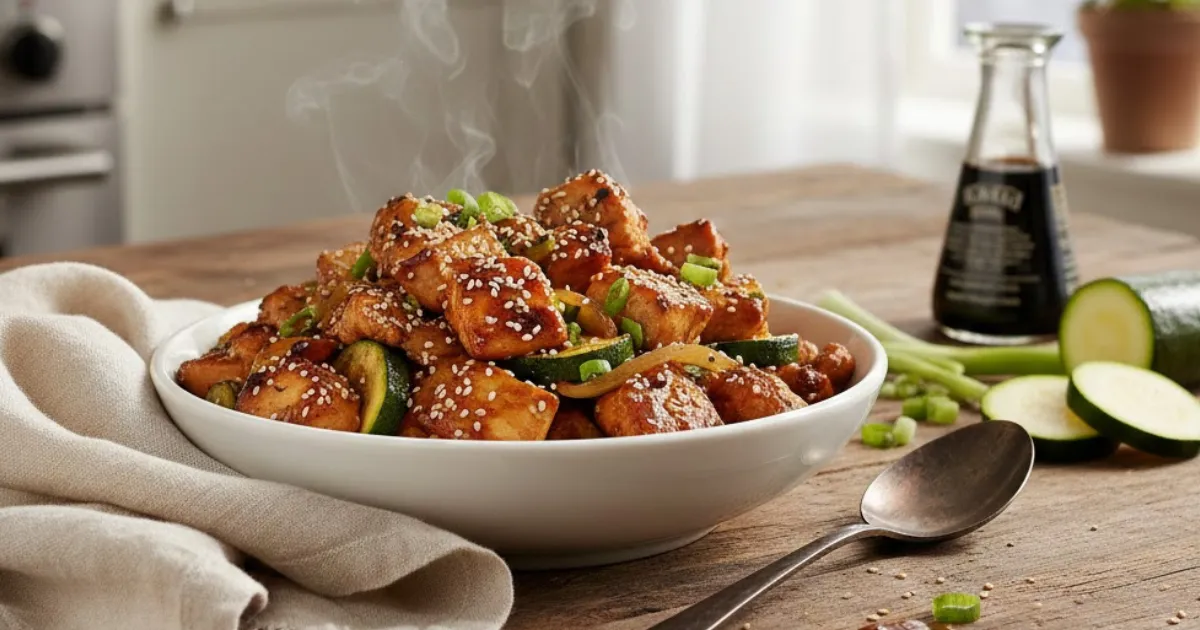
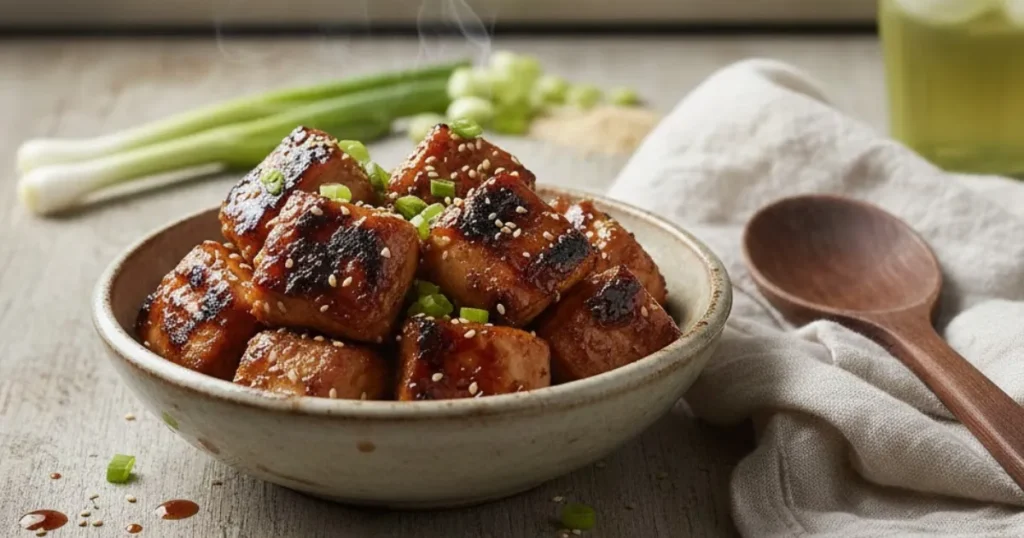
- Flip and finish: Turn each piece and cook another 2-3 minutes, until deeply browned and cooked through. The edges should look caramelized with slight charring.
How to Know It’s Done: Trust Your Thermometer
- Check the temperature: Insert an instant-read meat thermometer into the thickest piece. According to the USDA’s safe minimum cooking temperatures, chicken must reach 165°F (74°C) internally. This is non-negotiable for food safety, but don’t go beyond 170°F or you’ll sacrifice juiciness.
Resting: The Final Step for Juicy Chicken
- Let it rest: Transfer the cooked chicken to a clean plate and tent loosely with foil. Rest for 5 minutes. This allows the juices to redistribute throughout the meat instead of spilling out when you cut in.
- Garnish and serve: Sprinkle with sliced green onions and sesame seeds. Serve immediately while still sizzling.
Expert Tips for Juicy Chicken
Tip 1: Uniform Sizing is Everything. Chicken pieces of the same size finish cooking at the same time. Use a ruler if you’re detail-oriented—1-inch cubes are ideal.
Tip 2: Don’t Flip Too Early. If the chicken sticks to the pan, it’s not ready to flip. Wait another 30 seconds—it will release naturally when a proper crust forms.
Tip 3: A Meat Thermometer is the Only Accurate Method. Visual cues like “white meat” or “clear juices” are unreliable. Invest in a $15 instant-read thermometer and you’ll never overcook chicken again.
Tip 4: Finish with Fresh Butter. For extra richness, toss the rested chicken with 1 tablespoon of cold butter right before serving. It creates a glossy, restaurant-style coating.
Serving Suggestions
Carb Pairings:
- Hibachi Fried Rice: The classic steakhouse combo—make it with day-old jasmine rice for the best texture
- Yum Yum Sauce Noodles: Toss udon or lo mein noodles with the signature pink sauce
- Steamed White Rice: Simple and lets the chicken shine
Veggie Pairings:
- Stir-Fried Zucchini and Mushrooms: Slice thin and cook in the same pan after the chicken
- Grilled Broccoli: Toss with garlic butter for that hibachi touch
- Asian Slaw: Cabbage, carrots, and a sesame-ginger dressing add crunch
Storage & Leftovers
Fridge: Store cooked hibachi chicken in an airtight container for 3-4 days. Keep the chicken and any rice/vegetables in separate containers to prevent sogginess.
Reheating: The microwave works in a pinch, but for best results, reheat gently in a skillet over medium-low heat with a splash of chicken broth or water to prevent drying out. Cover with a lid and heat for 3-4 minutes, stirring occasionally, until warmed through.
Freezing: Hibachi chicken freezes well for up to 3 months. Thaw overnight in the refrigerator before reheating.
Frequently Asked Questions
Can I use frozen chicken? You can, but thaw it completely in the refrigerator first (never at room temperature). Pat it very dry before marinating, as excess moisture prevents browning.
Can I swap breasts for thighs? Absolutely! Chicken breasts cook slightly faster, so check for doneness at the 4-minute mark instead of 5. They’ll reach 165°F sooner due to lower fat content.
How do I get restaurant-style char marks? Use a grill pan with ridges or a well-seasoned cast iron skillet heated until smoking. Don’t move the chicken for the first 2 minutes—patience creates those beautiful grill lines.
Is the marinade necessary? The flavor is best with marinating, but if you’re short on time, season the chicken generously with salt, pepper, and garlic powder, then toss with the soy-butter mixture while cooking.
Conclusion
This hibachi chicken recipe proves you don’t need a flat-top grill or theatrical knife skills to recreate Benihana magic at home. With a simple marinade, high heat, and a reliable meat thermometer, you’ll achieve tender, golden-brown chicken that rivals any Japanese steakhouse—minus the $25-per-person bill.
The keys to success? Don’t overcrowd your pan, trust your thermometer over visual cues, and let that chicken rest before diving in. Master these fundamentals and you’ll never settle for dry, flavorless poultry again.
Ready to level up your chicken game even further? Explore our chicken cooking techniques and tips for foolproof methods across every cut and cuisine style.
Now fire up that skillet and let me know how it turns out! Leave a 5-star rating below if this recipe brought the hibachi experience to your dinner table.