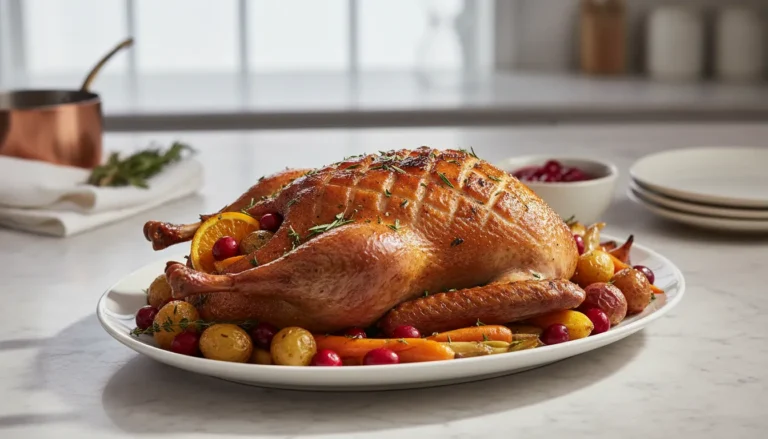
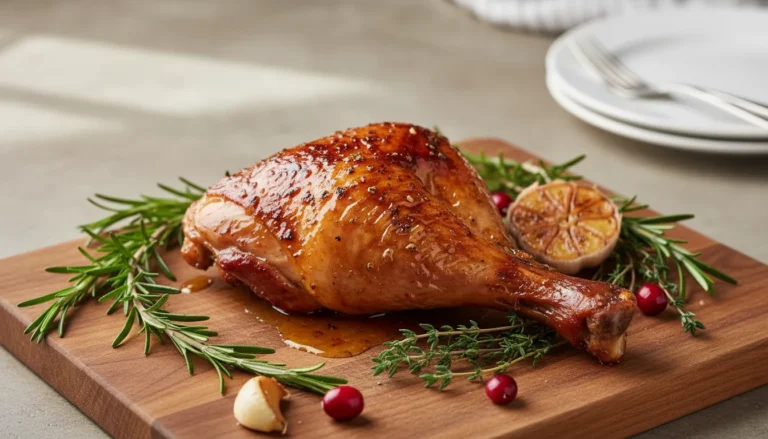
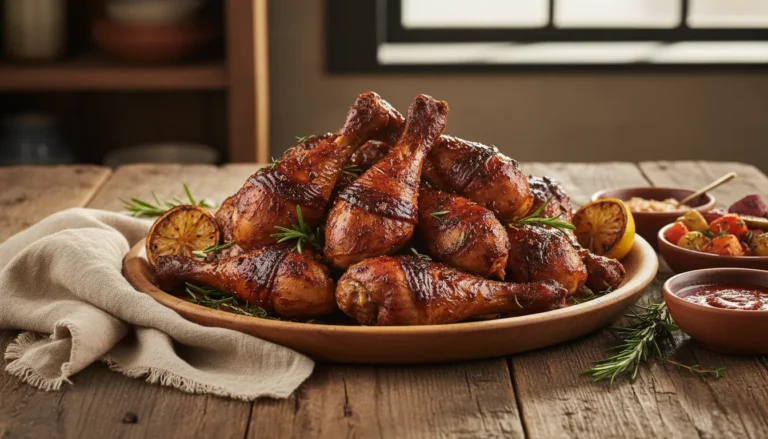
Spatchcock turkey recipe Best Crispy Skin Method
A spatchcock turkey recipe involves removing the backbone, flattening the bird, and roasting at 425°F (220°C) for 90-110 minutes. This method cooks 30% faster than traditional roasting while delivering incredibly crispy skin and juicy meat at 165°F (74°C).
We’ve all been there: spending hours roasting a whole turkey only to pull out a bird with pale, rubbery skin and breast meat so dry it needs gravy just to be edible. The dark meat is barely done while the breast is overcooked—it’s the Thanksgiving nightmare that keeps repeating.
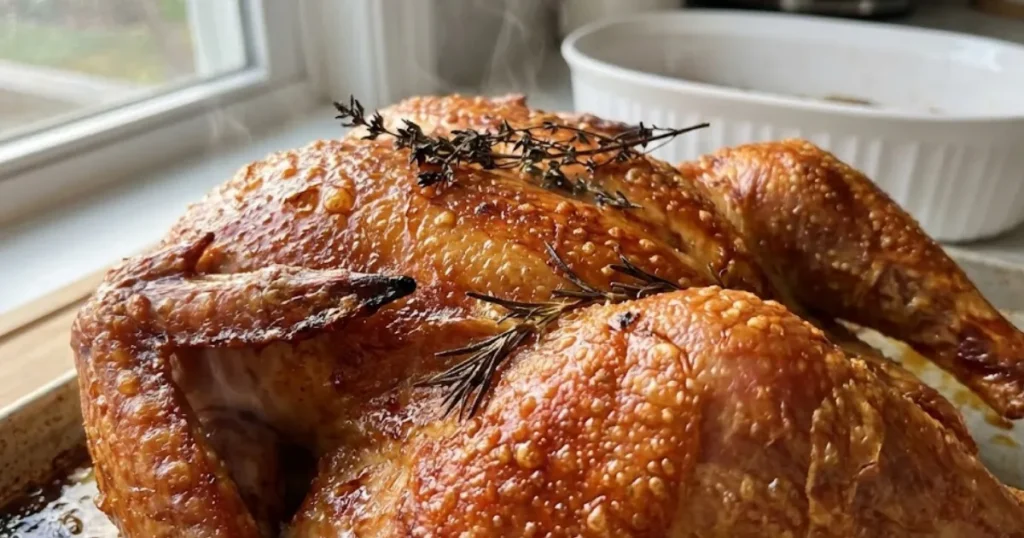
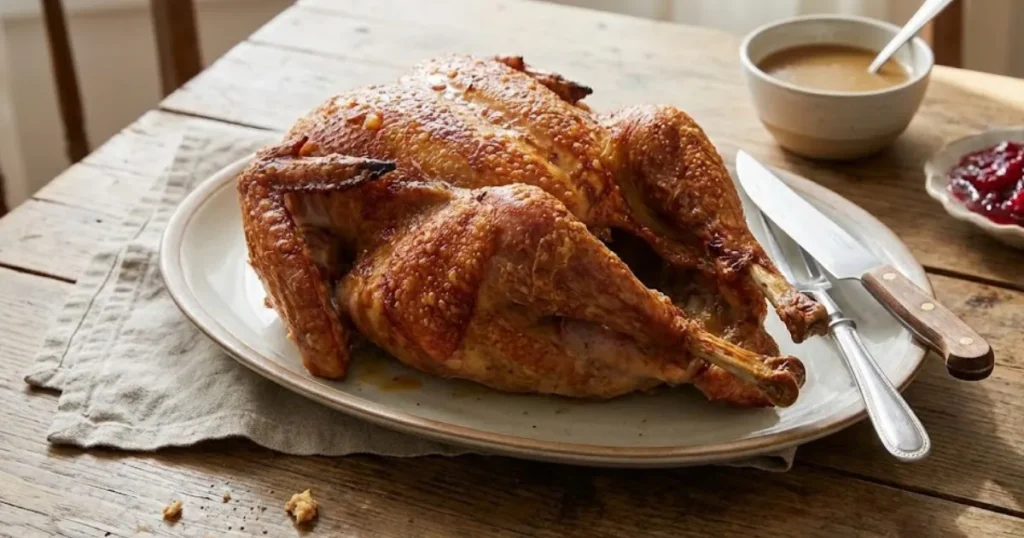
The solution? This spatchcock turkey recipe transforms your holiday bird from a stress-inducing centerpiece into a succulent, golden-brown masterpiece with shatteringly crispy skin. No more guessing, no more dry breasts, no more three-hour waits.
Why it works: Spatchcocking (also called butterflying) removes the backbone so the turkey lays completely flat. This exposes maximum skin surface to direct heat while allowing the thick thighs and delicate breast to cook at the same rate. The result is even cooking, faster roasting time, and skin so crispy it crackles.
Preview: Get ready to make this spatchcock turkey recipe your new holiday tradition—once your family tastes the difference, there’s no going back to the old roasting method.
Why This Spatchcock Turkey Recipe Works
- Cooks 30-40% faster – A 12-14 lb turkey finishes in under 2 hours instead of 3-4
- Impossibly crispy skin – Flat positioning exposes all skin to direct oven heat
- Evenly cooked meat – Breast and thighs reach 165°F simultaneously
- Easier carving – The flattened structure makes slicing straightforward
- More pan drippings – Perfect for making rich, flavorful gravy
- Showstopping presentation – The dramatic flat presentation wows guests
Choosing the Best Turkey
Size Selection: For a spatchcock turkey recipe, choose a bird 12-14 pounds maximum. Larger turkeys become unwieldy when flattened and won’t fit on standard sheet pans. A 12-14 lb turkey serves 8-10 people generously with leftovers—perfect for most families.
Quality Tips: Look for air-chilled turkey rather than water-chilled. Air-chilled birds haven’t absorbed excess water during processing, which means the skin crisps beautifully instead of steaming. Heritage breed or pasture-raised organic turkeys have richer flavor and firmer texture, though they cost more. If budget allows, the taste difference is remarkable.
Fresh vs. Frozen: Fresh turkey is ideal but frozen works perfectly—just plan ahead. Thaw in the refrigerator for 3-4 days (never on the counter). The turkey must be completely thawed before spatchcocking or the backbone won’t cut cleanly.
Prep Safety—Crucial Tip: Do not wash raw turkey. Rinsing poultry splashes bacteria-laden water across your sink, countertops, and faucet handles, spreading Salmonella rather than eliminating it. Proper cooking to 165°F kills all pathogens—water cannot. Always wash hands, cutting boards, and kitchen shears with hot, soapy water after handling raw turkey.
Ingredients List
| Quantity | Ingredient |
|---|---|
| 1 (12-14 lb) | Whole Turkey (thawed if frozen) |
| ¼ cup | Unsalted Butter (melted) |
| 3 tbsp | Extra Virgin Olive Oil |
| 2 tbsp | Kosher Salt |
| 1 tbsp | Black Pepper (freshly ground) |
| 1 tbsp | Garlic Powder |
| 2 tsp | Smoked Paprika |
| 2 tsp | Dried Thyme |
| 1 tsp | Onion Powder |
| 1 | Lemon (halved) |
| 6 cloves | Garlic (smashed) |
| 4 sprigs | Fresh Rosemary |
| 2 cups | Low-Sodium Chicken Broth (for pan) |
Ingredient Notes
The Fat (Butter & Olive Oil): This combination is non-negotiable for crispy skin. Butter adds rich flavor and helps browning, while olive oil has a higher smoke point that prevents burning during the high-heat roast. The fat mixture also carries seasoning into every crevice of the turkey skin. Brush liberally—don’t be shy.
The Spice Rub: Kosher salt seasons deeply and draws moisture to the skin surface where it evaporates, creating crispiness. Smoked paprika adds gorgeous color and subtle smokiness. Garlic powder and thyme provide savory depth that penetrates the meat as it cooks. This dry rub creates a flavorful crust that’s restaurant-quality.
The Aromatics (Lemon, Garlic, Rosemary): These don’t directly season the meat—they perfume the pan drippings that become your gravy. As the turkey roasts, these aromatics caramelize in the rendered fat, creating complex, layered flavor in every spoonful of sauce.
The Broth: Adding liquid to the pan prevents drippings from burning during the long roast. It also creates steam that keeps the oven environment moist while the skin crisps. Use this flavorful liquid as your gravy base.
Step-by-Step Instructions
Recipe Card
🛠 Equipment Needed
- Heavy-duty kitchen shears
- large rimmed sheet pan (18x13-inch)
- instant-read or probe thermometer
- basting brush
- cutting board
Prep: Spatchcocking the Turkey
Remove turkey from packaging and pat completely dry inside and out with paper towels. This is critical—any moisture prevents the skin from crisping. Place turkey breast-side down on a large cutting board.
Using heavy-duty kitchen shears, cut along both sides of the backbone from tail to neck. Remove and save the backbone for stock. Flip the turkey over and press down firmly on the breastbone with both hands until you hear a crack—the bird should now lay flat. Tuck wing tips behind the breasts so they don’t burn.
Let the spatchcocked turkey sit at room temperature for 30-45 minutes before roasting. This ensures even cooking from the start.
The Cook: Roasting for Crispy Skin
Preheat oven to 425°F (220°C) with the rack in the middle position. Line a large rimmed sheet pan with foil for easy cleanup. Scatter smashed garlic, lemon halves, and rosemary sprigs across the pan. Pour chicken broth around (not over) the aromatics.
In a small bowl, mix melted butter and olive oil. Brush the entire turkey—skin and underside—with this fat mixture. In another bowl, combine salt, pepper, garlic powder, paprika, thyme, and onion powder. Season the turkey generously on all surfaces, pressing the rub into the skin.
Place turkey skin-side up on the prepared pan. Don’t move it once it’s positioned—you want maximum contact with the hot pan for even browning.
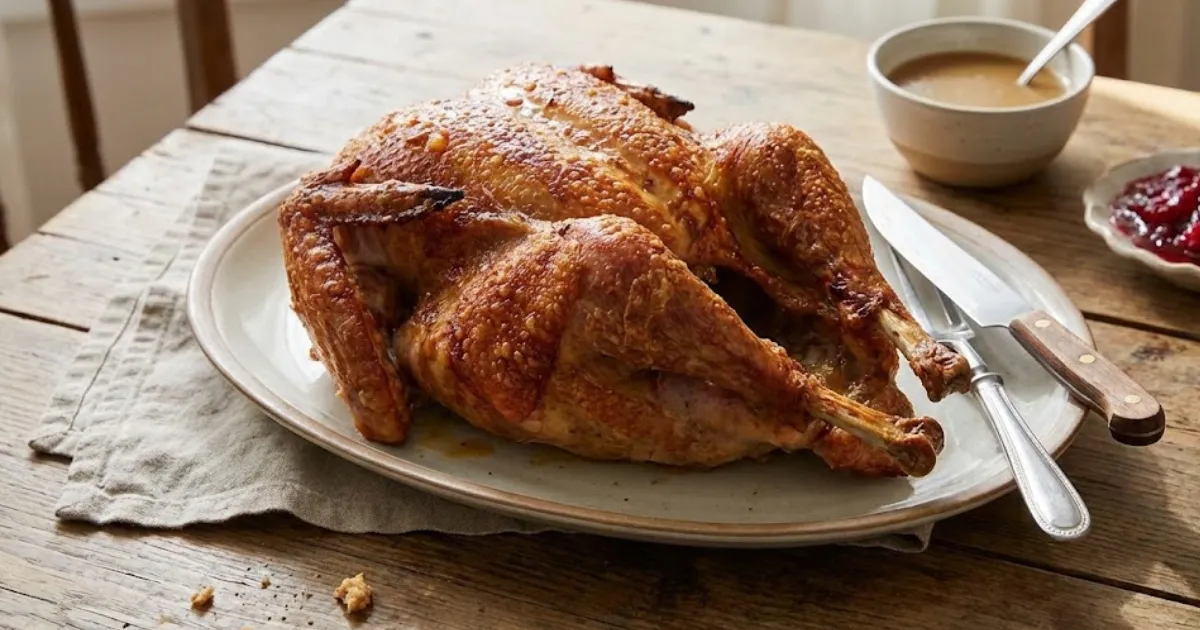
Roast for 90-110 minutes, rotating the pan halfway through for even cooking. The turkey is done when the thickest part of the thigh reads 165°F (74°C) and skin is deep golden brown.
The Doneness Test
Juices should run clear when you pierce the thigh, not pink. Critical: Insert an instant-read meat thermometer into the thickest part of the thigh (avoiding bone) and the deepest section of the breast. Both must reach exactly 165°F (74°C) to safely kill Salmonella and other pathogens.
If the skin browns too quickly before the meat reaches temperature, tent loosely with foil and continue roasting. Temperature, not time, determines doneness—oven variations mean a 12 lb turkey might finish in 85 minutes or 115 minutes.
Resting: The Non-Negotiable Step
Transfer the turkey to a cutting board and let it rest for 20-30 minutes before carving. This resting period allows juices to redistribute throughout the meat. If you carve immediately, those precious juices spill onto the cutting board instead of staying in the meat, leaving you with dry turkey despite perfect cooking.
Tent loosely with foil during resting. The turkey will stay hot—the internal temperature actually rises 5-10 degrees during this time.
3 Secrets for Never-Dry Turkey
Tip 1: Dry Brine Overnight: For next-level moisture and flavor, salt the spatchcocked turkey 24 hours before roasting. Rub 2 tablespoons kosher salt all over the skin, then refrigerate uncovered overnight. The salt penetrates deeply while the exposed skin dries out, creating incredibly crispy results. Rinse briefly and pat dry before applying the spice rub.
Tip 2: Monitor Both Breast and Thigh Temps: Dark meat is safely cooked at 165°F but tastes better at 175°F when connective tissues break down. White meat dries out above 165°F. With spatchcocking, both areas reach their ideal temperatures simultaneously—breast hits 165°F right as thighs reach 170-175°F. Check both spots with your thermometer.
Tip 3: Use a Probe Thermometer: Leave-in probe thermometers eliminate guesswork. Insert the probe into the thigh at the start, set the alert for 165°F, and relax. No constantly opening the oven door, which drops temperature and extends cooking time. This tool is the difference between confident roasting and anxious hovering.
Serving Suggestions
Starchy Sides: This spatchcock turkey recipe pairs beautifully with creamy mashed potatoes, herb stuffing, roasted sweet potatoes, or wild rice pilaf. The crispy skin contrasts perfectly with soft, comforting starches.
Vegetable Pairings: Roasted Brussels sprouts with bacon, maple-glazed carrots, green bean casserole, or a simple arugula salad with cranberries balance the rich turkey.
Pan Gravy: Strain the pan drippings into a fat separator. Pour the defatted liquid into a saucepan. Whisk in 3 tablespoons flour mixed with ¼ cup cold water. Simmer until thickened, about 5 minutes. Season with salt and pepper. The lemon and herb-infused drippings create gravy that needs no extra seasoning.
For more poultry techniques, explore The Ultimate Guide to Cooking Chicken: Techniques & Tips.
Storage & Reheating
Refrigerator: Remove meat from the bones within 2 hours of cooking. Store in airtight containers for 3-4 days maximum. Keep white and dark meat separate—they reheat differently.
Freezing: Slice or shred turkey, portion into freezer bags, and freeze for up to 3 months. Press out air and freeze flat for space efficiency. Label with the date.
Reheating: The key is low and slow with added moisture. For sliced turkey, arrange in a baking dish, add ¼ cup broth, cover with foil, and warm at 300°F for 20 minutes. For shredded turkey, reheat in a skillet over medium-low heat with a splash of broth, stirring occasionally. Microwaving on high creates rubbery texture—always use 50% power in short intervals.
Frequently Asked Questions
- Is it safe if the meat is slightly pink near the bone?
Yes, if your thermometer reads 165°F (74°C). Younger turkeys sometimes have pinkish bone marrow that leaches into nearby meat during cooking—this is harmless. Smoked paprika in the rub can also tint the meat pink. Temperature is the only reliable safety indicator, not color. - Can I use a frozen turkey for this spatchcock turkey recipe?
Absolutely, but it must be completely thawed first. A frozen turkey cannot be spatchcocked—the backbone won’t cut and the bird won’t flatten. Thaw in the refrigerator for 1 day per 4 pounds of turkey (3-4 days for a 12-14 lb bird). Never thaw on the counter. - How do I get extra-crispy skin?
Three techniques: (1) Dry the turkey obsessively with paper towels, (2) Air-dry in the fridge uncovered for 12-24 hours after spatchcocking, and (3) Finish under the broiler for 3-5 minutes after roasting, watching constantly to prevent burning. The combination creates skin that shatters like glass. - What if my oven can’t fit a flattened turkey?
Use a 12 lb turkey (the smaller end of the range) or roast diagonally on a large sheet pan. In a true pinch, spatchcock and roast on two smaller pans side-by-side, rotating their positions halfway through cooking.
Conclusion
This spatchcock turkey recipe proves that the best holiday bird isn’t the result of complicated techniques or expensive equipment—it’s about smart preparation and even heat distribution. By removing the backbone and flattening the turkey, you create ideal conditions for crispy skin and juicy meat that cooks in record time.
Remember the key principles: spatchcock for even cooking, dry thoroughly for crispy skin, roast hot and fast at 425°F, and always verify 165°F with a thermometer. Master these steps, and you’ll serve a showstopping turkey that tastes as incredible as it looks.
Did this spatchcock turkey recipe change your holiday cooking forever? Leave a comment sharing your results—I love hearing how it turned out!