Mexican chicken recipes Best Cheesy Enchiladas
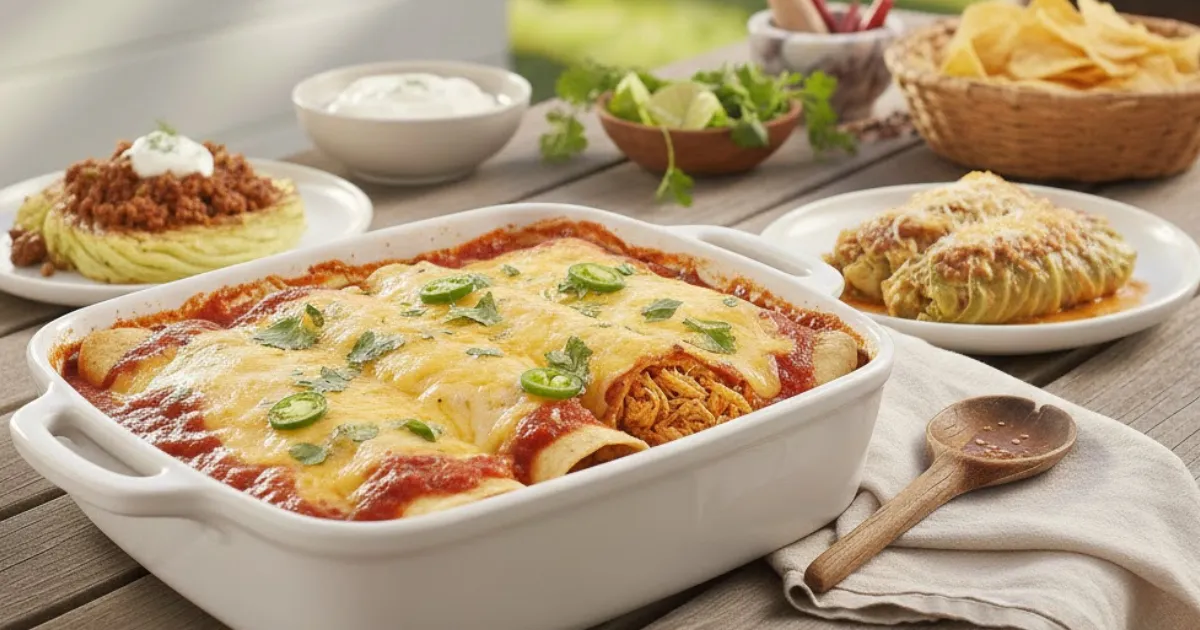
There’s something magical about pulling a bubbling pan of cheesy enchiladas from the oven—the aroma of toasted cumin and chili powder mingling with melted cheese, the edges of the tortillas just beginning to crisp and caramelize. These Best Cheesy Enchiladas represent everything we love about mexican chicken recipes: they’re comforting, deeply flavorful, and surprisingly simple to master. Unlike complicated dishes that require specialty equipment or hard-to-find ingredients, these enchiladas rely on technique and layering of flavors to create a restaurant-quality meal that’ll have your family asking for seconds. Whether you’re a seasoned home cook or just beginning your journey into authentic Mexican food, this recipe will become your go-to for weeknight dinners and special occasions alike.
Quick Answer: These cheesy chicken enchiladas feature tender, shredded chicken wrapped in corn tortillas, smothered in a rich enchilada sauce, and topped with melted cheese. Bake at 375°F for 25 minutes until golden and bubbling for authentic Mexican comfort food that serves 6-8 people.
Why This Recipe Works
The secret to exceptional cheesy chicken enchiladas lies in three critical techniques. First, we poach the chicken directly in a seasoned broth, which keeps the meat incredibly moist while infusing it with aromatic flavor from the inside out. Second, we lightly fry each tortilla in oil before filling—this crucial step prevents soggy enchiladas by creating a protective barrier that holds up beautifully against the sauce. Finally, we use a two-cheese blend of sharp cheddar and Monterey Jack: the cheddar provides bold, tangy flavor while the Jack melts into creamy, stretchy perfection. This combination of techniques ensures every bite delivers that perfect balance of tender chicken, silky sauce, and gloriously melted cheese that defines truly outstanding mexican chicken recipes. The layering method we use here—sauce on the bottom, filled tortillas, more sauce, then cheese—creates distinct textural zones that make each forkful interesting and delicious.
Ingredients & Substitutions
Here is everything you need for this mexican chicken recipes masterpiece:
| Quantity | Ingredient | Notes/Substitutions |
|---|---|---|
| 2 lbs | Chicken breasts or thighs | Thighs yield more moisture; breasts are leaner. Can use rotisserie chicken to save time. |
| 3 cups | Chicken broth | Low-sodium preferred for better seasoning control |
| 12 | Corn tortillas (6-inch) | Fresh tortillas work best; avoid pre-packaged if possible |
| 3 cups | Red enchilada sauce | Homemade or quality jarred; can substitute salsa verde chicken style for green enchiladas |
| 3 cups | Shredded cheese blend | 2 cups cheddar + 1 cup Monterey Jack; or use Mexican blend |
| 1/4 cup | Vegetable oil | For softening tortillas; avocado oil works well too |
| 1 medium | White onion, diced | Yellow onion acceptable; adds sweetness and texture |
| 3 cloves | Garlic, minced | Fresh only; garlic powder won’t provide the same depth |
| 2 tsp | Ground cumin | Toast whole seeds and grind for maximum flavor |
| 1 tsp | Chili powder | Ancho chili powder preferred for authentic taste |
| To taste | Salt and black pepper | Season generously at each stage |
| For garnish | Fresh cilantro, sour cream, lime | Optional but highly recommended for brightness |
20 minutes
45 minutes
1 hour 5 minutes
425 kcal per serving
Step-by-Step Instructions
Follow these steps for restaurant-quality results:
1. Poach and Shred the Chicken
In a large pot, combine the chicken breasts or thighs with chicken broth, half the diced onion, 2 cloves of minced garlic, 1 teaspoon cumin, and a generous pinch of salt. Bring to a gentle boil over medium-high heat, then reduce to a simmer. Cook for 20-25 minutes until the chicken reaches an internal temperature of 165°F and is cooked through—you’ll notice the meat has turned opaque and firm to the touch. Remove the chicken to a cutting board and let it rest for 5 minutes (this allows the juices to redistribute). Using two forks, shred the chicken into bite-sized pieces. The meat should pull apart easily into tender, juicy strands. Reserve 1/2 cup of the poaching liquid to add moisture to your filling if needed.
2. Prepare the Chicken Filling
In a large skillet over medium heat, add 1 tablespoon of oil and sauté the remaining diced onion until it becomes translucent and aromatic, about 4-5 minutes. You’ll see the edges just beginning to turn golden. Add the remaining garlic and cook for 30 seconds until fragrant—be careful not to burn it. Stir in the shredded chicken, remaining cumin, chili powder, 1/2 cup of enchilada sauce, and 1 cup of shredded cheese. Mix everything together until the cheese melts and creates a cohesive, creamy filling. Season with salt and pepper to taste. The mixture should be moist but not soupy; if it seems dry, add a splash of the reserved poaching liquid.
3. Soften the Tortillas
This step is crucial for preventing tears and achieving that authentic texture. Heat the remaining oil in a small skillet over medium heat. One at a time, quickly fry each tortilla for about 5-10 seconds per side—just until it becomes pliable and glistens with oil. You’re not looking for crispness here; the tortilla should soften and become flexible enough to roll without cracking. Transfer each tortilla to a paper towel-lined plate. This brief frying creates a moisture barrier that prevents the dreaded soggy enchilada syndrome while adding a subtle, toasted corn flavor.
4. Assemble the Enchiladas
Preheat your oven to 375°F. Spread 1 cup of enchilada sauce across the bottom of a 9×13-inch baking dish—this prevents sticking and adds flavor to the bottom layer. Working with one tortilla at a time, spoon about 1/3 cup of the chicken filling down the center. Roll the tortilla tightly around the filling and place it seam-side down in the baking dish. Repeat with remaining tortillas, arranging them snugly in a single layer. The enchiladas should fit together like soldiers in formation, which helps them hold their shape during baking.
5. Sauce and Top with Cheese
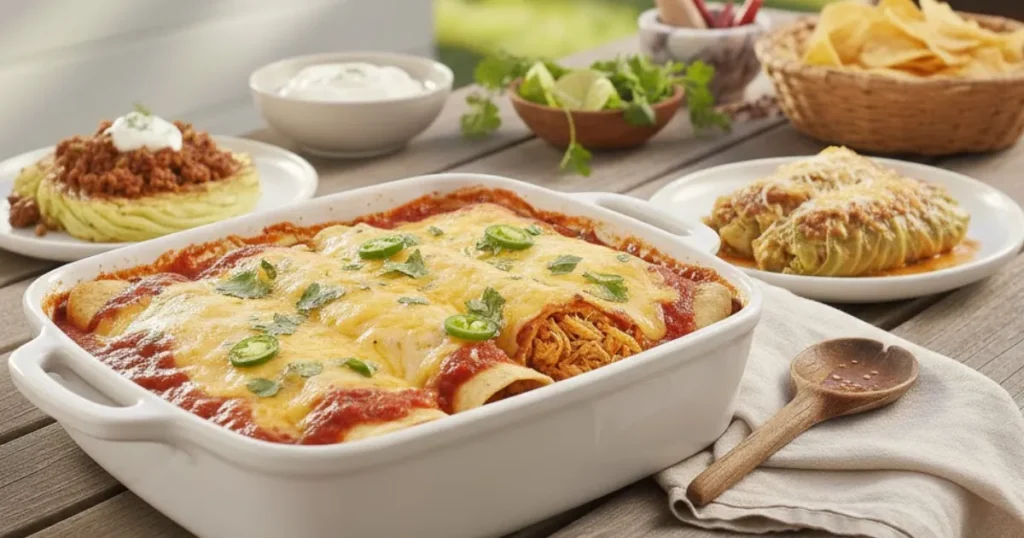
Pour the remaining enchilada sauce evenly over the rolled tortillas, making sure to cover the edges completely—any exposed tortilla will become tough and chewy. Use the back of a spoon to spread the sauce into every crevice. Sprinkle the remaining 2 cups of shredded cheese generously over the top, creating an even blanket that will melt into golden, bubbling perfection. For extra visual appeal, you can create diagonal stripes or a decorative pattern with the cheese.
6. Bake to Golden Perfection
Cover the baking dish with aluminum foil and bake for 20 minutes. This initial covered baking allows the enchiladas to heat through without the cheese browning too quickly. Remove the foil and bake for an additional 5-7 minutes until the cheese is melted, bubbling vigorously around the edges, and developing those irresistible golden-brown spots. You’ll know they’re ready when you can see the sauce bubbling up through the cheese and the kitchen smells absolutely intoxicating—a heady mix of toasted cheese, warm spices, and caramelized edges.
7. Rest and Garnish
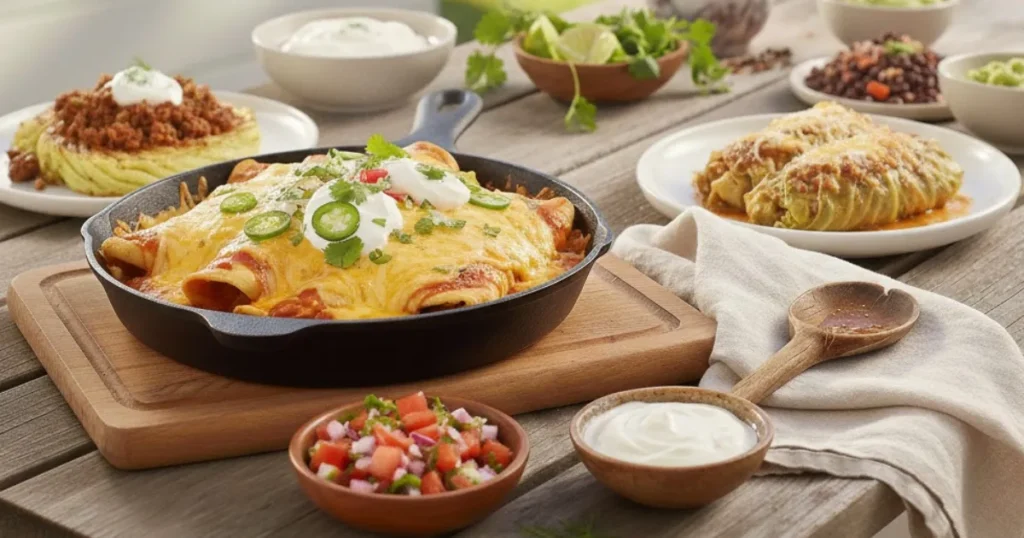
Remove the enchiladas from the oven and let them rest for 5-10 minutes before serving. This resting period allows the sauce to thicken slightly and makes serving much neater. Garnish with fresh cilantro leaves, dollops of cool sour cream, and lime wedges for squeezing. The bright, fresh garnishes provide essential contrast to the rich, cheesy enchiladas.
👨🍳 Chef’s Tips for Success
-
- Temperature matters: Always bring your enchilada sauce to room temperature before assembling. Cold sauce won’t distribute evenly and can cause the cheese to seize up instead of melting smoothly.