Turkey Cutlet Recipes: How to Fry Without Drying
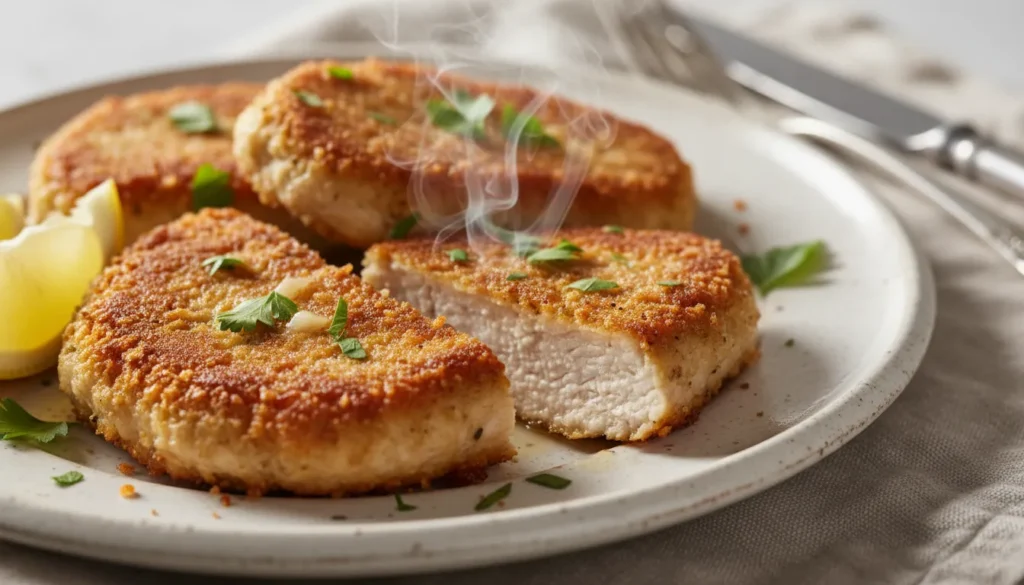
Turkey cutlet recipes stay juicy when pan-fried quickly over medium-high heat for just 2-3 minutes per side. The key is pounding cutlets to even ¼-inch thickness and cooking fast—thin meat needs high heat and minimal time to develop a golden crust before drying out.
Dry, leathery turkey cutlets that taste like shoe leather. Bland, rubbery chicken-fried turkey that’s overdone on the outside and still raw inside. Thin poultry is notoriously tricky.
But perfectly pan-seared turkey cutlets with a golden crust and juicy center are absolutely achievable. This recipe teaches you the timing and technique to fry thin meat without turning it into jerky.
The secret? Even thickness plus rapid cooking means the interior reaches 165°F at the exact moment the exterior turns golden and crispy. For more poultry cooking fundamentals, explore our ultimate guide to cooking chicken techniques and tips.
Get ready for the fastest, most foolproof turkey dinner you’ve ever made.
Why This Turkey Cutlet Recipe Works
- Lightning-Fast: From pan to plate in under 10 minutes
- Foolproof Method: Even thickness ensures even cooking every time
- Versatile Protein: Works for piccata, Parmesan, schnitzel, or simple lemon-butter sauce
- Budget-Friendly: Turkey cutlets cost less than chicken breast
- Healthy: High protein, low fat, minimal oil needed
- Weeknight Hero: Perfect for busy nights when you need dinner fast
Choosing the Best Turkey Cutlets
Pre-Cut vs. DIY: Pre-cut turkey cutlets from the grocery store are convenient but often uneven. If buying these, check that they’re roughly the same thickness. Better option: Buy turkey breast tenderloin and pound it yourself for perfect control.
Thickness Matters: Look for cutlets that are ¼ to ⅜ inch thick. Anything thinner shreds when you try to flip it. Anything thicker won’t cook through in the quick frying time needed to prevent drying.
Fresh vs. Frozen: Fresh cutlets are ideal for this recipe. Frozen cutlets release excess water during cooking, which steams the meat instead of searing it. If using frozen, thaw in the fridge for 24 hours and pat bone-dry.
Safety Rule: Never rinse raw turkey cutlets. According to the USDA food safety recommendations, washing spreads bacteria. Cooking to 165°F is the only safe method to kill pathogens.
Ingredients List
| Quantity | Ingredient |
|---|---|
| 1½ lbs | Turkey Cutlets (4-6 cutlets) |
| ¾ cup | All-Purpose Flour |
| 2 large | Eggs |
| 1 cup | Panko Breadcrumbs |
| ½ cup | Parmesan Cheese (grated) |
| 1 tsp | Garlic Powder |
| 1 tsp | Italian Seasoning |
| ¾ tsp | Sea Salt |
| ½ tsp | Black Pepper |
| ¼ tsp | Cayenne Pepper (optional) |
| ¼ cup | Olive Oil (for frying) |
| 2 tbsp | Butter |
| 1 | Lemon (for serving) |
Ingredients Notes
The Flour: Creates the first layer that helps egg stick. Season it with salt and pepper for flavor in every bite.
The Eggs: Act as glue between flour and breadcrumb coating. Beat them well with a fork—no streaks of white should remain.
The Panko: Japanese panko breadcrumbs create a lighter, crispier crust than regular breadcrumbs. Their larger flakes don’t compact as much during frying. Don’t substitute regular breadcrumbs—the texture won’t be the same.
The Parmesan: Mixed into breadcrumbs, it adds savory flavor and helps browning. Use freshly grated, not the shelf-stable kind in a can.
The Oil and Butter Combo: Oil has a high smoke point for searing. Butter adds flavor and helps browning. Together, they’re perfect for pan-frying.
Step-by-Step Instructions
Recipe Card
🛠 Equipment Needed
- Meat mallet
- 3 shallow dishes
- large skillet
- wire rack
- instant-read thermometer
- tongs
Prep the Cutlets
Pound to even thickness: Place cutlets between two sheets of plastic wrap or in a gallon zip-top bag. Using a meat mallet or heavy skillet, gently pound to ¼-inch thickness. Start from the center and work outward. The goal is uniformity, not paper-thin meat.
Pat completely dry with paper towels. Any surface moisture prevents proper browning and creates steam instead of sear.
Season both sides with a pinch of salt and pepper. Let sit at room temperature for 10 minutes while you set up breading station.
Set Up Breading Station
Three shallow dishes: Dish 1 gets flour. Dish 2 gets beaten eggs. Dish 3 gets panko mixed with Parmesan, garlic powder, Italian seasoning, and remaining salt and pepper.
Line them up: Flour → Eggs → Breadcrumbs. Keep one hand dry for handling unbreaded meat, one hand for breaded meat. This prevents clumping.
Bread the Cutlets
Dredge in flour: Coat both sides, shake off excess. The flour should create a thin, even dusting.
Dip in egg: Let excess drip off before moving to breadcrumbs.
Press into breadcrumbs: Press firmly so breadcrumbs adhere. Flip and coat the other side. Pat gently to ensure good coverage.
Place on a wire rack set over a baking sheet. Let sit for 5 minutes. This “rest” helps the coating adhere better during frying.
Pan-Fry the Cutlets
Heat oil and butter in a large skillet over medium-high heat. The pan is ready when you drop in a breadcrumb and it sizzles immediately.
Add 2 cutlets at a time (don’t crowd). Cook for 2½-3 minutes without moving them. You should see golden-brown color creeping up the sides.
Flip carefully with tongs or a thin spatula. Cook another 2½-3 minutes on the second side. The coating should be deep golden brown and crispy.
Remove to a wire rack (not paper towels—they make the coating soggy). Add more oil/butter to the pan between batches if needed.
The Doneness Test
Insert an instant-read thermometer into the thickest part of a cutlet. It should read 165°F (74°C). At ¼-inch thickness, this happens right when the exterior turns golden.
Visual cue: The meat should feel firm when pressed and juices should run clear, not pink. If you cut into one, the interior should be white throughout with no pink areas.
Resting
Let rest for 2 minutes on the wire rack. This brief rest allows juices to redistribute. Serve immediately while coating is still crispy—turkey cutlets don’t hold well.
3 Secrets for Never-Dry Turkey Cutlets
Secret #1: Even Thickness Is Non-Negotiable – If one end is thick and one is thin, the thin end turns to jerky while the thick end cooks. Pound everything to exactly ¼ inch.
Secret #2: Get the Pan Temperature Right – Too low and the coating absorbs oil without browning (greasy and raw). Too high and the coating burns before the inside cooks. Medium-high with shimmering oil is perfect.
Secret #3: Two Flips Only – Flip once and only once per side. Multiple flips create cracks in the coating where moisture escapes. One flip keeps it sealed and juicy.
Serving Suggestions
Classic Italian: Top with marinara sauce and mozzarella. Broil for 2 minutes until cheese melts. Serve over spaghetti.
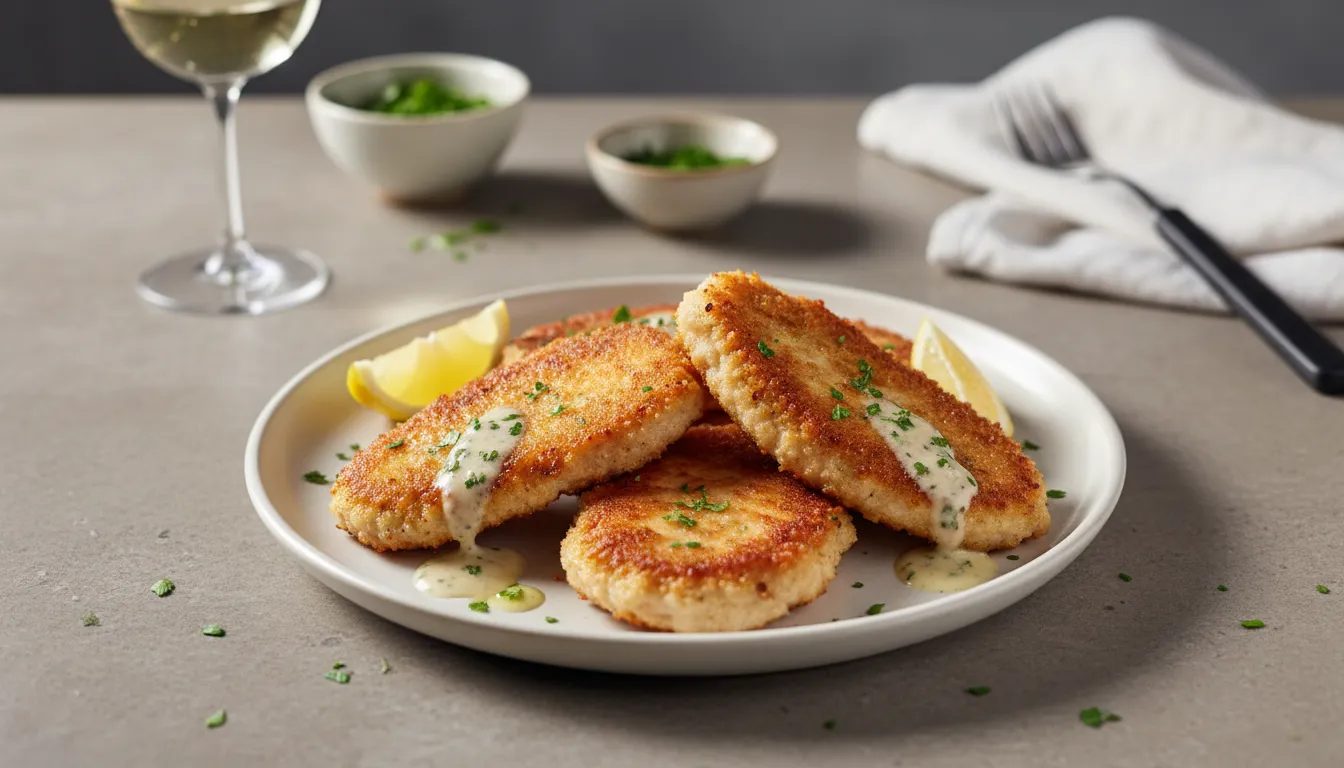
Turkey Piccata: After frying, make a quick sauce with lemon juice, capers, butter, and white wine in the same pan. Pour over cutlets.
Sandwich Style: Serve on ciabatta rolls with arugula, tomato, and garlic aioli.
Simple and Perfect: Just squeeze fresh lemon over the hot cutlets and serve with roasted vegetables.
Storage & Reheating
Refrigerator: Store in airtight containers with parchment paper between layers for 2-3 days. The coating softens but is still tasty.
Freezer: Not recommended. The coating gets soggy when frozen and reheated.
Reheating: Never microwave—it turns the coating rubbery. Instead, reheat in a 375°F oven on a wire rack set over a baking sheet for 8-10 minutes until warmed through and coating crisps up.
Best Practice: These are best eaten fresh. Make only what you’ll eat in one meal.
Frequently Asked Questions
Can I use chicken breast instead?
Absolutely. Pound chicken breast to ¼ inch and follow the same method. Cooking time stays the same.
Can I bake these instead of frying?
Yes. Place breaded cutlets on a greased wire rack over a baking sheet. Spray with cooking spray. Bake at 425°F for 12-15 minutes, flipping halfway.
Why is my coating falling off?
Either the cutlets were too wet (pat dry thoroughly), or you skipped the resting step after breading. That 5-minute rest is crucial for adhesion.
My turkey cutlets are done but the coating isn’t brown yet. What happened?
Your oil wasn’t hot enough. Increase the heat slightly and make sure the oil shimmers before adding meat.
Conclusion
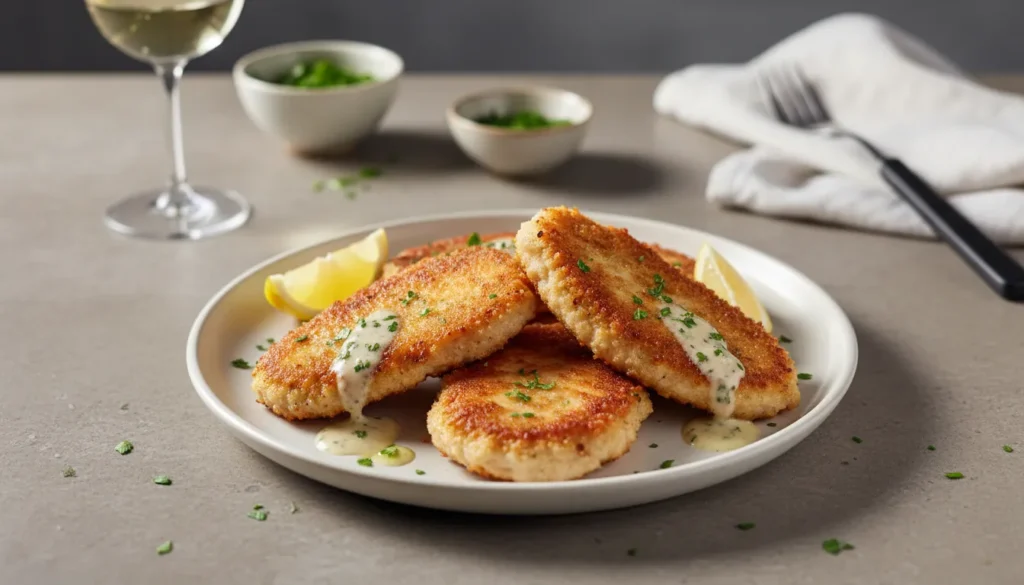
Golden, crispy turkey cutlets with a juicy interior prove that thin doesn’t mean dry. When you control thickness and cooking time, perfect pan-fried poultry is easy.
The secret is simple: pound evenly, heat properly, and flip once. That’s the difference between restaurant-quality cutlets and disappointing shoe leather.
Pin this recipe, leave a comment about your favorite topping, and tell me what quick dinner you want to master next!