Easy pie recipes: Best Beginner Apple Pie
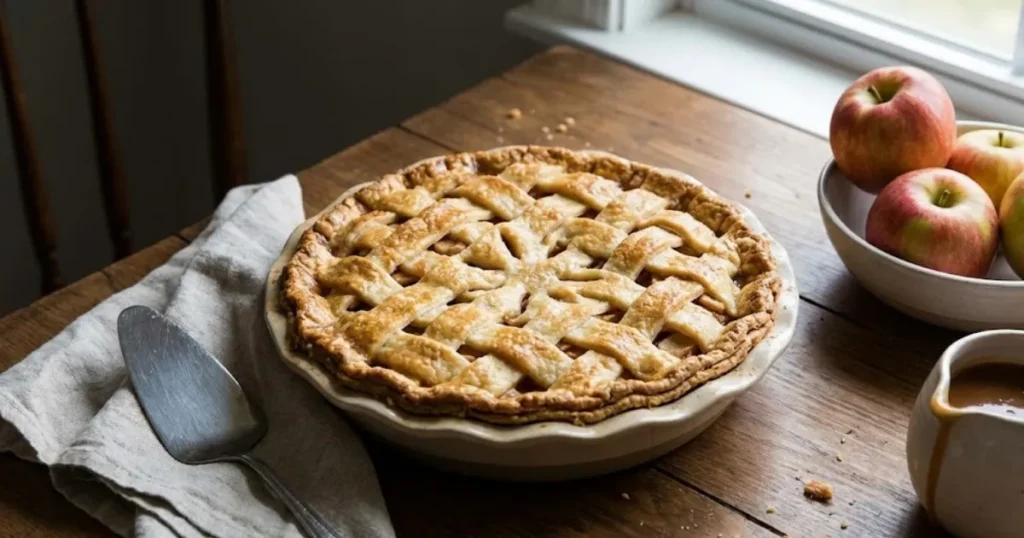
This beginner apple pie takes just 15 minutes of hands-on prep using store-bought pie crust and pre-sliced apples. Toss apples with sugar and cinnamon, pour into crust, top with second crust, and bake for 45 minutes. No rolling pins, no fancy lattice work, no pastry chef skills required—just delicious homemade pie.
It’s Sunday afternoon, and you just volunteered to “bring dessert” to tonight’s family dinner. Your mind immediately went to pie—specifically, that iconic American apple pie that makes you look like a domestic hero. Then reality hits: pie crust terrifies you, slicing apples sounds tedious, and most recipes require mysterious techniques like “blind baking” and “crimping edges.”
Here’s your dessert-saving secret: easy pie recipes don’t require culinary school or all afternoon in the kitchen. This beginner apple pie uses store-bought crust (no shame, pure genius), minimal ingredients, and comes together faster than you can debate whether to just buy one from the bakery for $20.
If you’re constantly scrambling for impressive dishes that don’t require impressive skills, our ultimate guide to quick meals has dozens of shortcuts that make you look better than you are.
Why this works: Pre-made refrigerated pie crusts eliminate the most intimidating part of pie-making, while using an apple slicer/corer tool (or even pre-sliced apples from the store) cuts prep time by 75%. You’re basically just assembling ingredients and letting the oven do the work.
Skip the bakery run. We’re making homemade apple pie in 15 minutes of actual effort.
Why This Apple Pie is a Weeknight Lifesaver
- 15 minutes hands-on time – The oven does the heavy lifting for 45 minutes while you relax
- Store-bought crust – No rolling pins, no chilled butter, no pastry anxiety
- Minimal ingredients – Apples, sugar, cinnamon, butter—likely in your kitchen already
- Beginner-friendly – If you can peel apples and open a box, you can make this
- Costs under $8 – vs. $20+ for bakery pies that taste identical
- Impressive presentation – Looks like you spent all day baking
- Make-ahead friendly – Bake the day before and reheat, or freeze unbaked
- Feeds a crowd – One pie serves 8 people generously
Ingredients & Swaps
The Basics: This recipe relies on refrigerated pie crusts (found in every grocery store dairy section), fresh apples, granulated sugar, and cinnamon—items you can grab in one quick shopping trip.
Flexible Swaps (Your Baking Emergency Kit):
- No pie crusts? Make a crumble topping instead (flour, butter, sugar, oats mixed together). Less intimidating than homemade crust.
- Apple varieties? Granny Smith (tart), Honeycrisp (sweet), or a mix. Avoid Red Delicious (they get mushy). Pre-sliced apples from the produce section work too.
- Out of cinnamon? Use apple pie spice, pumpkin pie spice, or just nutmeg. Even plain works if you’re desperate.
- No cornstarch? Use flour (double the amount) or tapioca starch. It’s just for thickening the juices.
- Butter substitute? Coconut oil or vegan butter work for dairy-free version.
- Want it easier? Use canned apple pie filling and skip all the slicing/seasoning. Just dump in crust and bake.
Ingredients List
For the Pie:
| Quantity | Ingredient |
|---|---|
| 2 (9-inch) | Refrigerated pie crusts (1 box, usually contains 2 crusts) |
| 6-7 medium | Apples (about 2.5 lbs), peeled and sliced thin |
| ¾ cup | Granulated sugar |
| 2 tablespoons | Cornstarch or all-purpose flour |
| 1 teaspoon | Ground cinnamon |
| ¼ teaspoon | Ground nutmeg (optional) |
| 1 tablespoon | Lemon juice (fresh or bottled) |
| 2 tablespoons | Butter, cut into small pieces |
| 1 | Egg, beaten (for egg wash) |
| 1 tablespoon | Coarse sugar (optional, for topping) |
Ingredients Notes
Pre-Prepped Items:
- Refrigerated pie crusts (Pillsbury): The ultimate shortcut. According to baking experts, store-bought crusts deliver 90% of the flavor with 10% of the effort. They’re pre-rolled, perfectly sized, and foolproof. Find them in the refrigerated section near butter.
- Apple slicer/corer tool: This $10 gadget turns 6 apples into uniform slices in 2 minutes. Press down, twist, done. Game-changer for pie-making.
- Pre-sliced apples: Some stores sell apples already peeled and sliced in bags (usually near pre-cut fruit). Not ideal for texture, but works if you’re truly desperate.
Flavor Bombs:
- Lemon juice on apples: Prevents browning and adds brightness that balances the sugar. According to Healthline’s guide to apples, the acid also helps break down the apple’s pectin, creating a better texture when baked.
- Cinnamon + nutmeg combo: This classic pairing creates that warm, cozy “apple pie spice” flavor we all crave. Cinnamon alone works, but nutmeg adds depth.
- Butter dots on filling: Small pieces of butter scattered on top of the filling melt during baking, creating rich pockets of flavor and helping everything meld together.
Step-by-Step Instructions
Recipe Card
🛠 Equipment Needed
- 9-inch pie dish
- large mixing bowl
- apple peeler/slicer (or knife)
- pastry brush
- aluminum foil
- baking sheet
Prep: Apples and Crust Setup
Start here: Preheat your oven to 400°F. Remove pie crusts from fridge and let them sit at room temperature for 10 minutes (makes them easier to work with).
Slice the apples: Peel, core, and thinly slice apples into ¼-inch pieces. Use an apple slicer tool for speed, or a knife if you’re patient. Aim for uniform thickness so they cook evenly.
The multitasking move: While apples sit, unroll one pie crust into a 9-inch pie dish. Press gently to fit, letting excess hang over the edges. No need to be perfect—rustic looks intentional.
The Method: Assemble the Pie
- Make the filling: In a large bowl, toss sliced apples with sugar, cornstarch, cinnamon, nutmeg (if using), and lemon juice. Mix until every slice is coated. This takes 2 minutes.
- Fill the crust: Pour the apple mixture into the prepared bottom crust. Arrange it in a mound (it will sink as it bakes). Dot the top with small pieces of butter scattered across the surface.
- Top it: Unroll the second pie crust and place it over the apples. Press the edges of the top and bottom crusts together. Trim excess dough with scissors, leaving about ½ inch overhang.
- Seal and vent: Fold the overhang under itself and crimp with a fork or your fingers (just press down—it doesn’t need to be fancy). Cut 4-5 slits in the top crust with a knife to let steam escape.
- The Shortcut: You’re using pre-made crust, which eliminates 30 minutes of making dough from scratch, 1 hour of chilling, and the stress of rolling it out. That’s nearly 2 hours saved.
Bake: Hands-Off Time
- Egg wash: Brush the top crust with beaten egg (makes it golden and shiny). Sprinkle with coarse sugar if you want extra sparkle.
- Protect the edges: Wrap the crimped edges with strips of aluminum foil or use a pie crust shield. This prevents them from burning while the center bakes.
- Bake: Place pie on a baking sheet (catches drips) and bake at 400°F for 20 minutes. Reduce heat to 350°F and bake for 35-40 minutes more until the crust is golden and filling is bubbly.
Finish: The Waiting Game
Remove from oven when you see thick apple juices bubbling through the vents. Let cool for at least 2 hours before slicing—this lets the filling set properly.
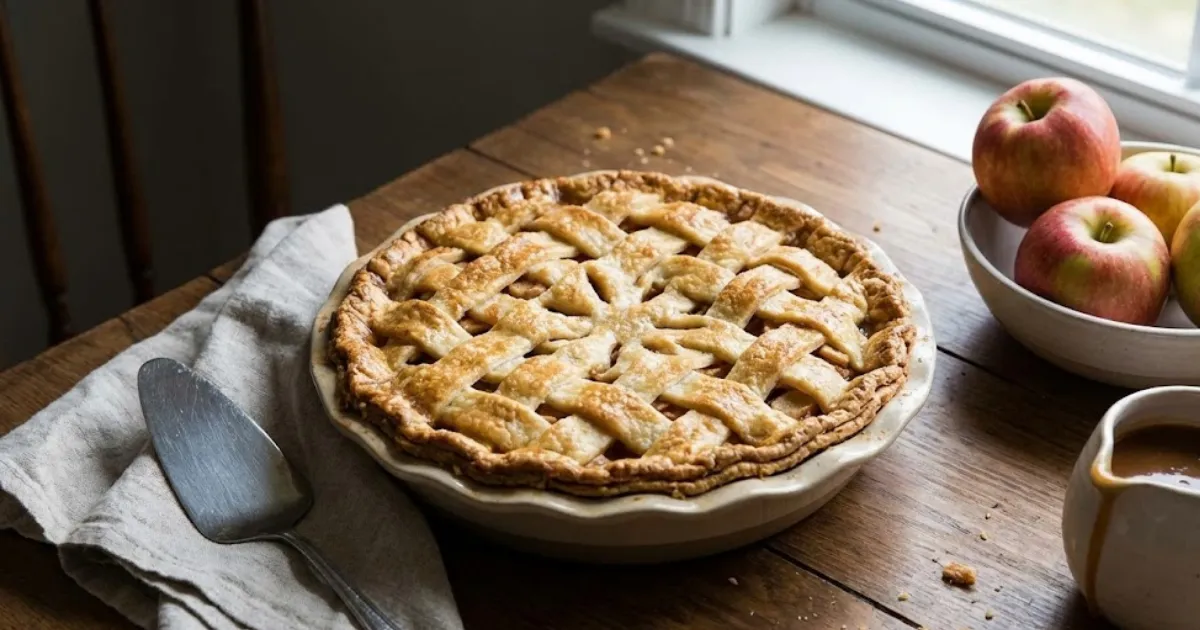
How to tell it’s perfect: The crust should be deep golden brown (not pale), the filling should be bubbling and thick (not watery), and your kitchen should smell like a candle store in October.
3 Tips for Faster Cleanup
- Tip 1: Baking Sheet Liner: Place pie on a parchment-lined baking sheet before baking. Any drips land on the parchment, not your oven. Crumple and toss—zero scrubbing.
- Tip 2: Mix in the Pie Dish: Toss apples with sugar and spices directly in the bottom crust using a large spoon. One less bowl to wash, same results.
- Tip 3: Disposable Pie Pan: Use a disposable aluminum pie pan for potlucks or gifts. Bake, serve, leave it—no dishes to retrieve later.
Serving Suggestions
Classic Pairings:
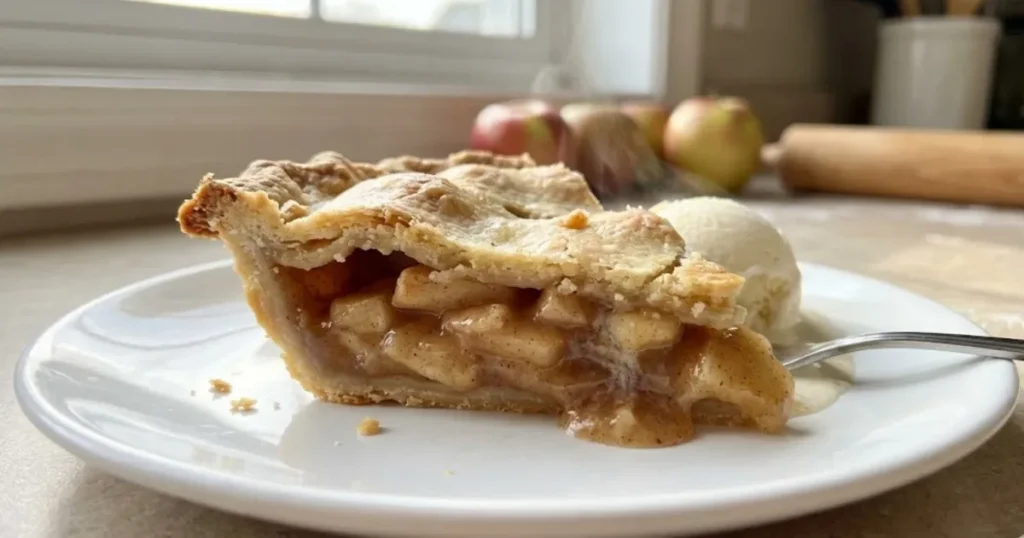
- Vanilla ice cream (mandatory in our opinion)
- Whipped cream (homemade or Cool Whip)
- Sharp cheddar cheese slices (surprisingly traditional and delicious)
- Caramel sauce drizzle
Make It Special:
- Warm it for 15 seconds in the microwave before serving with ice cream
- Add a scoop of cinnamon ice cream instead of vanilla
- Drizzle with salted caramel for gourmet vibes
- Serve with hot coffee or apple cider
Breakfast Pie (Yes, Really):
- Cold pie with coffee is a legitimate breakfast
- Warm slice with Greek yogurt instead of ice cream
- Pair with scrambled eggs for sweet-savory breakfast
Storage & Leftovers
Counter: Fresh-baked pie keeps at room temperature, covered loosely with foil, for 2 days. The crust stays crispier this way.
Fridge: Store covered for up to 5 days. The crust will soften slightly but the pie tastes just as good. Reheat individual slices in a 350°F oven for 10 minutes to crisp the crust.
Freezer: Freeze baked pie (cooled completely) wrapped in plastic wrap then foil for up to 3 months. Thaw in fridge overnight, reheat at 350°F for 20 minutes. Or freeze unbaked pie and bake from frozen (add 15-20 minutes to bake time).
Reheating Tips: Oven reheating (350°F for 10-15 minutes) is far superior to microwave for maintaining crispy crust. Microwave makes it soggy but works for quick leftovers.
Frequently Asked Questions
Can I make this ahead?
Yes! Bake the pie up to 2 days ahead and store at room temperature. Or assemble the unbaked pie, cover tightly, and refrigerate for up to 24 hours before baking. You can also freeze it unbaked for up to 3 months.
Why is my pie watery?
You either didn’t use enough thickener (cornstarch or flour), cut the apples too thick, or didn’t let it cool long enough. The filling needs 2+ hours to set properly. Patience is key.
Can I use a different fruit?
Absolutely! This method works for peach, cherry, blueberry, or mixed berry pies. Adjust sugar based on fruit sweetness and add 1 extra tablespoon of cornstarch for juicier fruits.
Do I really need the bottom crust?
For traditional double-crust pie, yes. But you can make an easier “apple crumble” with just the bottom crust topped with a streusel (butter, flour, sugar, oats mixed) instead of a top crust.
How do I prevent a soggy bottom?
Bake on the lowest oven rack so the bottom crust gets direct heat. Some bakers brush the bottom crust with egg white before adding filling as a moisture barrier.
Can I skip the egg wash?
Yes, but the crust won’t be as shiny and golden. Brush with milk or melted butter instead for similar (though less dramatic) results.
Conclusion
You just mastered one of the most intimidating easy pie recipes and proved that homemade doesn’t mean complicated. Fifteen minutes of prep, store-bought shortcuts, and you’ve got a dessert that looks like you spent all day baking—but only you know you didn’t.
The best part? When someone asks “Did you really make this from scratch?” you can honestly say yes (store-bought crust still counts as homemade in our book). That golden, cinnamon-scented, bubble-topped pie? That’s your achievement.
Looking for more impressive dishes with minimal effort? Our complete guide on what to cook for dinner has dozens of shortcuts that make everyday cooking feel like a win.
Impressed your guests? Rate this recipe 5 stars and tell us what you served it with!