Duck Leg Recipe: Best Crispy Oven Roast
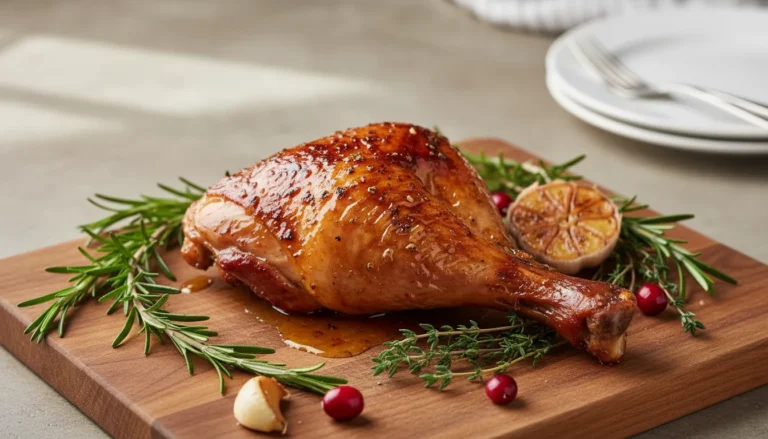
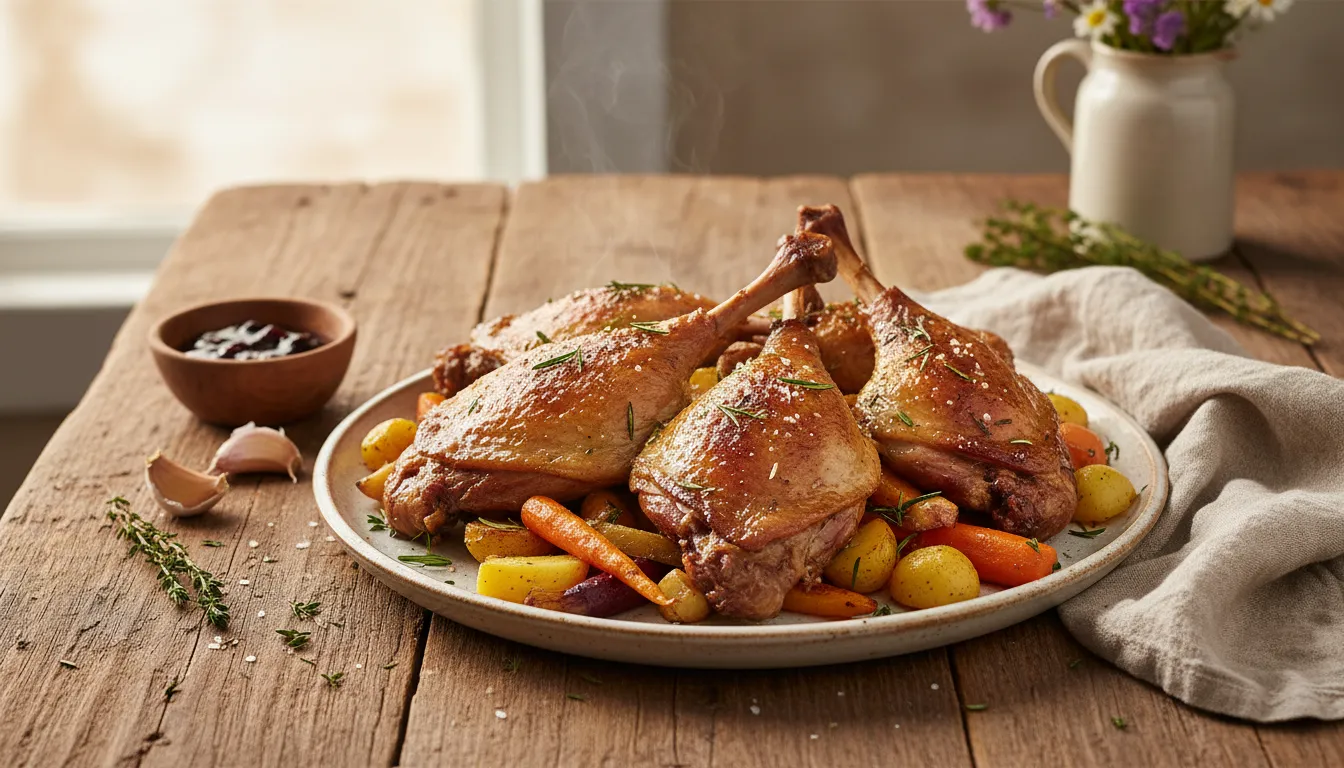
This duck leg recipe creates fall-off-the-bone meat with glass-crisp skin by scoring the skin, roasting at 425°F for 20 minutes to render fat, then reducing to 325°F for 90 minutes until tender. The key is the two-temperature method—high heat crisps the skin, low heat tenderizes the meat.
Rubbery duck leg skin that bends instead of shatters. Tough, chewy meat that requires a steak knife. The disappointment of bistro-style duck legs that fall short at home.
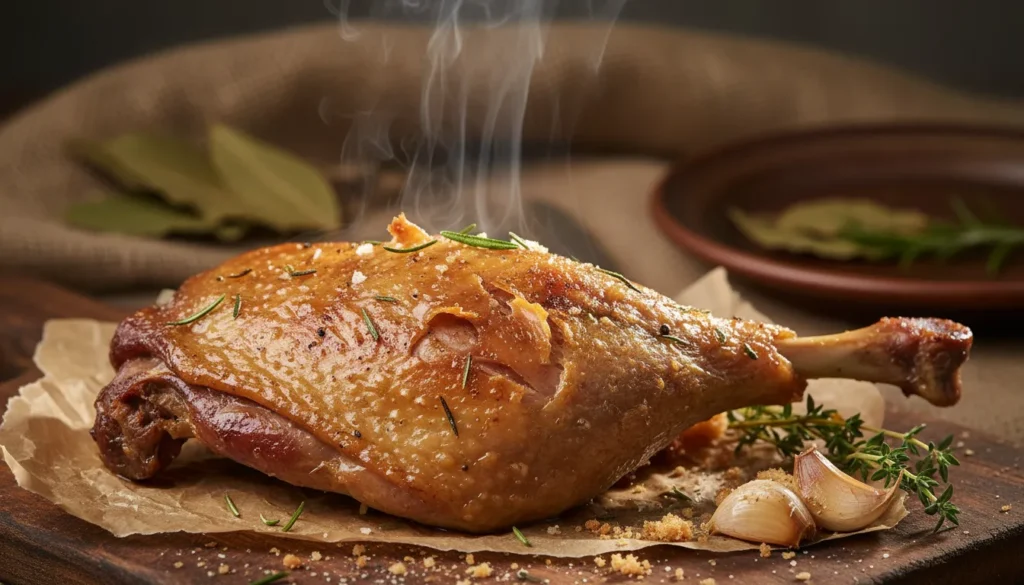
But duck legs with crackling-crisp skin that shatters like glass and meat so tender it falls off the bone? That’s achievable with the right two-step roasting method. This French bistro favorite is easier than you think.
The secret? High heat first renders the fat and crisps the skin, then low-and-slow breaks down collagen in the dark meat for fork-tender results. For more poultry techniques, explore our ultimate guide to cooking chicken techniques and tips.
Get ready for restaurant-quality duck legs from your home oven.
Why This Duck Leg Recipe Works
- Two-Temperature Magic: High-then-low creates both crisp and tender
- Dark Meat Advantage: Legs have more fat and collagen than breast
- Affordable: Duck legs cost less than whole duck or duck breast
- Bistro Authenticity: Classic French brasserie preparation
- Make-Ahead Friendly: Tastes even better reheated the next day
- Impressive: Looks and tastes like fine dining
Choosing the Best Duck Legs
Fresh vs. Frozen: Fresh duck legs have drier skin that crisps better. Frozen works if thawed completely in the refrigerator for 24 hours.
Size: Look for large duck legs (8-10 oz each). Small legs dry out before the collagen breaks down. Two legs per person for a main course.
Quality Check: Skin should be intact with a thick layer of yellow fat underneath. Avoid legs with tears or excessive bruising.
Safety First: Never wash duck legs. According to the USDA poultry safety guidelines, washing spreads bacteria. Roasting to 165°F eliminates all pathogens.
Ingredients List
| Quantity | Ingredient |
|---|---|
| 4 | Duck Legs (8-10 oz each) |
| 1 tbsp | Kosher Salt |
| 1 tsp | Black Pepper |
| 1 tsp | Dried Thyme |
| 1 tsp | Garlic Powder |
| ½ tsp | Smoked Paprika |
| 4 cloves | Garlic (smashed) |
| 4 sprigs | Fresh Rosemary |
| 2 | Bay Leaves |
Ingredients Notes
The Salt: Kosher salt is essential—use a generous amount to draw moisture from the skin for maximum crispness.
The Herbs: Thyme and rosemary are classic French pairings for duck. Fresh is better than dried for rosemary, but dried thyme works fine.
The Garlic: Smashed cloves roast alongside the legs, becoming sweet and spreadable. Don’t skip them.
No Oil Needed: Duck legs are so fatty that adding oil is unnecessary. They self-baste during roasting.
Step-by-Step Instructions
Recipe Card
🛠 Equipment Needed
- Roasting pan or cast iron skillet
- sharp knife
- instant-read thermometer
- fork
Prep the Duck Legs
Pat duck legs completely dry with paper towels. Any surface moisture prevents crispy skin.
Score the skin in a crosshatch pattern with a sharp knife. Make shallow cuts (don’t pierce the meat) about ½ inch apart. This allows fat to render out.
Prick all over with a fork, especially the thickest fatty areas. More holes = more fat escape routes = crispier skin.
Season aggressively on both sides with salt, pepper, thyme, garlic powder, and paprika. Really rub it into the skin.
Let sit at room temperature for 30 minutes while you preheat the oven. This ensures even cooking.
First Roast: High Heat
Preheat oven to 425°F. Position rack in the middle.
Place duck legs skin-side up in a roasting pan or cast iron skillet. Add smashed garlic cloves, rosemary sprigs, and bay leaves around (not on top of) the legs.
Roast for 20-25 minutes without opening the oven. The skin will start to turn golden and fat will render into the pan.
The skin should be sizzling and beginning to brown. This high heat jump-starts the fat rendering and begins the crisping process.
Second Roast: Low and Slow
Reduce oven temperature to 325°F without removing the pan.
Continue roasting for 90 minutes. The legs will slowly braise in their own fat, becoming incredibly tender.
After 90 minutes, check doneness. The skin should be deep mahogany brown and crackling-crisp.
The Doneness Test
Insert an instant-read thermometer into the thickest part of the leg without touching bone. It should read 165°F (74°C) minimum.
For maximum tenderness, duck legs can go to 175-180°F. The extra collagen in dark meat benefits from higher temps and becomes silky and tender.
Visual test: The meat should be pulling away from the bone. When you wiggle the leg, it should feel loose and jiggly, not tight.
The skin should shatter when you tap it with a spoon—literally making a cracking sound.
Resting
Remove from oven and let rest for 10 minutes. This allows the juices to redistribute.
Serve on the roasting pan or transfer to a platter. Don’t discard the rendered fat—save it for cooking.
3 Secrets for Glass-Crisp Skin
Secret #1: Score Deep and Prick Everywhere – The more escape routes you create for fat, the crispier the skin. Don’t be timid—really puncture that skin layer.
Secret #2: High Heat First, Low Heat Second – This order matters. Starting low means fat doesn’t render fast enough. Starting high crisps the skin, then low heat tenderizes the meat without burning.
Secret #3: Don’t Flip – Keep legs skin-side up the entire time. Flipping makes the crispy skin sit in fat and become soggy.
Serving Suggestions
Classic French: Serve with lentils du Puy, sautéed spinach, and roasted fingerling potatoes cooked in the duck fat.
Simple Bistro: Serve over mashed potatoes with the pan drippings as a simple jus.
Pan Sauce: Pour off most fat from the roasting pan. Add red wine and chicken stock, scrape up brown bits, reduce by half. Strain and serve over legs.
Duck Fat Bonus: Strain the rendered fat from the pan and save it. Use it to roast the most incredible potatoes, sauté vegetables, or fry eggs.
Storage & Reheating
Refrigerator: Store legs in airtight containers for 3-4 days. They actually taste better the next day as flavors deepen.
Freezer: Freeze for 2-3 months wrapped tightly in plastic wrap and foil.
Reheating: Place legs in a 375°F oven for 15-20 minutes until heated through and skin re-crisps. Don’t microwave—it ruins the crispy skin.
Make-Ahead: Roast legs completely, refrigerate, then reheat before serving. The skin will crisp up again.
Frequently Asked Questions
Can I use this method for chicken legs?
Yes, but reduce the low-heat roasting time to 45-60 minutes. Chicken has less fat and cooks faster than duck.
My skin is burning before the meat is done. What do I do?
Tent the legs with foil and continue roasting at 300°F until the meat reaches 165°F.
Can I add vegetables to the roasting pan?
Yes, but add them after the high-heat phase. Root vegetables like carrots, parsnips, and potatoes work well. They’ll cook in the rendered duck fat.
What do I do with all the rendered fat?
Strain it into a jar and refrigerate. It keeps for months and is the best cooking fat for potatoes, eggs, and vegetables.
Conclusion
Duck legs with glass-crisp skin and fall-off-the-bone meat prove that bistro-quality cooking is achievable at home. When you master the two-temperature method, you create French elegance without the fuss.
The formula is simple: score and prick, high heat then low, don’t flip. That’s how you roast perfect duck legs.
Pin this recipe, leave a comment about your crispy skin success, and tell me what bistro classic you want to master next!