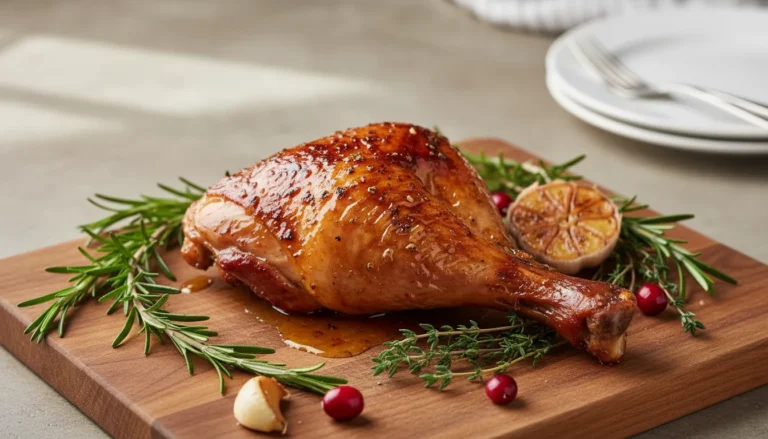
Bone in chicken breast recipes: Best Crispy Skin Roast
How to make crispy skin bone-in chicken breast: Pat the chicken completely dry, season generously with salt and let rest uncovered in the fridge for 1 hour, then roast at 425°F for 35-40 minutes until the skin is golden and crackling and the internal temperature reaches 165°F for juicy, restaurant-quality results.
Tired of bone in chicken breast recipes that promise crispy skin but deliver rubbery, pale disappointment? Or worse—dry, chalky meat that’s been roasted into oblivion? You’re not alone. The challenge with bone-in breasts is achieving that perfect balance: shatteringly crisp skin with meat so juicy it practically melts in your mouth.
The game-changer? Dry brining and proper oven temperature. This simple roasted chicken breast recipe uses a foolproof two-step method that renders the fat under the skin while keeping the meat incredibly moist. No fancy equipment, no complicated techniques—just science-backed cooking that works every single time.
For comprehensive techniques that work across all cuts and cooking methods, explore our ultimate guide to cooking chicken for tips that will transform your poultry game. Today, let’s master the best crispy skin bone-in chicken breast you’ve ever tasted—ready in under an hour with just 5 minutes of hands-on work.
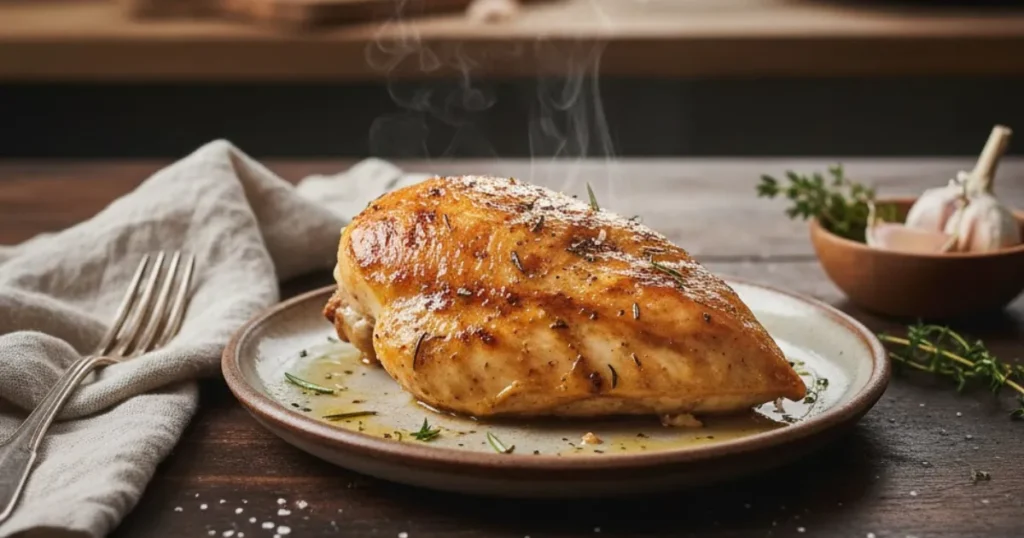
Why This Bone-In Chicken Breast Recipe is a Winner
- Foolproof Method: The dry brine guarantees crispy skin while naturally seasoning the meat
- Impressive Yet Easy: Looks and tastes like fine dining with minimal effort
- Budget-Friendly: Bone-in breasts cost 40% less than boneless and deliver superior flavor
- Meal Prep Champion: Scales beautifully for batch cooking and stays moist when reheated
- High-Protein Powerhouse: 50+ grams of protein per serving with healthy fats from the skin
Choosing the Best Chicken for This Recipe
Cut Selection: Bone-in, skin-on chicken breasts are essential for this recipe. The bone conducts heat to the interior, ensuring even cooking, while the skin protects the lean breast meat from drying out. Look for breasts weighing 10-12 ounces each—oversized ones (14+ oz) cook unevenly.
Quality Tips: Air-chilled chicken is worth seeking out. Unlike water-chilled birds, air-chilled poultry has drier skin that crisps beautifully. Organic or free-range options often have firmer texture and more developed flavor, but conventional chicken produces excellent results when properly cooked.
Prep Safety: Do not wash raw chicken before cooking. Rinsing spreads harmful bacteria like Salmonella across your sink, countertops, and nearby surfaces. Cooking to the proper internal temperature (165°F) is what eliminates pathogens, not water.
Ingredients List
| Quantity | Ingredient |
|---|---|
| 4 | Bone-in, skin-on chicken breasts (10-12 oz each) |
| 2 tsp | Kosher salt (plus more for dry brining) |
| 1 tsp | Black pepper, freshly ground |
| 1 tsp | Garlic powder |
| 1 tsp | Smoked paprika |
| ½ tsp | Onion powder |
| ½ tsp | Dried thyme or rosemary |
| 2 tbsp | Olive oil or melted butter |
| 1 | Lemon, cut into wedges (optional, for serving) |
Ingredients Notes
The Chicken: Trim any excess fat from the edges, but leave the skin intact—that’s where all the crispy, golden-brown magic happens. If your breasts are wildly different sizes, use a meat mallet to gently pound the thicker portions to match the thinner ones for even cooking.
The Dry Brine: Kosher salt is key here. Its coarse crystals dissolve slowly, drawing moisture to the surface of the skin, which then evaporates in the fridge. This process seasons the meat deeply while drying out the skin for maximum crispiness. Table salt is too fine and can over-salt the chicken.
The Spice Blend: This simple combination delivers warm, savory flavor without overpowering the natural chicken taste. Smoked paprika adds depth and a gorgeous russet color, while garlic powder and thyme provide classic roasted poultry notes. Feel free to customize with cayenne for heat or Italian seasoning for an herby twist.
Step-by-Step Instructions
Recipe Card
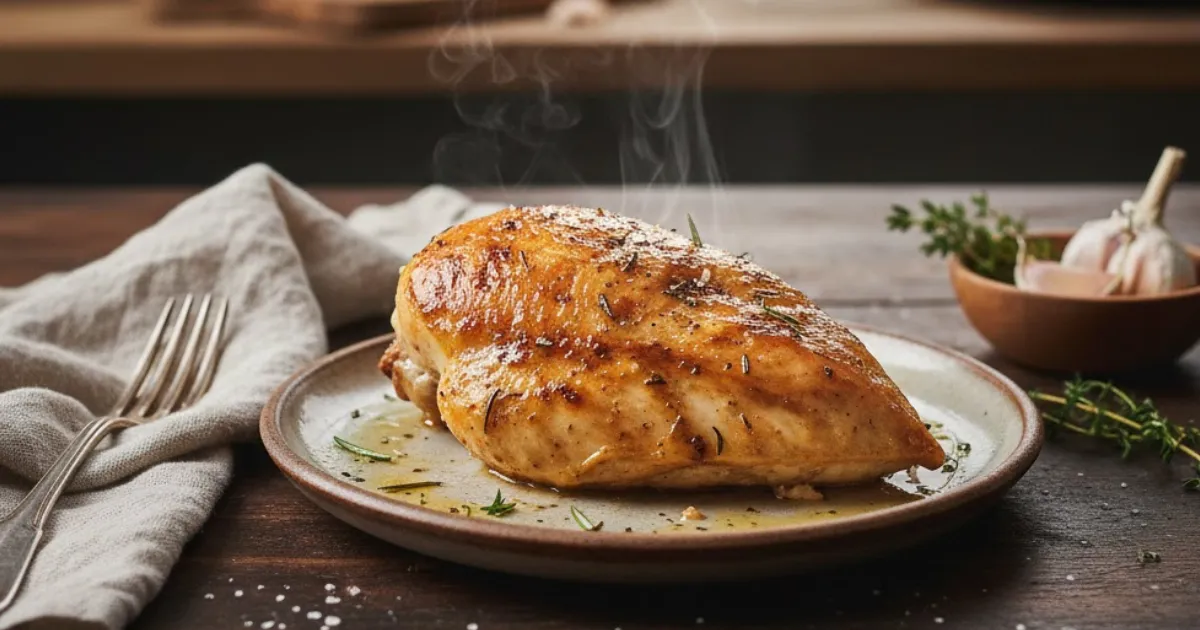
🛠 Equipment Needed
- Wire rack
- rimmed baking sheet
- instant-read meat thermometer
- small mixing bowl
- pastry brush (optional)
Preparation: The Dry Brine Secret
- Pat the chicken completely dry: Use paper towels to remove all surface moisture from the chicken, paying special attention to the skin. This is the single most important step for crispy skin.
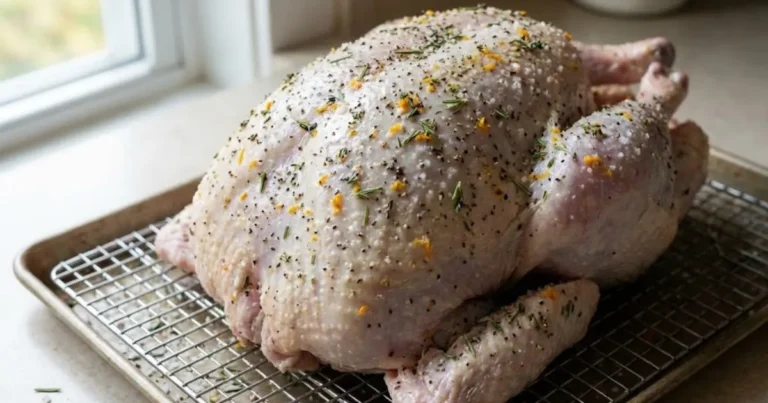
- Apply the dry brine: Sprinkle ½ teaspoon of kosher salt evenly over each chicken breast, covering both the skin side and underside. Place the breasts skin-side up on a wire rack set over a baking sheet.
- Refrigerate uncovered: Place the baking sheet in the refrigerator for 1-4 hours (or overnight for maximum crispiness). The cold air circulating around the chicken will dry out the skin while the salt seasons the meat. Don’t cover them—you want that moisture to evaporate.
- Season before roasting: Remove the chicken from the fridge 15 minutes before cooking to take the chill off. In a small bowl, combine the black pepper, garlic powder, smoked paprika, onion powder, and thyme. Brush or rub the chicken skin with olive oil, then sprinkle the spice blend evenly over the top.
The Cooking Method: High-Heat Roasting
- Preheat your oven: Set the oven to 425°F (220°C). Position the rack in the center of the oven.
- Roast skin-side up: Place the seasoned chicken breasts (still on the wire rack and baking sheet) in the preheated oven. The wire rack allows hot air to circulate underneath, preventing soggy bottoms.
- Monitor the roast: Cook for 35-40 minutes for medium-sized breasts (10-12 oz). The skin should turn deep golden brown with visible crisping and bubbling. You’ll hear the fat sizzling and rendering during cooking—this is exactly what you want.
How to Know It’s Done: Trust the Thermometer
- Check the internal temperature: Insert an instant-read meat thermometer into the thickest part of the breast, avoiding the bone. According to the USDA food safety guidelines, chicken must reach 165°F (74°C) internally. At this temperature, the meat will be juicy and safe to eat. Going beyond 170°F risks dry, stringy texture.
Resting: The Final Critical Step
- Rest before serving: Transfer the chicken to a clean plate and tent loosely with aluminum foil. Let it rest for 8-10 minutes. This allows the juices to redistribute throughout the meat instead of flooding out when you slice. The internal temperature will also rise another 5 degrees during resting.
- Serve immediately: The skin is at peak crispiness right after resting. Serve with lemon wedges for brightness.
Expert Tips for Juicy Chicken
Tip 1: Air-Drying is Non-Negotiable. If you skip the refrigerated dry brine, at minimum pat the chicken dry and let it sit uncovered at room temperature for 30 minutes. Moisture is the enemy of crispy skin.
Tip 2: Use a Wire Rack. Roasting directly on a baking sheet creates steam underneath, resulting in soggy skin. The wire rack elevates the chicken, allowing hot air to crisp all surfaces evenly.
Tip 3: A Meat Thermometer is the Only Reliable Method. Visual cues like “clear juices” or “white meat” are unreliable. Bone-in chicken can look done on the outside while being undercooked near the bone. A $15 instant-read thermometer eliminates all guesswork.
Tip 4: Don’t Flip the Chicken. Keep it skin-side up the entire time. Flipping releases precious rendered fat and prevents maximum crispness.
Serving Suggestions
Carb Pairings:
- Garlic Herb Roasted Potatoes: Toss baby potatoes with olive oil and roast alongside the chicken
- Creamy Mashed Cauliflower: A low-carb alternative that soaks up the pan juices beautifully
- Wild Rice Pilaf: Nutty grains with dried cranberries and toasted pecans
Veggie Pairings:
- Roasted Brussels Sprouts: Caramelized edges complement the crispy chicken skin
- Lemon-Butter Green Beans: Simple and bright to balance the rich poultry
- Arugula Salad: Peppery greens with shaved Parmesan and balsamic
Storage & Leftovers
Fridge: Store cooled chicken in an airtight container for 3-4 days. To preserve some crispiness, store the chicken uncovered for the first hour of cooling before covering tightly.
Reheating: For the best results, reheat in a 375°F oven for 12-15 minutes to re-crisp the skin. Alternatively, use an air fryer at 350°F for 8-10 minutes. The microwave will warm the meat but sacrifices the crispy skin entirely—add a splash of chicken broth if microwaving to prevent drying.
Freezing: While you can freeze cooked chicken for up to 3 months, the skin will lose its crispiness upon thawing. Best for shredding and using in soups or casseroles.
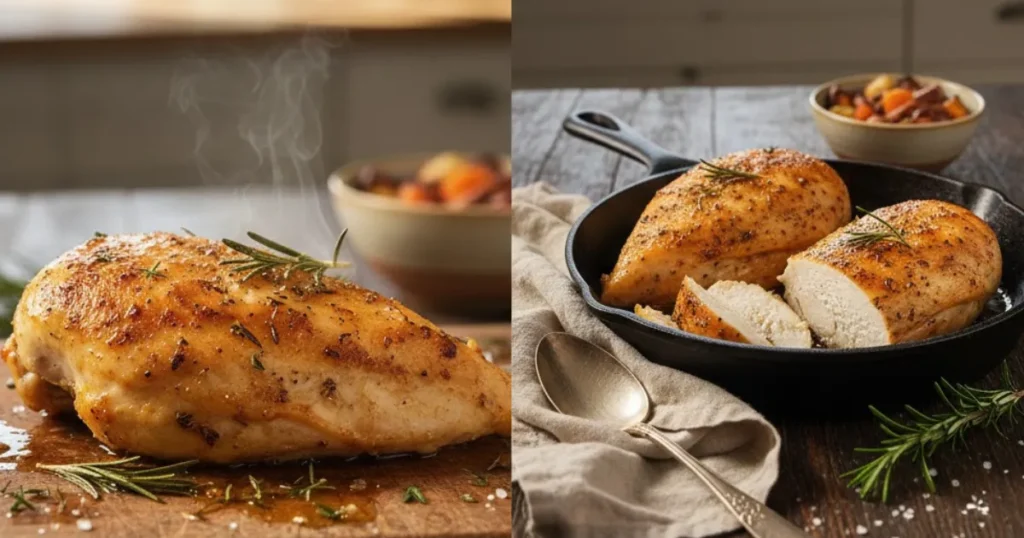
Frequently Asked Questions
- Can I use frozen chicken? Yes, but thaw it completely in the refrigerator first (24-48 hours for bone-in breasts). Never thaw at room temperature. Pat it extremely dry before dry brining, as frozen chicken releases more water.
- Can I use boneless, skinless breasts instead? This recipe is specifically designed for bone-in, skin-on breasts. Boneless breasts cook much faster (20-25 minutes) and lack the protective skin and bone, making them prone to drying out. Try a different cooking method like pan-searing for boneless cuts.
- How do I make the skin extra crispy? Extend the dry brining time to overnight (8-12 hours). You can also finish the chicken under the broiler for the last 2-3 minutes of cooking, watching carefully to prevent burning.
- What if my chicken breasts are different sizes? Cook to temperature, not time. Remove smaller breasts when they hit 165°F and return the larger ones to the oven. This prevents overcooking the smaller pieces.
Conclusion
Mastering bone in chicken breast recipes doesn’t require culinary school training—just understanding the science of dry brining and high-heat roasting. This crispy skin roast proves that with proper technique, bone-in breasts can be juicier, more flavorful, and more impressive than their boneless counterparts.
The secret lies in patience (that dry brine makes all the difference), a reliable thermometer (no more guessing games), and trusting the resting period (those juices need time to settle). Once you nail this foundational technique, you’ll have a weekly dinner staple that never gets boring.
Want to explore more foolproof methods for every chicken cut and cuisine? Dive into our chicken cooking techniques and tips for comprehensive guidance that takes the stress out of poultry.
Now preheat that oven and experience the crispiest, most succulent chicken breast you’ve ever made! Leave a 5-star rating below if this recipe delivers restaurant-quality results to your table.