Chicken and biscuits recipe: Best Creamy Casserole
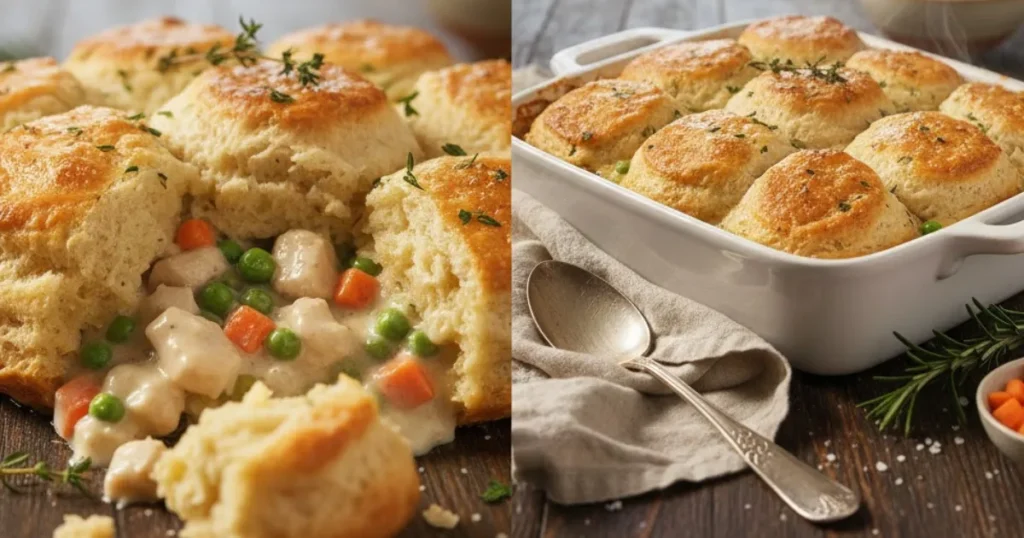
How to make chicken and biscuits: Cook seasoned chicken pieces in a creamy sauce with vegetables, pour into a baking dish, top with biscuit dough, and bake at 375°F for 25-30 minutes until the biscuits are golden brown and the chicken reaches 165°F for a comforting, one-dish meal.
Ever made a chicken and biscuits recipe only to bite into dry, overcooked chicken buried under soggy, undercooked dough? It’s the ultimate comfort food letdown—what should be creamy, tender, and soul-warming turns into a disappointing mess that no amount of gravy can save.
The solution lies in a two-stage cooking method that guarantees perfectly cooked chicken and fluffy, golden-brown biscuits every time. This creamy casserole version cooks the chicken gently in a rich sauce before the biscuits even touch the oven, ensuring the meat stays juicy while the topping bakes to perfection.
The secret? Poaching the chicken in the sauce allows it to cook slowly and evenly, absorbing flavor while staying incredibly moist. The biscuits then bake on top in the oven’s dry heat, emerging crispy on the outside and fluffy within. For more techniques on achieving tender, flavorful poultry in any dish, explore our ultimate guide to cooking chicken. Now let’s make the best chicken and biscuits you’ve ever tasted—a one-dish wonder that’s pure comfort in every bite.
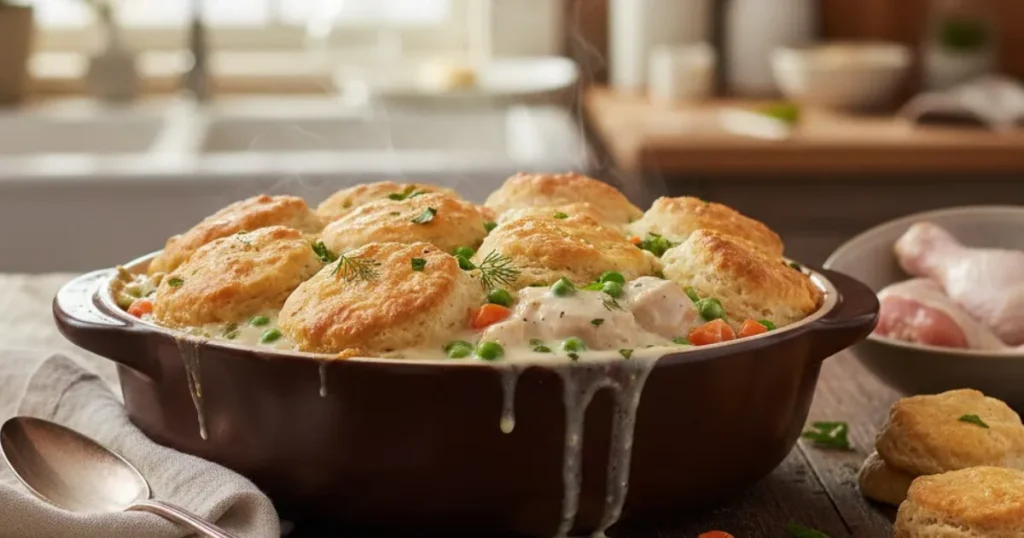
Why This Chicken and Biscuits Recipe is a Winner
- Ultimate Comfort Food: Creamy, hearty, and satisfying—perfect for cold evenings or when you need a hug in food form
- One-Dish Convenience: Everything cooks in a single baking dish, meaning minimal cleanup
- Family-Friendly: Even picky eaters devour this—mild flavors and familiar ingredients
- Budget-Savvy: Uses affordable chicken and pantry staples to feed a crowd
- Make-Ahead Magic: Prepare the filling hours in advance and add biscuits right before baking
Choosing the Best Chicken for This Recipe
Cut Selection: Boneless, skinless chicken thighs are my top recommendation for this chicken and biscuits recipe. They stay moist during the poaching process and their richer flavor stands up to the creamy sauce. However, boneless, skinless chicken breasts work beautifully if you prefer leaner meat—just cut them into uniform 1-inch pieces and monitor cooking time closely to avoid dryness.
Quality Tips: While air-chilled or organic chicken offers superior texture and flavor, this recipe is forgiving enough that conventional chicken produces excellent results. The key is cutting the meat into evenly sized pieces so everything cooks at the same rate.
Prep Safety: Do not wash raw chicken before cooking. Rinsing spreads harmful bacteria like Salmonella and Campylobacter across your sink, countertops, and utensils. Cooking the chicken to a safe internal temperature of 165°F (which we’ll do in this recipe) is what eliminates pathogens, not water.
Ingredients List
| Quantity | Ingredient |
|---|---|
| 1.5 lbs | Boneless, skinless chicken thighs or breasts, cut into 1-inch pieces |
| 3 tbsp | Butter |
| 1 | Medium onion, diced |
| 2 | Carrots, peeled and diced |
| 2 | Celery stalks, diced |
| 3 cloves | Garlic, minced |
| ⅓ cup | All-purpose flour |
| 2 cups | Chicken broth (low-sodium) |
| 1 cup | Whole milk or heavy cream |
| 1 cup | Frozen peas |
| 1 tsp | Dried thyme |
| 1 tsp | Salt |
| ½ tsp | Black pepper |
| ¼ tsp | Garlic powder |
| 1 can (16 oz) | Refrigerated biscuit dough (8 biscuits) OR homemade biscuits |
| 2 tbsp | Fresh parsley, chopped (optional, for garnish) |
Ingredients Notes
The Chicken: Cut all pieces to uniform 1-inch cubes to ensure even cooking. If using chicken breasts, consider cutting them slightly smaller (¾-inch) since breast meat cooks faster and can dry out more easily than thighs.
The Creamy Base: The combination of butter, flour, and liquid creates a classic roux-based sauce that’s rich without being heavy. Using chicken broth as the base adds depth, while milk or cream provides luxurious body. For a lighter version, use all milk; for indulgent comfort, use half-and-half or heavy cream.
The Vegetables: Carrots, celery, and onion form the classic mirepoix base that appears in countless comfort foods. They add sweetness, texture, and nutritional value. Frozen peas go in at the end to prevent mushiness—they’ll cook through in the oven.
The Biscuits: Refrigerated biscuit dough makes this recipe weeknight-friendly, but homemade buttermilk biscuits take it to the next level. Either way, don’t skimp on this topping—it’s what makes chicken and biscuits iconic.
Step-by-Step Instructions
Recipe Card
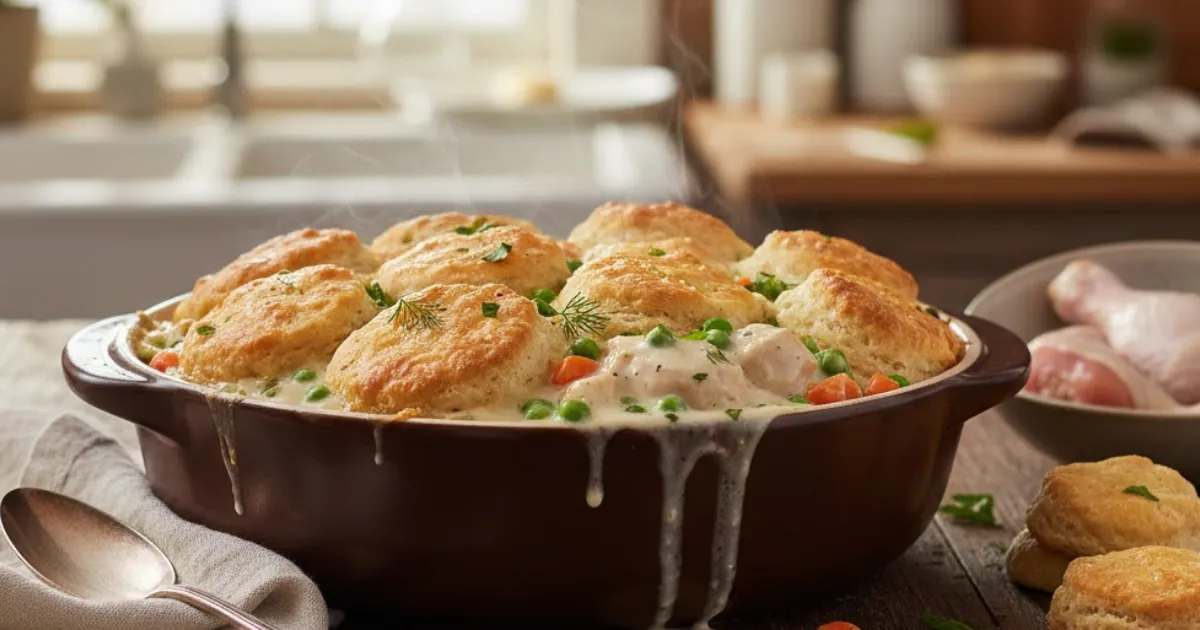
🛠 Equipment Needed
- Large oven-safe skillet (10-12 inch) or Dutch oven
- 9x13-inch baking dish (if skillet isn't oven-safe)
- whisk
- instant-read meat thermometer
- cutting board
- chef's knife
Preparation: Building the Flavorful Base
- Preheat your oven: Set the oven to 375°F (190°C).
- Prep the chicken: Cut the chicken into uniform 1-inch pieces and pat dry with paper towels. Season lightly with salt and pepper.
- Sauté the vegetables: In a large, oven-safe skillet or deep sauté pan (at least 10-12 inches), melt the butter over medium heat. Add the diced onion, carrots, and celery. Cook for 5-6 minutes, stirring occasionally, until the vegetables soften and the onion becomes translucent. Add the minced garlic and cook for another 30 seconds until fragrant.
The Cooking Method: Creating the Creamy Sauce
- Make the roux: Sprinkle the flour over the vegetables and stir continuously for 1-2 minutes. This cooks out the raw flour taste and creates a base for thickening. The mixture should look slightly golden and paste-like.
- Add the liquids gradually: Slowly pour in the chicken broth while whisking constantly to prevent lumps. Once smooth, add the milk or cream, still whisking. Bring the mixture to a gentle simmer—you’ll see it start to bubble around the edges and thicken noticeably, about 3-4 minutes.
- Season and add chicken: Stir in the thyme, salt, pepper, and garlic powder. Add the raw chicken pieces to the sauce, stirring to coat. Let the mixture simmer gently for 8-10 minutes, stirring occasionally, until the chicken is mostly cooked through but not quite done (it will finish in the oven).
- Check the temperature: Use a meat thermometer to check a few pieces—they should read around 155-160°F at this stage. According to the USDA food safety guidelines, chicken must reach 165°F (74°C) for safe consumption, which it will during baking.
- Add the peas: Stir in the frozen peas. The residual heat will begin thawing them.
Assembling and Baking: The Final Touch
- Transfer to baking dish (if needed): If your skillet isn’t oven-safe, pour the chicken mixture into a greased 9×13-inch baking dish. If your skillet is oven-safe, you can proceed directly to adding biscuits.
- Top with biscuits: Arrange the biscuit dough on top of the chicken mixture, spacing them evenly. They’ll expand during baking, so slight gaps are fine—they’ll mostly close up.
- Bake: Place in the preheated oven and bake for 25-30 minutes, until the biscuits are golden brown on top and cooked through. The filling should be bubbling around the edges.
How to Know It’s Done: Safety First
- Check the temperature: Insert a meat thermometer into several chicken pieces (not just the sauce). They should read 165°F (74°C) minimum. The biscuits should be firm to the touch and golden on top.
Resting: Letting Flavors Settle
- Rest before serving: Remove from the oven and let the casserole rest for 5 minutes. This allows the sauce to thicken slightly and makes serving easier.
- Garnish and serve: Sprinkle with fresh chopped parsley if desired, and serve hot directly from the baking dish.
Expert Tips for Juicy Chicken
Tip 1: Don’t Overcook During the Simmer. The chicken will continue cooking in the oven, so aim for 155-160°F during the stovetop simmer. This prevents dry, rubbery meat in the final dish.
Tip 2: Use an Oven-Safe Skillet. Cast iron or stainless steel skillets that can go from stovetop to oven eliminate the need to transfer the mixture, saving time and reducing mess.
Tip 3: A Meat Thermometer is Essential. Casseroles make it tricky to judge doneness visually. Always verify that multiple chicken pieces have reached 165°F before serving.
Tip 4: Prevent Soggy Biscuits. Make sure the filling is gently bubbling (not boiling vigorously) when you add the biscuits. Excess moisture can prevent the bottoms from cooking properly. If the sauce seems too thin, let it simmer a bit longer before adding biscuits.
Tip 5: Space Biscuits Properly. Don’t overcrowd—leave small gaps between biscuits for even heat circulation and maximum golden-brown surface area.
Serving Suggestions
Carb Pairings:
- Simple Green Salad: The fresh, crisp greens balance the rich, creamy casserole
- Buttered Egg Noodles: For those who want extra carbs (no judgment!)
- Garlic Bread: Perfect for sopping up every drop of that luscious sauce
Veggie Pairings:
- Roasted Asparagus: A slightly bitter counterpoint to the creamy filling
- Honey-Glazed Carrots: Add sweetness and color to your plate
- Steamed Broccoli: Classic comfort food pairing that adds nutrition
Storage & Leftovers
Fridge: Store cooled chicken and biscuits in an airtight container for 3-4 days. Be aware that biscuits will soften over time as they absorb moisture from the sauce.
Reheating: Reheat individual portions in the microwave at 50% power for 2-3 minutes, adding a splash of milk or broth to refresh the sauce. For best results, reheat the entire dish covered with foil in a 350°F oven for 20-25 minutes until warmed through. You can re-crisp biscuit tops by removing the foil for the last 5 minutes.
Freezing: This casserole freezes reasonably well for up to 2 months, though biscuits lose some of their fluffy texture. Freeze the chicken filling separately and add fresh biscuits when reheating for optimal results. Thaw overnight in the refrigerator before reheating.
Frequently Asked Questions
Can I use frozen chicken? Thaw it completely in the refrigerator first (never at room temperature). Frozen chicken releases excess water that can make your sauce watery. Pat it very dry before cutting and adding to the sauce.
Can I make homemade biscuits instead of store-bought? Absolutely! Homemade buttermilk biscuits elevate this dish significantly. Use your favorite recipe or a simple drop biscuit that requires no rolling. Just spoon the dough on top of the filling before baking.
Can I use rotisserie chicken? Yes, for an even faster version! Use 3 cups of shredded rotisserie chicken. Skip the stovetop chicken-cooking step and simply add the shredded meat to the finished sauce, then proceed with adding biscuits and baking. Reduce baking time to 20-25 minutes since the chicken is already cooked.
What if I don’t have an oven-safe skillet? No problem—just transfer the chicken mixture to a greased 9×13-inch baking dish before topping with biscuits. The recipe works exactly the same way.
Conclusion
This chicken and biscuits recipe proves that comfort food doesn’t have to be complicated or risky. By poaching the chicken gently in the sauce before baking, you eliminate the guesswork and guarantee tender, juicy meat every time. The golden-brown biscuit topping transforms this from simple chicken stew into an impressive, soul-satisfying casserole.
The keys to success? Uniform chicken pieces, a properly thickened sauce, and always—always—checking that internal temperature before serving. Master this foolproof method once, and you’ll have a go-to recipe for busy weeknights, potlucks, and anytime you need the warm embrace of classic comfort food.
Want to expand your chicken cooking confidence beyond casseroles? Check out our comprehensive chicken cooking techniques and tips for methods that work across every cut and cuisine.
Now grab that skillet and let the comforting aromas fill your kitchen! Leave a 5-star rating below if this recipe becomes a family favorite.