Steak in the Oven: How to Get a Good Sear
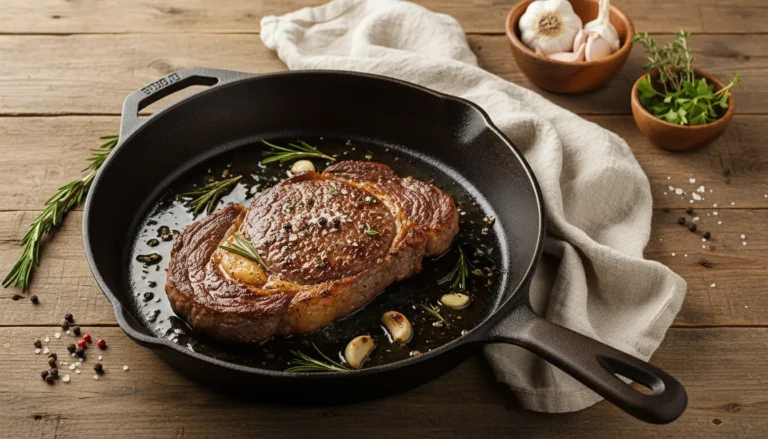
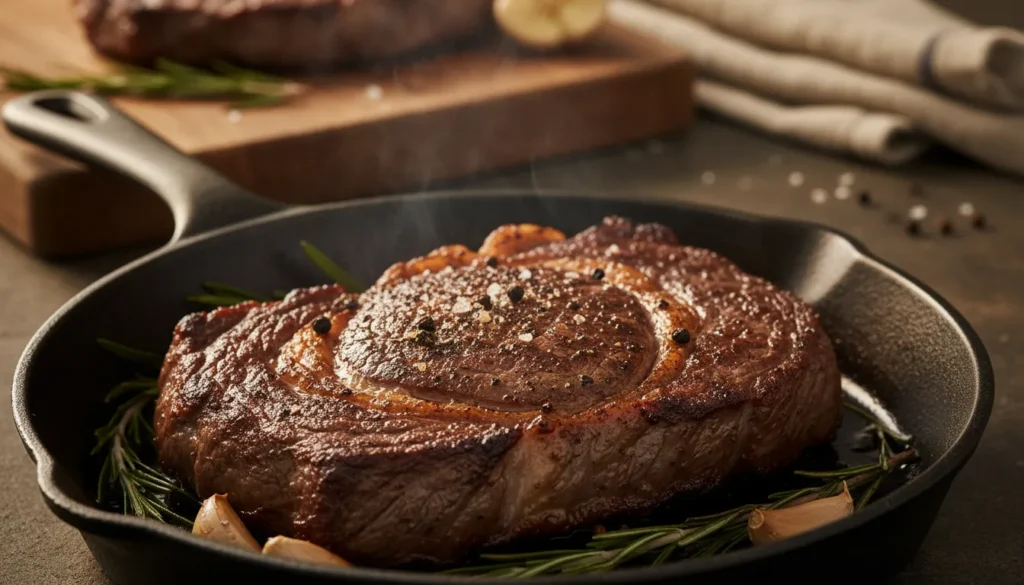
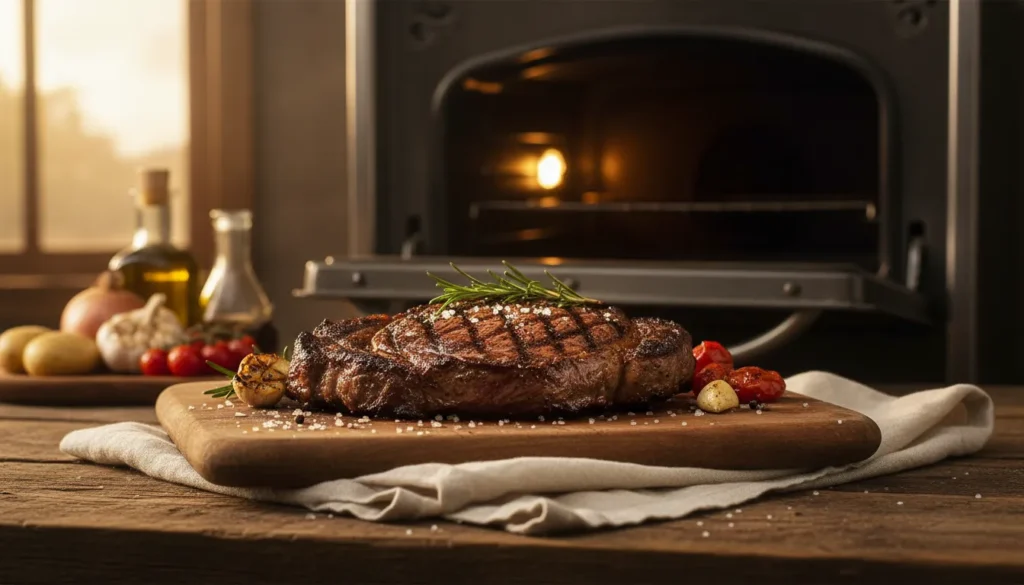
Start with a blistering-hot cast iron skillet on the stovetop to sear steak 2 minutes per side, developing deep crust. Transfer the entire pan to a 400°F preheated oven to finish cooking gently for 6-10 minutes until internal temperature reaches 130-135°F. This hybrid method delivers restaurant-quality crust with perfect edge-to-edge doneness.
You’ve attempted stovetop-only steaks and ended up with a charred exterior wrapped around a disappointingly raw center. Or worse, you’ve baked steaks in the oven and wondered why they lack that crucial caramelized crust that defines steakhouse quality. The frustration of choosing between proper searing and even cooking has plagued home cooks for generations—until you understand the hybrid approach.
The solution is combining techniques: intense stovetop heat for crust development, then gentle oven heat for controlled finishing. This steak in the oven method is exactly how professional steakhouses achieve those perfectly cooked, deeply crusted steaks. Cast iron’s heat retention makes it ideal—the pan transitions seamlessly from stovetop to oven, maintaining consistent temperature throughout.
The beauty of this technique is that it separates the two goals: building flavor through the Maillard reaction on the stovetop, then achieving precise doneness in the oven’s surrounding heat. No more guessing when to flip, no more grey bands of overcooked meat, no more choosing between crust and doneness. For comprehensive information on selecting cuts that benefit most from this method, visit our ultimate guide to beef steak cuts.
Grab your cast iron skillet and preheat that oven. We’re making steakhouse-quality steak in the oven with a perfect sear.
Why This Hybrid Steak in the Oven Method Beats Stovetop-Only
- Restaurant-quality crust from intense stovetop heat
- Even cooking from oven’s radiant heat surrounding the meat
- Minimal grey band between crust and pink center
- Consistent results regardless of steak thickness
- Foolproof technique separates crust-building from temperature control
- Works with any thickness from 1 to 2+ inches
- Hands-free oven time lets you prepare sides without anxiety
Choosing the Best Steak for This Method
The Cut: Thick-cut ribeye, New York strip, or filet mignon (1.5 to 2 inches) are ideal candidates for this steak in the oven approach. The method specifically solves the problem of thick steaks that can’t cook through on stovetop alone without burning the exterior. T-bone and porterhouse work but cook less evenly due to bone.
Thickness is Critical: This technique shines with steaks 1.5 inches or thicker. Thinner steaks (under 1 inch) cook through entirely on the stovetop and don’t benefit from oven finishing—they’d overcook. If your steaks are 3/4 to 1 inch thick, stick with stovetop-only cooking.
Marbling Matters: Well-marbled cuts (Choice or Prime grade) remain moist during the extended cooking time. According to the USDA’s beef marbling standards, intramuscular fat bastes the meat from within as it renders in the oven’s dry heat, preventing the dryness that can affect lean cuts.
Buying Tips: Request 1.5 to 2-inch cuts from your butcher. Pre-packaged steaks rarely exceed 1 inch. Look for even thickness from end to end—tapered steaks cook unevenly with thin ends becoming well-done while thick portions reach medium-rare.
Ingredients List
| Quantity | Ingredient |
|---|---|
| 2 (14-16 oz) | Thick-cut ribeye or NY strip steaks (1.5-2 inches) |
| 2 tbsp | High-heat oil (avocado or canola) |
| 3 tbsp | Unsalted butter |
| 4 cloves | Fresh garlic, smashed |
| 4 sprigs | Fresh thyme or rosemary |
| 2 tsp | Kosher salt |
| 1 tsp | Coarse black pepper |
| 1/2 tsp | Garlic powder (optional) |
Ingredients Notes
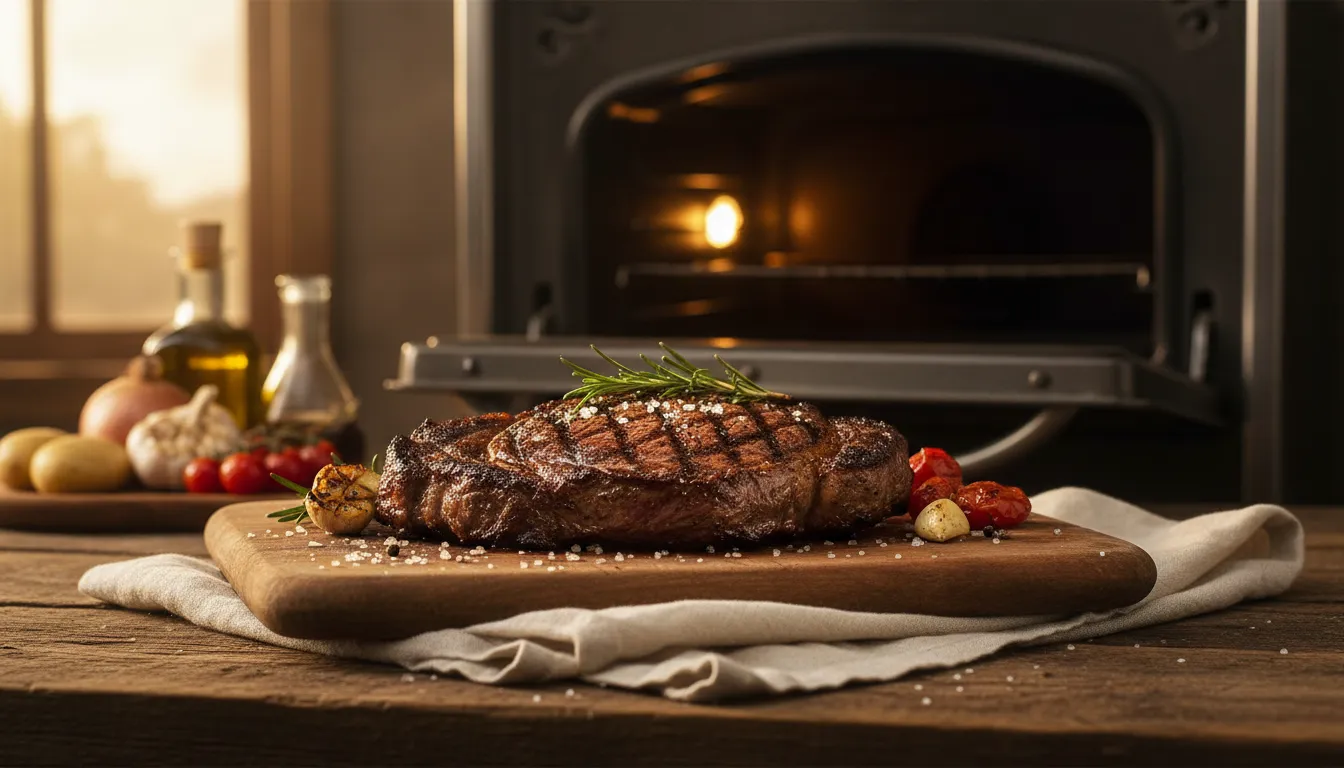
The Cast Iron: This method requires an oven-safe pan. Cast iron is ideal because it retains heat when transferring from stovetop to oven, maintaining the cooking momentum. Heavy stainless steel works but lacks cast iron’s thermal mass. Never use pans with plastic or wooden handles.
The Oil: Avocado oil’s 520°F smoke point handles the screaming-hot stovetop sear without burning. Grapeseed (420°F) or refined peanut oil (450°F) work as alternatives. Butter alone burns before reaching proper searing temperature.
The Salt Timing: For thick steaks, salt 40-60 minutes ahead and rest uncovered at room temperature. This dry-brining draws surface moisture out, creating the dry exterior essential for crust development. Alternatively, salt immediately before searing if short on time.
The Butter Addition: Butter goes in after the stovetop sear, before oven transfer. In the oven’s gentler heat, it bastes the steak without burning as it would under direct stovetop flame.
Step-by-Step Instructions: Steak in the Oven with Perfect Sear
Recipe Card
🛠 Equipment Needed
- Oven-Safe Cast Iron Skillet (10-12 inch)
- Instant-Read Thermometer
- Kitchen Tongs
- Oven Mitts
- Basting Spoon
Prep & Dry Brining
Remove steaks from refrigeration 45-60 minutes before cooking. Thick cuts need more time than thin ones to reach room temperature throughout. Cold centers cook unevenly.
Pat both sides bone-dry with paper towels. For thick steaks, this step is even more critical—any moisture creates steam instead of sear.
Season both sides generously with kosher salt and black pepper. Press seasoning into the meat. The salt should be visible on the surface. For deeper flavor, do this 40-60 minutes ahead; otherwise, season immediately before searing.
Preheat the Oven
This step cannot be rushed. Set your oven to 400°F (or 425°F for 2+ inch steaks) and preheat for 15 minutes minimum. The oven must be fully heated when the seared steak enters, or you’ll lose cooking momentum.
Position the oven rack in the middle for even heat distribution from all sides.
The Crucial Stovetop Sear
Heat your cast iron skillet over high heat for 5-7 minutes until wisps of smoke appear. Thick steaks need maximum heat for proper crust development. Test readiness: a drop of water should evaporate instantly on contact.
Add high-smoke-point oil and swirl to coat. The oil should shimmer and almost smoke immediately.
Carefully place steaks in the pan, laying away from you to avoid oil splatter. For maximum crust, don’t move them for 2-3 minutes. The steak will release naturally when a proper crust has formed—if it sticks, wait another 30 seconds.
Flip using tongs (never a fork that pierces the meat). Sear the second side for 2-3 minutes until equally browned.
For extra-thick steaks (2+ inches), use tongs to hold the steak upright and briefly sear the edges, especially any fat cap.
The Butter Baste Transition
Reduce stovetop heat to low. Add butter, smashed garlic cloves, and fresh herb sprigs to the pan. Tilt slightly and use a large spoon to baste the steaks with the foaming, aromatic butter for 30-60 seconds.
This brief basting adds richness and begins infusing herb flavors before the oven takes over.
The Oven Transfer
Using oven mitts (the handle is dangerously hot), transfer the entire skillet directly to the preheated oven. Don’t transfer steaks to another pan—the hot cast iron continues cooking and the butter continues basting in the oven.
Oven Finishing Times for Steak in the Oven
Timing varies based on thickness and desired doneness. Always use a thermometer—these are guidelines:
For 1.5-inch Steaks:
- Rare (120-125°F): 4-5 minutes
- Medium-Rare (130-135°F): 6-7 minutes
- Medium (140-145°F): 8-9 minutes
For 2-inch Steaks:
- Rare (120-125°F): 6-7 minutes
- Medium-Rare (130-135°F): 8-10 minutes
- Medium (140-145°F): 11-13 minutes
Begin checking internal temperature 2 minutes before the estimated finish time.
Doneness Guide
Insert an instant-read thermometer horizontally into the thickest part, avoiding fat pockets:
- Rare: 120-125°F (cool red center)
- Medium-Rare: 130-135°F (warm red center) – RECOMMENDED
- Medium: 140-145°F (warm pink center)
- Medium-Well: 145-150°F (slightly pink center)
Critical: Remove steaks 5 degrees below your target temperature. They continue cooking during rest (carryover cooking). For perfect medium-rare (135°F final), pull at 130°F.
Resting
Using oven mitts (that handle stays dangerously hot for 15+ minutes), remove the skillet from the oven. Transfer steaks to a cutting board or warm plate—don’t rest them in the hot skillet or they’ll continue cooking.
Tent loosely with foil and rest for 8-10 minutes. Thick steaks need the full resting time to allow juice redistribution. Cutting immediately releases those flavorful juices onto the cutting board, leaving you with dry meat.
Expert Tips for Perfect Sear with Steak in the Oven
Tip 1: Preheat Both Oven and Pan Thoroughly Many home cooks underestimate preheating. A barely-heated oven causes the exterior to cook through before the interior warms up. A lukewarm pan won’t develop proper crust. Give both adequate time.
Tip 2: Mark Your Skillet Handle After removing from the oven, drape a kitchen towel over the handle immediately. It’s dangerously easy to grab a 400°F cast iron handle 5 minutes later, resulting in serious burns. The towel serves as a visual reminder.
Tip 3: Account for Carryover Cooking This is where most home cooks fail with thick steaks. They cook to their target temperature, then wonder why the steak is overcooked after resting. Thick steaks continue cooking 5-10 degrees during rest—pull them early.
Tip 4: Use an Instant-Read Thermometer Don’t rely on timing alone. Ovens vary, steaks vary, and the difference between perfect medium-rare and disappointing medium is just 5 degrees. A $15-25 ThermoPro or ThermaPen is essential.
Tip 5: Don’t Skip the Room Temperature Rest Cold steak from the fridge hits the hot pan and the exterior overcooks while the center stays cool. The 45-60 minute room-temperature rest ensures even cooking from edge to center.
Serving Suggestions & Steakhouse Sides
Sides: Classic steakhouse accompaniments complement this method perfectly. While your steak finishes in the oven, sauté mushrooms in another pan, prepare mashed potatoes, or roast asparagus. The hands-free oven time is ideal for side preparation.
Sauces: Compound butter (herb, blue cheese, or roasted garlic butter) melts beautifully over rested steak. Red wine reduction, chimichurri, or peppercorn sauce add restaurant elegance. Many prefer just flaky sea salt to appreciate the pure beef flavor and perfect crust.
Wine Pairing: The deep crust from this method pairs excellently with bold reds. Cabernet Sauvignon, Malbec, or aged Bordeaux match the intensity. For white wine lovers, oaked Chardonnay has enough body.
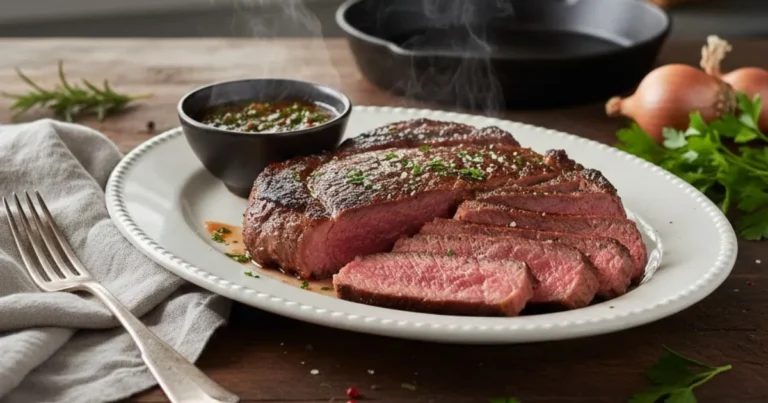
Presentation: Slice thick steaks against the grain at a 45-degree angle to showcase the even pink interior with minimal grey band—proof of perfect execution.
Storage & Reheating
Leftovers: Store in an airtight container for up to 3 days. Thick-cut steaks make exceptional leftovers because their size means the interior stays pink even when cold.
Reheating: Bring to room temperature, then warm gently in a 250°F oven for 10-12 minutes. The same gentle heat that finished it originally will reheat it without further cooking. Never microwave—it turns steak grey and rubbery.
Creative Uses: Slice leftover thick-cut steak for premium steak sandwiches, grain bowls, or breakfast hash. The quality of the original preparation ensures leftovers remain impressive.
Frequently Asked Questions
Can I use this method with thin steaks under 1 inch?
Not recommended. Thin steaks cook through entirely during the stovetop sear and would overcook in the oven. Reserve this technique for steaks 1.5 inches or thicker where even cooking is challenging with stovetop alone.
What if I don’t have a cast iron skillet?
Heavy stainless steel with an oven-safe handle works, though it lacks cast iron’s superior heat retention. Avoid non-stick pans (can’t handle the high heat) and any pans with plastic or wooden handles.
Should I flip the steak in the oven?
No. The oven’s radiant heat cooks from all directions simultaneously. Flipping in the oven is unnecessary and releases heat when you open the door, extending cooking time unpredictably.
My steak came out with a thick grey band—what went wrong?
Either your oven temperature was too high (try 375°F instead of 425°F) or you didn’t pull it soon enough. The grey band indicates overcooking. Pull at 125-130°F and let carryover cooking finish the job.
Can I add vegetables to the pan?
Yes, but add them before the oven transfer, not during stovetop searing. Halved cherry tomatoes, asparagus, or mushrooms roast beautifully alongside the steak in the oven. Add them after flipping the steak, before the butter.
Conclusion
Mastering this hybrid stovetop-to-oven method for steak in the oven with a perfect sear transforms thick-cut steaks from intimidating to achievable. The technique separates crust development from temperature control, eliminating the anxiety of stovetop-only cooking. Once you’ve experienced the consistent results—that deep mahogany crust surrounding perfectly pink meat with minimal grey band—you’ll never struggle with thick steaks again.
The beauty of this approach is its reliability. Unlike stovetop cooking where you’re constantly adjusting heat and flipping and worrying, this method has clear phases: sear, baste, transfer, wait. The oven does the precision work while you prepare sides.
Heat that cast iron to screaming hot and preheat that oven properly. Your steakhouse-quality thick-cut steak awaits.
Rate this recipe and tell us your favorite thick-cut steak in the comments!