Chicken Tenders Recipe Air Fryer: Best Crispy Buttermilk
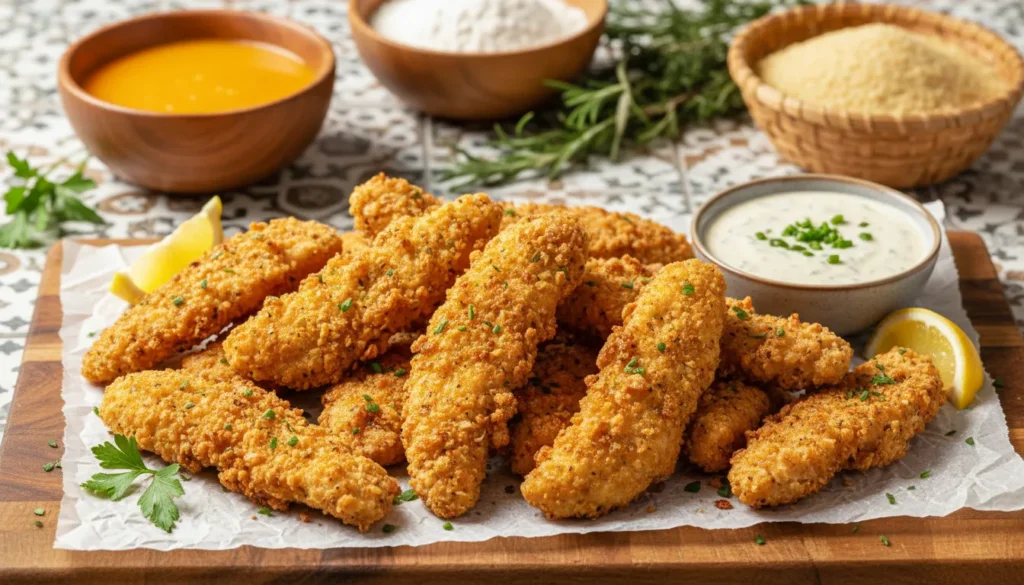
Make the crispiest air fryer chicken tenders at 400°F for 10-12 minutes, flipping halfway through. Soak chicken in buttermilk for tender meat, coat in seasoned panko, and spray with oil. The result: golden, crunchy tenders that rival any restaurant—healthier than fast food and extra crispy thanks to panko.
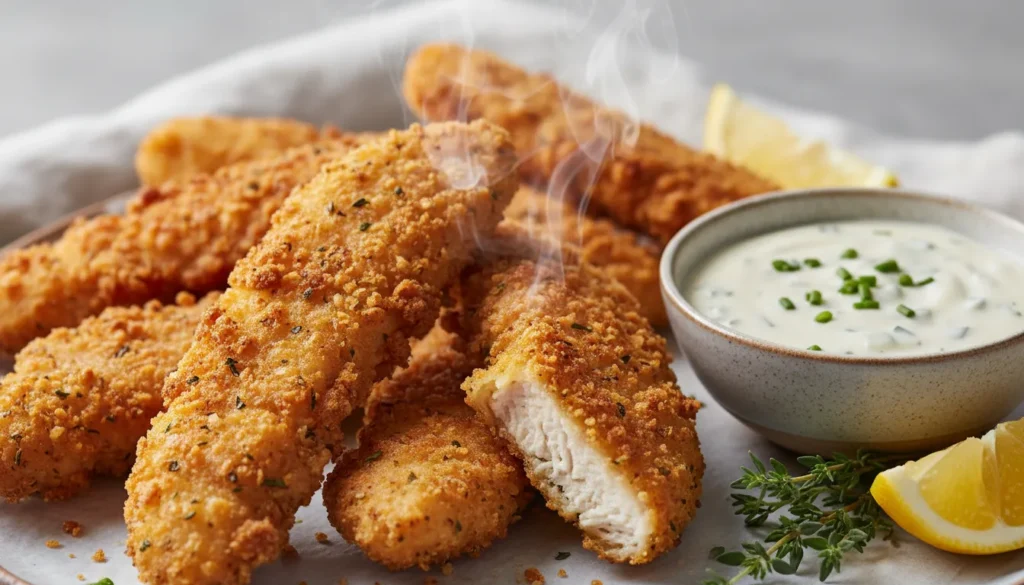
Kids hungry? Before you grab the car keys for another fast food run, consider this: homemade chicken tenders recipe air fryer style delivers the same crispy, golden, delicious tenders your family craves—but healthier, cheaper, and ready in about 15 minutes.
The secret is the buttermilk soak. It tenderizes the chicken while adding subtle tang, and it helps the panko coating adhere for that satisfying crunch. Combined with the air fryer’s intense heat, you get tenders that are crispy on the outside, juicy on the inside, and beloved by picky eaters everywhere.
New to air frying? Our ultimate air fryer guide has all the basics covered.
Why does the air fryer work so well for chicken tenders? The rapid hot air circulation creates convection-style cooking that crisps the panko coating evenly from all angles. No deep fryer required—just perfectly crunchy tenders without the oil bath.
Ready to make fast food irrelevant? Let’s dive in.
Why This Chicken Tenders Recipe is a Game Changer
This chicken tenders recipe air fryer method beats the drive-thru every time:
- Healthier than fast food—a fraction of the fat and calories
- Ready in about 15 minutes—faster than most restaurant wait times
- Kid-approved crunch—even picky eaters love these
- Customizable seasonings—adjust spices to your family’s preferences
- Budget-friendly—costs less than takeout
- No sketchy ingredients—you control what goes in
- Leftovers reheat perfectly—stays crispy, unlike fast food
According to Healthline, air frying can reduce calorie intake by up to 70-80% compared to deep frying while still delivering that crispy texture we crave.
Choosing the Best Ingredients
Chicken Selection
Chicken breast works best for this recipe—cut into strips for even cooking. You can also use chicken tenderloins, which are already the right shape and require less prep.
Fresh vs. frozen: Fresh chicken delivers the best texture. If using frozen, thaw completely and pat very dry before marinating.
Cutting tips: Cut chicken breast into strips about ½ inch thick and 4 inches long. Uniform size ensures even cooking—no burnt ends or raw middles.
The Buttermilk Magic
Buttermilk isn’t just for pancakes. The acid in buttermilk tenderizes chicken and adds a subtle tangy flavor that makes these tenders taste like the best fried chicken you’ve ever had. Don’t skip this step.
No buttermilk? Mix 1 cup milk with 1 tablespoon lemon juice or white vinegar. Let sit 5 minutes before using.
The Panko Coating
Panko breadcrumbs are the secret to extra-crispy tenders. These Japanese-style breadcrumbs are lighter and crispier than regular breadcrumbs, creating that shatteringly crunchy coating.
Ingredients List
| Quantity | Ingredient |
|---|---|
| 1.5 lbs | Chicken breast, cut into strips |
| 1 cup | Buttermilk |
| 1.5 cups | Panko breadcrumbs |
| ½ cup | All-purpose flour |
| ⅓ cup | Parmesan cheese, grated |
| 1 tsp | Paprika |
| 1 tsp | Garlic powder |
| ½ tsp | Onion powder |
| ½ tsp | Salt |
| ¼ tsp | Black pepper |
| ¼ tsp | Cayenne pepper (optional) |
| 2 | Eggs, beaten |
| Cooking spray | As needed |
Ingredient Notes
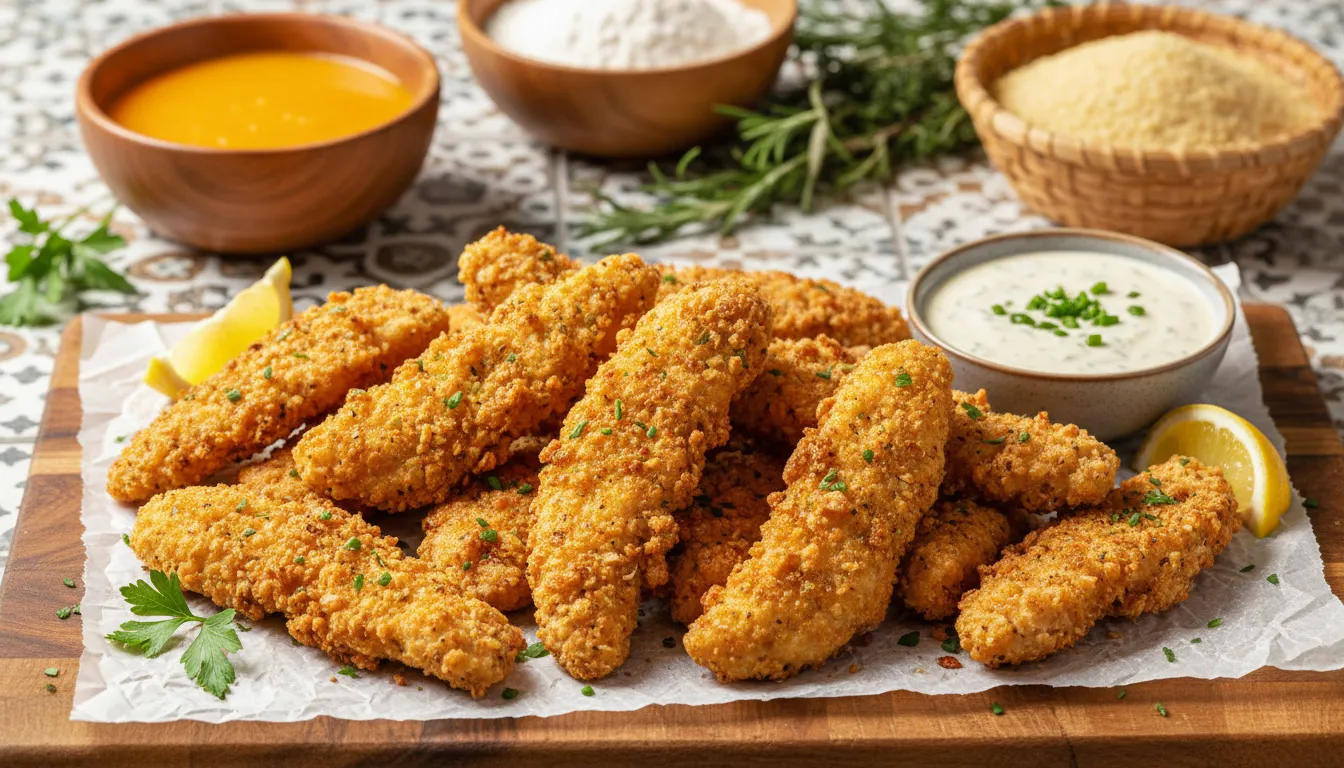
The Buttermilk Soak: Marinating chicken in buttermilk for at least 30 minutes (or up to 24 hours) produces noticeably more tender, flavorful meat. The acid breaks down proteins gently, and the milk solids help the coating adhere.
Panko Breadcrumbs: Regular breadcrumbs work in a pinch, but panko delivers superior crunch. The larger, flakier texture creates air pockets that crisp up beautifully.
The Parmesan: Adding Parmesan to the coating brings salty, savory depth and helps the coating brown more evenly.
Cayenne Pepper: Optional but recommended for adults—adds a subtle heat that elevates the flavor without being spicy for kids.
Step-by-Step Instructions
Recipe Card : Air fryer recipes
🛠 Equipment Needed
- Air Fryer
- Three Shallow Dishes
- Cooking Spray
- Instant-Read Thermometer
Marinate the Chicken
Place chicken strips in a bowl and cover with buttermilk. Cover and refrigerate for at least 30 minutes (up to 24 hours for maximum tenderness). This step is crucial for tender, flavorful tenders.
Set Up Breading Station
Prepare three shallow dishes:
- Flour mixed with salt and pepper
- Beaten eggs
- Panko mixture: Combine panko, Parmesan, paprika, garlic powder, onion powder, and cayenne (if using)
Bread the Tenders
Remove chicken from buttermilk, letting excess drip off. Dredge each strip:
- Coat in flour, shaking off excess
- Dip in beaten egg
- Press firmly into panko mixture, coating all sides
Place breaded tenders on a plate. Spray both sides generously with cooking spray—this is essential for golden crispiness.
The Setup
Preheat your air fryer to 400°F for 3-5 minutes. Spray the basket lightly.
Arrange tenders in a single layer with space between each. Don’t stack or overlap—air needs to circulate for even crispiness.
The Cook
Cook at 400°F for 10-12 minutes, flipping halfway through. The tenders are done when golden brown and internal temperature reaches 165°F.
Let rest 2-3 minutes before serving.
3 Secrets for Crispy Air Fryer Results
Tip 1: Don’t Skip the Buttermilk. The buttermilk soak is the difference between good tenders and restaurant-quality tenders. It adds flavor, tenderness, and helps the coating stick. Even 30 minutes makes a noticeable difference.
Tip 2: Spray Generously with Oil. The oil spray is essential for achieving that golden-brown color and crispy texture. Without it, the coating will be pale and dry. Spray before AND flip and spray again at the halfway point.
Tip 3: Single Layer Only. Overcrowded tenders steam instead of crisp. Cook in batches if needed—the extra few minutes are worth it for perfectly crunchy results.
Serving Suggestions & Pairings
Dipping Sauces:
- Honey mustard (classic)
- BBQ sauce
- Ranch dressing
- Buffalo sauce with blue cheese
- Sweet and sour
- Sriracha mayo
Complete the Meal:
- Air fryer French fries
- Coleslaw
- Mac and cheese
- Steamed vegetables
- Side salad
Fun Variations:
- Chicken tender wraps with lettuce and ranch
- Chopped on Caesar salad
- Chicken tender sandwich on brioche
Storage & Reheating
Refrigerator Storage: Store cooked tenders in an airtight container for up to 4 days.
Freezing: Cool completely, then freeze in a single layer. Transfer to freezer bags once solid. Store up to 3 months.
Reheating Magic: Return to air fryer at 375°F for 4-5 minutes until heated through and re-crisped. From frozen, use 375°F for 8-10 minutes, flipping halfway.
Avoid the microwave—it makes the coating soggy. The air fryer restores crispiness perfectly.
Frequently Asked Questions
Can I use chicken tenderloins instead of breast? Absolutely! Tenderloins are already the right shape and don’t need cutting. Just adjust cooking time—they may need 1-2 minutes less since they’re thinner.
Why is my coating falling off? The chicken may have been too wet (pat dry after buttermilk), or you didn’t press the coating firmly enough. The oil spray also helps the coating adhere during cooking.
Can I make these gluten-free? Yes! Substitute gluten-free flour and gluten-free panko breadcrumbs. Results will be similar.
How do I make these spicier? Add more cayenne pepper, or add hot sauce to the buttermilk marinade. You can also serve with spicy dipping sauces.
Conclusion
This chicken tenders recipe air fryer version proves you don’t need a drive-thru for crispy, golden, delicious tenders. The buttermilk soak creates incredibly tender meat, the panko coating delivers satisfying crunch, and the air fryer brings it all together in about 15 minutes.
Your kids (and let’s be honest, you too) will love these homemade tenders. They’re healthier than fast food, cheaper than takeout, and made with ingredients you can actually pronounce. Plus, leftovers reheat perfectly—try getting that from a fast food bag.
Make a double batch for easy weeknight dinners, school lunches, or anytime the family needs a crowd-pleasing meal.
Snap a photo of your crispy tenders and tag us on Instagram! We’d love to see your family favorites.