Bbq ribs on the grill recipes How to Remove Membrane
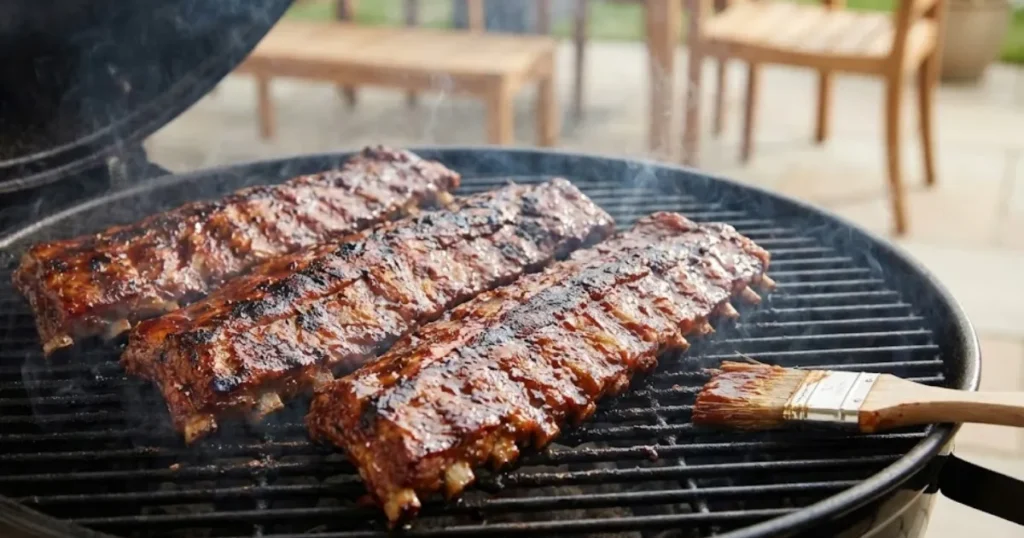
Master bbq ribs on the grill recipes using a two-zone setup at 225-250°F for indirect heat cooking. Smoke ribs for 3-4 hours until internal temperature reaches 190-203°F. Remove the membrane before seasoning for maximum tenderness and flavor absorption.
We’ve all seen it—ribs that look Instagram-perfect but taste like leather. Or worse, you spend hours tending the fire only to serve tough, chewy meat that nobody can pull off the bone. The backyard looks great, the smoke smells amazing, but the ribs? Disappointment on a plate.
The solution? Learn the membrane removal technique and master low-and-slow indirect heat. This bbq ribs on the grill recipes approach delivers fall-off-the-bone tender meat with a perfectly caramelized crust that’ll have your guests fighting over the last rack.
Here’s why it works: Removing the membrane allows smoke and seasoning to penetrate from both sides. Indirect heat at 225-250°F breaks down tough connective tissue without burning the exterior, while the Maillard reaction creates that beautiful mahogany bark. The result? Restaurant-quality ribs that justify every minute you spent at the grill.
Fire up the grill. We’re making the best ribs of the summer.
Why This Grilled Ribs Recipe is a Backyard Hero
- Ultimate crowd-pleaser that feeds a hungry group and creates unforgettable moments
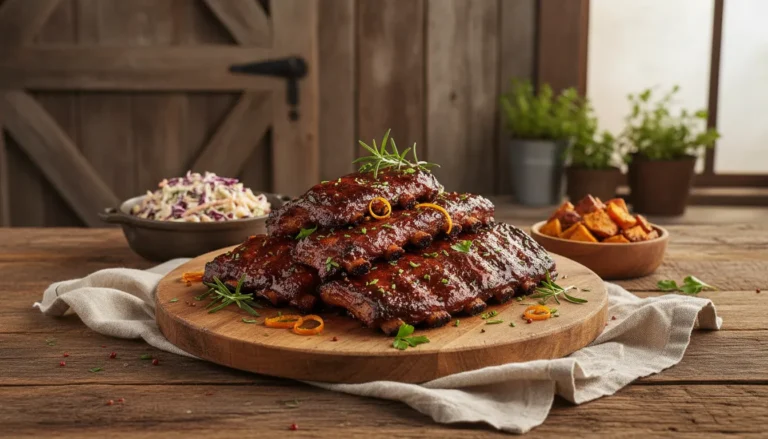
- Impressive presentation with smoke rings and glistening glaze
- Smoky flavor profile that screams authentic BBQ pitmaster techniques
- Surprisingly forgiving once you understand the temperature zones
- Weekend project that makes you the backyard legend
- Leftover gold that tastes even better the next day
Choosing the Best Ingredients for the Grill
Rib Selection: You’ve got options—baby back ribs (smaller, leaner, cook faster) or spare ribs (larger, meatier, more fat for flavor). St. Louis-style spare ribs are spare ribs trimmed into a rectangular shape—they cook more evenly and present beautifully.
Look for ribs with good meat coverage over the bones and white (not yellow) fat. Avoid shiners—where the meat has been trimmed so close you can see bone through the meat.
The Rub Strategy: A quality dry rub creates the bark—that delicious crust everyone fights over. Brown sugar adds sweetness and helps with caramelization, but watch it closely. Sugar burns fast over direct fire, which is why we use indirect heat for ribs. Apply the rub generously and let it sit for at least 30 minutes (overnight is even better) to form a tacky surface that holds smoke.
Wood Chips Matter: Apple and cherry wood offer mild, sweet smoke. Hickory and oak deliver bold, traditional BBQ flavor. Mesquite is aggressive—use sparingly or skip it entirely for ribs.
Ingredients List
| Quantity | Ingredient |
|---|---|
| 2 racks | Baby back or spare ribs (2-3 lbs each) |
| 3 tbsp | Brown sugar |
| 2 tbsp | Paprika (smoked or sweet) |
| 1 tbsp | Garlic powder |
| 1 tbsp | Onion powder |
| 1 tbsp | Chili powder |
| 2 tsp | Black pepper (freshly ground) |
| 2 tsp | Kosher salt |
| 1 tsp | Cayenne pepper (optional) |
| 1 cup | BBQ sauce (your favorite) |
| 2 cups | Wood chips (apple, cherry, or hickory) |
| ¼ cup | Apple cider vinegar (for spritzing) |
Ingredients Notes
Brown Sugar Balance: The sugar in your rub creates beautiful caramelization and that sticky bark we crave. But here’s the catch—too much sugar over direct heat burns bitter. That’s why we cook ribs low and slow on the indirect zone, saving high heat only for a quick sauce glaze at the end.
Salt Timing: Apply your rub at least 30 minutes before grilling, ideally 2-4 hours or overnight. Salt draws moisture to the surface initially, then it reabsorbs along with the seasonings, creating deeper flavor penetration.
BBQ Sauce Application: Never brush on sauce early. The sugar content burns over prolonged heat, creating acrid char instead of glaze. Apply BBQ sauce only during the last 15-20 minutes of cooking, building thin layers that caramelize without burning.
Wood Chips: Soak them in water for 30 minutes before using. Wet chips smolder and smoke instead of catching fire, giving you that clean blue smoke that flavors meat without making it taste like an ashtray.
Step-by-Step Instructions
Recipe Card
🛠 Equipment Needed
- Grill (charcoal or gas)
- Tongs
- Instant-read meat thermometer
- Spray bottle
- Aluminum foil
- Butter knife
- Paper towels
- Wood chips
Prep & Membrane Removal
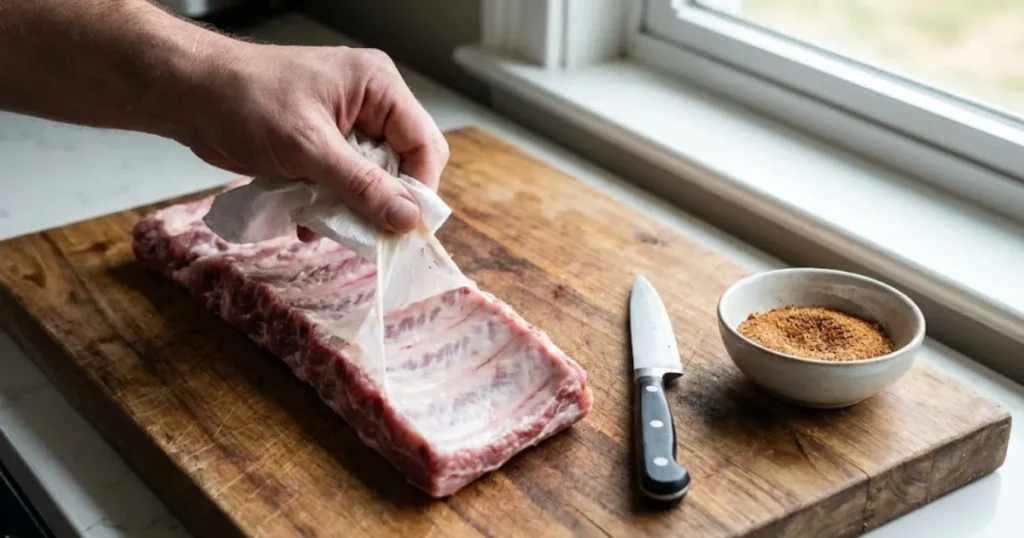
This is the most important step most beginners skip. Flip the ribs bone-side up. You’ll see a shiny, translucent membrane covering the bones. This membrane must come off—it’s tough, chewy, and blocks smoke and seasoning from penetrating the meat.
Here’s how: Slide a butter knife under the membrane at one end to loosen it. Grab the membrane with a paper towel (gives you grip) and pull it off in one smooth motion. It should peel away like plastic wrap. If it tears, just start again at the next section.
Pat ribs completely dry with paper towels. Moisture is the enemy of bark formation. Wet meat steams instead of developing that crusty exterior.
Apply your dry rub generously on both sides, pressing it into the meat. Let ribs sit at room temperature for 30-60 minutes while your grill heats up.
The Grill Setup
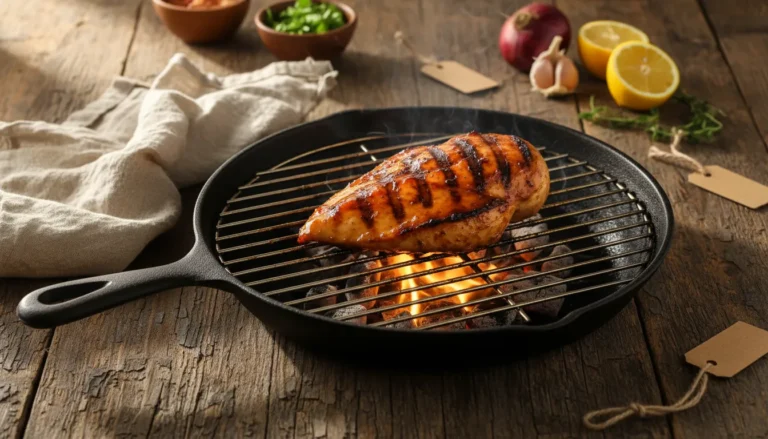
Preheat your grill for a two-zone fire setup. This is crucial for bbq ribs on the grill recipes. You need indirect heat—ribs positioned away from the fire, cooking with ambient heat and smoke.
For charcoal grills: Push all coals to one side. Place a drip pan with water on the empty side—this catches drippings and adds moisture. Add soaked wood chips directly on the coals. Target temperature: 225-250°F on the cool side where ribs will cook.
For gas grills: Light burners on one side only, setting them to low. Place a smoker box or foil packet of wood chips over the lit burners. Position a drip pan on the unlit side.
Clean and oil your grill grates while they’re heating. This prevents sticking and ensures clean grate marks if you decide to sear at the end.
The Low-and-Slow Cook
Place ribs bone-side down on the indirect heat zone, away from the flames. Close the lid and maintain 225-250°F throughout the cook. Use your vents to control temperature—more air means hotter fire, less air cools it down.
Don’t open the lid constantly. Every peek drops temperature by 25-50°F and adds 10-15 minutes to your cook time. Trust the process.
Cook for 2.5-3 hours for baby backs, 3-4 hours for spare ribs. After the first hour, spritz ribs every 45 minutes with apple cider vinegar using a spray bottle. This keeps the surface moist and helps build bark.
Managing wood smoke: Add a handful of fresh wood chips every hour. You want thin blue smoke, not thick white billows. White smoke tastes bitter and creosote-like.
Managing flare-ups: With indirect heat, flare-ups shouldn’t happen. If fat drips onto coals and ignites, simply move ribs further from the fire temporarily.
The 3-2-1 Method (Optional Advanced Technique)
Many pitmasters use the 3-2-1 method for spare ribs: 3 hours unwrapped, 2 hours wrapped in foil with liquid (apple juice or beer), 1 hour unwrapped with sauce. This produces ultra-tender, fall-off-the-bone ribs. For baby backs, use 2-2-1 instead.
Doneness Check & Glazing
Stop guessing. Check for doneness using these methods:
Bend test: Pick up the rack with tongs at the center. If it bends easily and the meat cracks slightly on the surface, they’re done.
Toothpick test: A toothpick should slide between bones like butter—no resistance.
Temperature: Use an instant-read thermometer between bones. Target 190-203°F for pull-apart tender ribs.
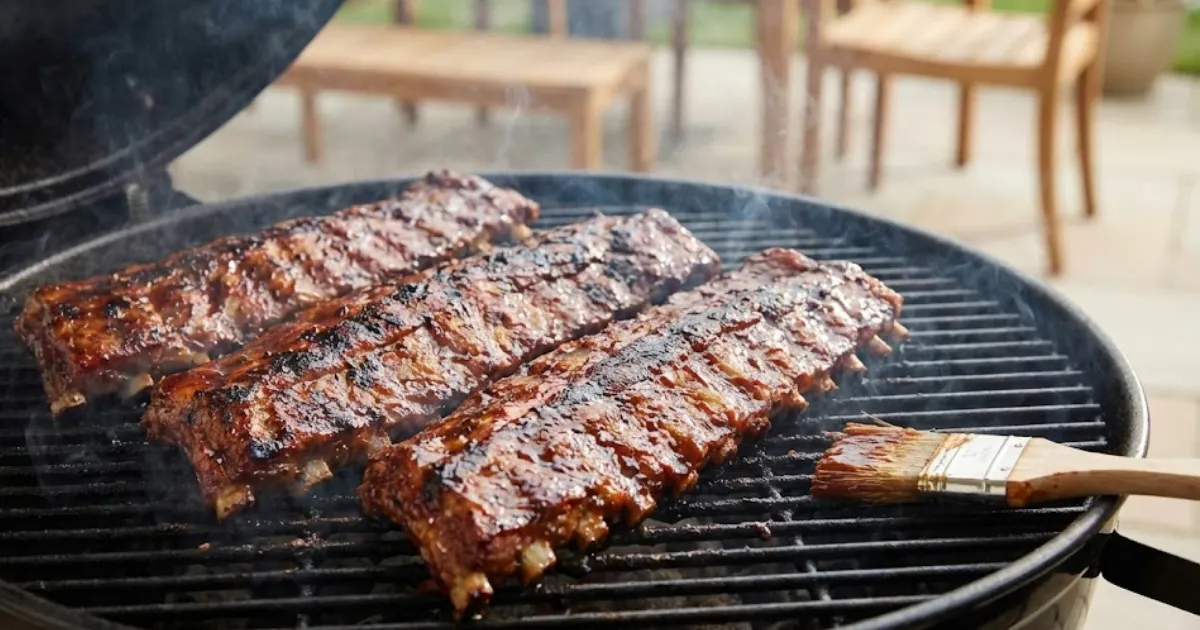
During the last 15 minutes, brush on BBQ sauce in thin layers. Close the lid for 5 minutes between coats to let it set and caramelize. Build 2-3 layers for a beautiful glaze.
For extra caramelization, move ribs over direct heat for 2-3 minutes per side right at the end—watch closely to avoid burning the sauce.
3 Secrets for Pitmaster-Level Results
Tip 1: The Magic of Resting Let ribs rest for 10-15 minutes after pulling them off the grill, loosely tented with foil. This allows juices to redistribute throughout the meat. Cut immediately and you’ll watch precious moisture pool on your cutting board instead of staying in the meat.
Tip 2: The Membrane is Non-Negotiable Seriously—remove that membrane. It doesn’t matter how perfectly you cook the ribs; if the membrane is still on, you’ll serve tough, chewy ribs that disappoint. Take the extra 2 minutes. Use paper towels for grip. This single step separates backyard cooks from pitmasters.
Tip 3: Consistent Temperature Wins Fluctuating temperatures ruin ribs. Set up your two-zone fire properly, use a reliable thermometer, and stop opening the lid. Low and slow at steady 225-250°F beats constantly adjusting between 200°F and 300°F. Patience and consistency deliver tender ribs every time.
Serving Suggestions & Sides
Classic BBQ Sides:
- Creamy coleslaw with vinegar-based dressing that cuts through rich pork fat
- Mac and cheese loaded with sharp cheddar
- Baked beans simmered with bacon and molasses
- Cornbread with honey butter
- Grilled corn on the cob brushed with garlic butter
Drink Pairings: Cold beer is classic—lagers, pale ales, or IPAs all work. For wine lovers, try Zinfandel or Syrah that stands up to bold BBQ flavors. Sweet tea is the non-alcoholic MVP.
For more backyard smoking and grilling techniques, check out the ultimate bbq grilling guide.
Storage & Leftovers
Refrigerator: Wrap leftover ribs tightly in aluminum foil or store in airtight containers for up to 4 days. The flavors actually develop and deepen overnight.
Freezer: Wrap individual portions in plastic wrap, then aluminum foil. Freeze up to 3 months. Thaw overnight in the refrigerator.
Reheating: Avoid the microwave—it turns ribs rubbery. Instead, wrap ribs in foil with a splash of apple juice or beer. Warm in a 250°F oven for 20-30 minutes, or place on the grill’s indirect zone for gentle reheating. The moisture keeps them from drying out.
Frequently Asked Questions
Charcoal vs. Gas: Which is better for this recipe? Charcoal delivers superior smoky flavor and authentic BBQ results. Gas offers convenience and easier temperature control. Both work for bbq ribs on the grill recipes—the key is mastering the two-zone setup and maintaining steady low heat. Add wood chips to gas grills for smoke flavor.
How do I know when ribs are done without a thermometer? Use the bend test: lift the rack at the center with tongs. Properly cooked ribs bend easily and the meat cracks slightly on the surface. The toothpick test also works—it should slide between bones with zero resistance.
What if I don’t have 4 hours? You can speed things up slightly using higher heat (275-300°F), cutting cook time to 2-2.5 hours. But honestly, low and slow produces better results. Ribs are a weekend project—plan ahead and enjoy the process.
Should ribs fall off the bone? That’s preference. Competition BBQ judges want a clean bite with slight tug. Home cooks often prefer fall-off-the-bone tender. For the latter, cook to 203°F and consider the 3-2-1 method with foil wrapping.
Conclusion
This bbq ribs on the grill recipes approach isn’t complicated—it just requires patience and respect for the fundamentals. Remove that membrane, set up your two-zone fire properly, maintain steady low heat, and resist the urge to constantly fiddle with your ribs. Master these basics and you’ll serve restaurant-quality ribs that create backyard legends.
The grill is waiting. The ribs are calling. It’s time to stop settling for tough, disappointing results and start smoking world-class BBQ.
Rate this recipe and tag us in your backyard photos! We want to see those smoke rings, that beautiful bark, and the smiles on your guests’ faces when they taste actual pitmaster-level ribs.