BBQ Ribs Recipe Gas Grill: Best Indirect Heat Method
How to Grill Gas Grill BBQ Ribs: Grill ribs on a gas grill at 250-275°F using indirect heat for 2.5-3 hours. Wrap in foil after 1.5 hours with liquid, then unwrap and glaze with BBQ sauce during the last 30 minutes for sticky, tender ribs without a smoker.
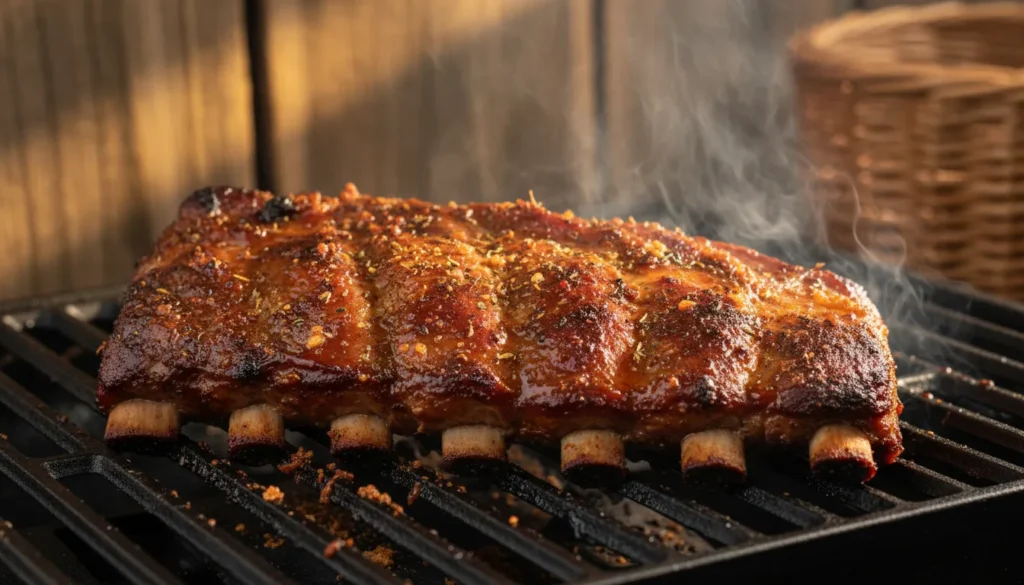
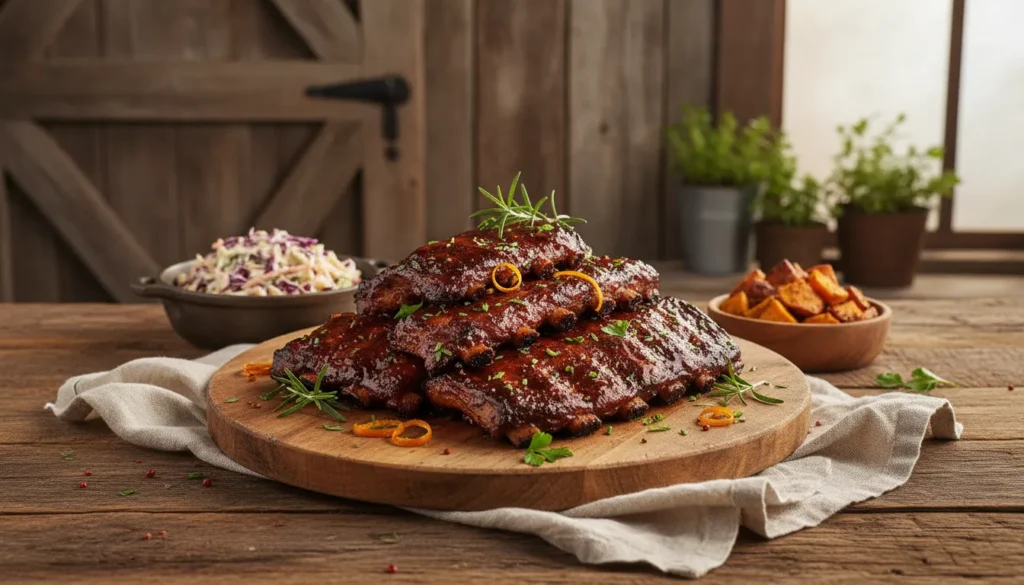
Propane gets a bad rap in the BBQ world, but gas grills can produce legit competition-quality ribs if you know the method. This bbq ribs recipe gas grill uses the ‘3-2-1 modified method’—indirect heat, a foil wrap, and smoking chips—to break down tough connective tissue and infuse smoky flavor. No charcoal mess required.
The secret? Understanding heat management. Direct heat sears and caramelizes. Indirect heat cooks gently without burning. Most people fail because they use one or the other—never both. This recipe uses the two-zone method to give you perfect control over the cook.
The science is simple: The Maillard reaction (the chemical process that creates browning and flavor) happens at high temperatures, but proteins need moderate heat to cook through without drying out. By starting hot and finishing cool, you get the best of both worlds.
Fire up the grill. We’re making the best Gas Grill BBQ Ribs of the summer.
Why This Grilled Gas Grill BBQ Ribs is a Backyard Hero
- Crowd-Pleaser: Everyone loves smoky, caramelized BBQ flavors—this dish delivers restaurant quality at home.
- Minimal Cleanup: Everything happens on the grill. No pots, pans, or oven splatters to scrub.
- Smoky Flavor Profile: Real fire adds depth you can’t replicate indoors. Wood smoke infuses the meat with complexity.
- Forgiving Method: The two-zone setup prevents burning and gives you an escape route if things get too hot.
Choosing the Best Ingredients for the Grill
Selection Matters: For meat, look for marbling (intramuscular fat). Fat keeps meat juicy over high heat and adds flavor. Avoid ultra-lean cuts—they dry out fast. For vegetables, choose firm, fresh produce that can withstand heat without turning mushy.
The Rub/Marinade: Oil prevents sticking to the grill grates—skip this step and you’ll leave half your dinner behind. Watch sugar content in rubs and sauces. Sugar burns fast over direct flames, so apply sweet glazes and BBQ sauce only in the last 5-10 minutes of cooking.
Ingredients List
Quantity Ingredient
2 racks (2-3 lbs each) Baby back ribs or St. Louis-style spare ribs
¼ cup Yellow mustard (as binder)
½ cup BBQ dry rub
2 cups Wood chips (hickory or applewood, soaked 30 min)
½ cup Apple juice or cider (for wrapping)
¼ cup Honey or agave (for wrapping)
1 cup BBQ sauce for glazing
Ingredient Notes
Baby Backs vs. Spare Ribs: Baby backs are smaller, leaner, cook faster (2-2.5 hours). Spare ribs (or trimmed St. Louis-style) are meatier, fattier, take longer (3+ hours) but have more flavor.
Remove the Membrane: Flip the ribs bone-side up. There’s a thin, silvery membrane covering the bones—peel it off with a paper towel for better smoke penetration and tenderness.
The 3-2-1 Method: 3 hours unwrapped (building bark), 2 hours wrapped in foil (tenderizing), 1 hour unwrapped with sauce (glazing). For baby backs, use 2-2-1 instead.
Recipe Card
🛠 Equipment Needed
- Gas Grill with Lid
- Meat Thermometer
- Heavy Foil
- Smoking Chips
Step-by-Step Instructions
Prep & Remove the Membrane
Place ribs bone-side up on a cutting board. Locate the thin, silvery membrane covering the bones. Use a butter knife to lift a corner, then grab it with a paper towel and peel it off in one sheet—it should come off cleanly. Pat ribs dry. Slather both sides with yellow mustard (this helps the rub stick), then coat generously with your BBQ rub. Let sit for 20-30 minutes.
The Setup: Low and Slow with Smoke
Set up a two-zone fire for 250-275°F. For charcoal: Bank coals to one side and add soaked wood chunks on top. For gas: Turn burners on one side to low-medium, place wood chips in a smoker box. Place a disposable aluminum pan with water on the cool side to catch drippings and maintain moisture. Aim for thin, blue smoke—not thick white smoke.
Phase 1: Unwrapped (3 hours for spare ribs, 2 hours for baby backs)
Place ribs bone-side down on the indirect zone. Close the lid and maintain 250-275°F. Add fresh wood chunks every hour to keep smoke going. Spritz ribs with apple juice every 45-60 minutes to keep them moist and build a sticky bark. Resist the urge to open the lid constantly—you’ll lose heat and smoke.
Phase 2: Wrapped (2 hours)
After Phase 1, remove ribs from grill. Lay out two large sheets of heavy-duty aluminum foil. Place ribs bone-side up on foil. Drizzle with ½ cup apple juice and ¼ cup honey (or brown sugar). Wrap tightly—create a sealed pouch so steam can’t escape. Return to the grill, bone-side down, on the indirect zone. Close the lid and cook for 2 hours. This braising step breaks down collagen and makes ribs tender.
Phase 3: Glazed (1 hour)
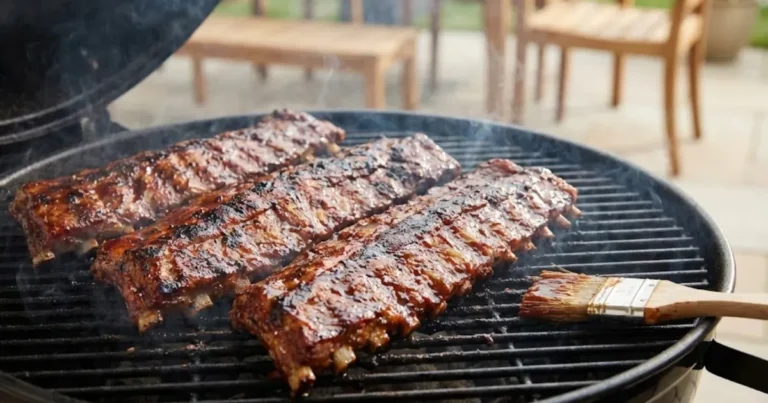
Carefully unwrap ribs (watch for hot steam). Place back on the grill, bone-side down. Brush generously with BBQ sauce on the meat side. Close the lid and cook for 1 hour, brushing with more sauce every 20 minutes. The sauce will caramelize into a sticky glaze.
Doneness Check
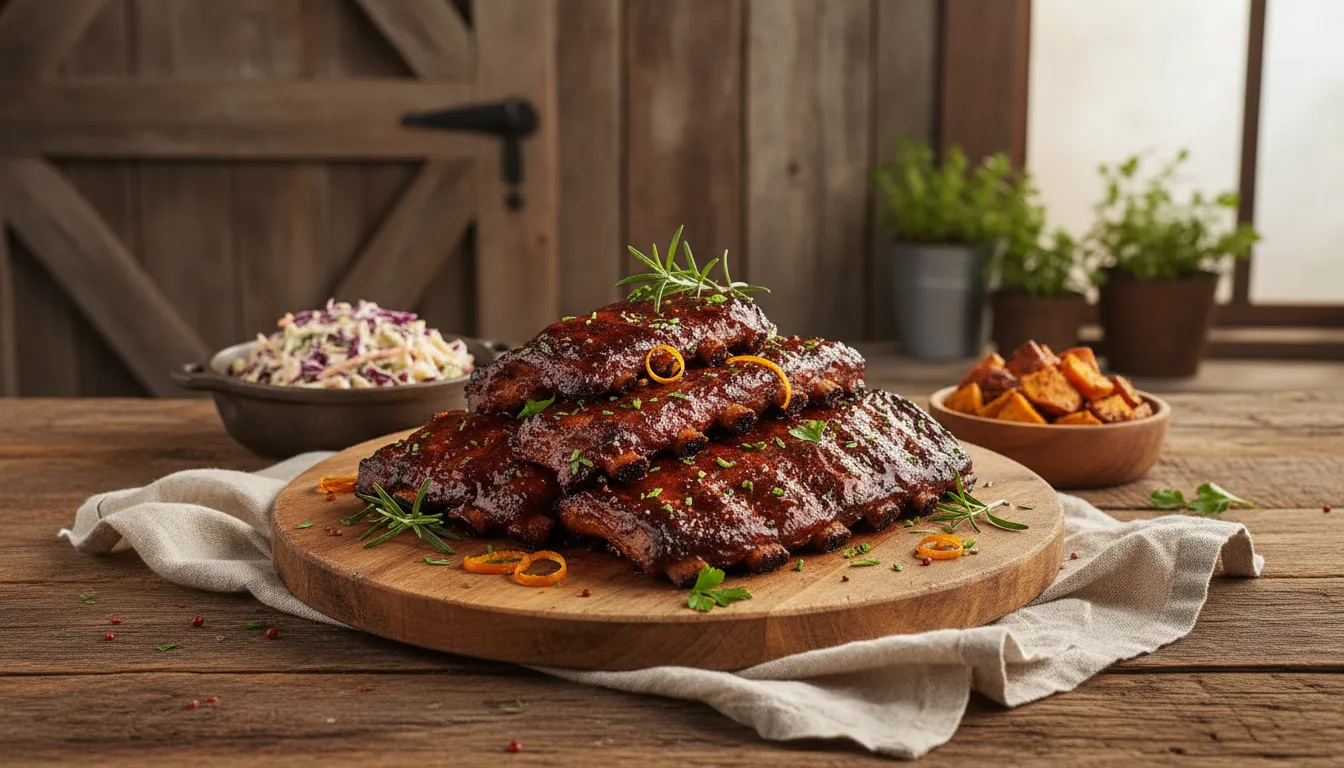
Ribs are done when they reach 195-203°F internal temp between the bones. Use the bend test: Pick up the rack with tongs—it should bend easily and the meat should crack slightly on the surface but NOT fall off the bone (that means overcooked). Let rest for 10 minutes, then slice between the bones and serve.
3 Secrets for Pitmaster-Level Results
Tip 1: The Magic of Resting — Let the meat rest for 5-10 minutes after it comes off the grill. Cutting too soon causes all the juice to run out onto your cutting board. Resting allows muscle fibers to relax and reabsorb moisture, keeping every bite juicy.
Tip 2: Don’t Touch It — Resist the urge to flip, poke, or move your food constantly. Let the crust form naturally. If the meat sticks to the grate, it’s not ready to flip. When it releases easily, that’s your cue.
Tip 3: Clean Grates = Better Results — A dirty grill leads to sticking and imparts stale, burnt flavors to your food. Heat the grill, then scrub the grates hard with a wire brush. Oil them lightly just before cooking. Clean grates = clean flavors.
Serving Suggestions & Sides
Classic Sides: Grilled corn on the cob (shuck it, butter it, grill it), creamy coleslaw (the acidity cuts through rich, fatty meat), potato salad (a BBQ staple for a reason), baked beans (sweet and smoky), cornbread (buttery, crumbly, perfect for soaking up sauce).
Drink Pairings: Cold beer is the classic move—light lagers or IPAs cut through smoke and fat. For wine drinkers, go with Zinfandel or Syrah (both stand up to bold BBQ flavors). Sweet tea or lemonade work for non-alcoholic options.
Storage & Leftovers
Refrigerator: Store leftovers in an airtight container for up to 4 days. Let meat cool to room temperature first (but don’t leave it out longer than 2 hours).
Reheating: Avoid the microwave—it turns meat rubbery. Instead, reheat gently in a 300°F oven wrapped in foil to retain moisture. Or, wrap in foil and place on a low-heat grill for 10-15 minutes. The goal is to warm it through without drying it out.
Frequently Asked Questions
Q: Charcoal vs. Gas: Which is better for this recipe?
- A: Both work great. Charcoal gives you more smoky flavor and higher heat potential—it’s the purist’s choice. Gas grills offer convenience and temperature control. For maximum smoke on gas, use a smoker box or foil pouch filled with wood chips.
Q: How do I stop my food from sticking to the grill?
- A: Three critical steps: (1) Preheat the grill fully so grates are screaming hot. (2) Clean the grates with a wire brush. (3) Oil the grates just before cooking using tongs and a paper towel soaked in high-heat oil like canola or avocado. Also, don’t flip food too early—it releases naturally when ready.
Q: Can I use a grill pan indoors if I don’t have an outdoor grill?
- A: You can, but results won’t be the same. Grill pans give you grill marks but lack real smoke flavor and the intense heat of a live fire. If using a grill pan, get it extremely hot, use a ventilation hood, and expect less char. For best results, invest in a small charcoal or gas grill—even apartment-friendly models deliver better flavor.
Conclusion
There’s nothing like the smell of smoke and caramelized meat drifting through the backyard on a summer evening. This Gas Grill BBQ Ribs recipe proves you don’t need expensive equipment or years of experience to grill like a pro—just solid technique, good ingredients, and a little patience.
Now get out there and cook. Your family and friends are waiting.
Rate this recipe and tag us in your backyard grilling photos! We’d love to see your results.