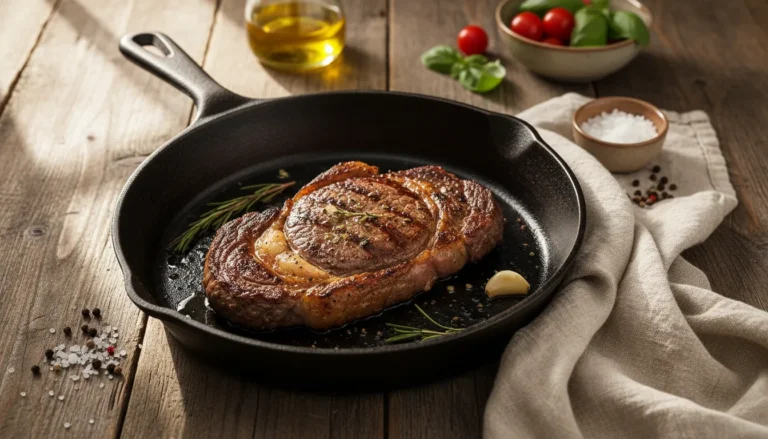
How to Cook a Ribeye: How to Render the Fat
Sear ribeye fat-cap-side-down for 2-3 minutes first to render and crisp the edge, then sear flat sides 3-4 minutes each at high heat indoors. This prevents grease flare-ups that plague outdoor grilling while creating crispy, delicious fat cap. Pull at 130-135°F for medium-rare, rest 5-8 minutes.
You’ve bought a gorgeous ribeye—that marbled masterpiece with the thick fat cap along one edge—but you’re terrified of grilling it. Past experiences with grease fires, dangerous flare-ups, and burnt exteriors haunt you. The fat that makes ribeye delicious also makes outdoor grilling nerve-wracking, leaving you wondering if there’s a safer way to cook this premium cut.
The solution is learning how to cook a ribeye indoors where you control the fat rendering without risking your eyebrows. The technique involves searing the fat cap first to render it safely into the pan rather than dripping onto flames, then cooking the flat sides normally. This indoor method delivers the same crispy fat cap and perfect crust as grilling, minus the fire hazard.
Professional steakhouses cook ribeyes indoors on flat-tops and in broilers specifically to avoid grease fires that plague backyard grilling. According to the USDA’s safe meat handling guide, proper indoor cooking reaches safe temperatures without fire risks. The fat cap—ribeye’s signature feature—needs special handling whether grilling or cooking stovetop. For comprehensive information on ribeye’s unique characteristics, explore our ultimate guide to beef steak cuts.
Grab your heavy skillet and tongs. We’re rendering that fat cap safely indoors.
Why This Indoor Ribeye Method Beats Outdoor Grilling
- No flare-ups fat renders into pan, not onto flames
- Crispy fat cap controlled rendering creates perfect texture
- Year-round cooking weather doesn’t matter
- Better temperature control consistent heat without hot spots
- Safer environment no fire hazards or burnt hands
- Easier cleanup one pan versus entire grill
- Perfect for apartments no outdoor space needed
Choosing the Best Ribeye
The Cut: Bone-in ribeye (cowboy cut) or boneless both work. The fat cap is the key feature—look for 1/4 to 1/2 inch thick fat edge running along one side.
Marbling: Ribeye’s internal marbling (the “eye” of fat) is what makes it ribeye. Prime grade offers most marbling; Choice is excellent value.
Thickness: 1.5 to 2 inches thick ideal for how to cook a ribeye properly. This allows fat cap rendering time without overcooking interior.
The Fat Cap: Don’t trim it! This is ribeye’s signature. The fat cap should be white or cream-colored, firm to touch. This renders into delicious, crispy goodness.
Ingredients List
| Quantity | Ingredient |
|---|---|
| 2 (14-16 oz) | Ribeye steaks with fat cap (1.5-2 inches thick) |
| 2 tbsp | High-heat oil (avocado or canola) |
| 3 tbsp | Unsalted butter |
| 4 cloves | Fresh garlic, smashed |
| 4 sprigs | Fresh rosemary or thyme |
| 2 tsp | Kosher salt |
| 1 tsp | Coarse black pepper |
Ingredients Notes
The Oil: High smoke-point oil handles ribeye’s rendering fat without burning. Avocado oil (520°F) best choice.
The Salt: Salt ribeye 40-60 minutes ahead. The marbling means it stays juicy even with extended salting.
Don’t Trim Fat: Resist urge to trim fat cap. This is what you’re learning to render properly when you cook a ribeye.
Step-by-Step Instructions: How to Cook a Ribeye
Recipe Card
🛠 Equipment Needed
- Heavy Skillet
- Instant-Read Thermometer
- Kitchen Tongs
- Oven Mitts
Prep & Salting
Remove ribeyes from refrigeration 45-60 minutes before cooking. Pat both sides and fat cap completely dry.
Season all surfaces generously with kosher salt and black pepper. Press seasoning into meat and fat cap.
Preheating the Pan
Heat heavy skillet (cast iron or stainless steel) over high heat for 5-7 minutes until smoking. Ribeye’s fat content means you need serious heat to render properly.
Add oil, swirl to coat.
Fat Cap Rendering (The Key Step)
Using tongs, hold ribeye upright with fat cap pressed against the hot pan surface. This is the critical technique for how to cook a ribeye indoors.
Sear fat-cap-down for 2-3 minutes, moving occasionally to ensure even contact. The fat will render, becoming translucent and crispy. You’ll see melted fat pooling in the pan.
Why This Works: Rendering fat cap first allows fat to melt into the pan safely rather than dripping onto flames (as in grilling). The crispy texture develops from direct heat contact.
Searing the Flat Sides
Once fat cap is rendered and crispy, lay ribeye flat in the pan (now enriched with rendered beef fat—natural flavor boost).
First Flat Side: Sear 3-4 minutes without moving. The abundant marbling creates great crust.
Second Flat Side: Flip and sear 3-4 minutes until equally browned.
For bone-in ribeye, briefly sear the bone-adjacent edge.
Butter Basting
Reduce heat to medium. Add butter, garlic, and herbs. Tilt pan and continuously baste ribeye with aromatic butter for 1-2 minutes.
The rendered ribeye fat + butter + aromatics create incredibly rich flavor.
Doneness Guide for Ribeye
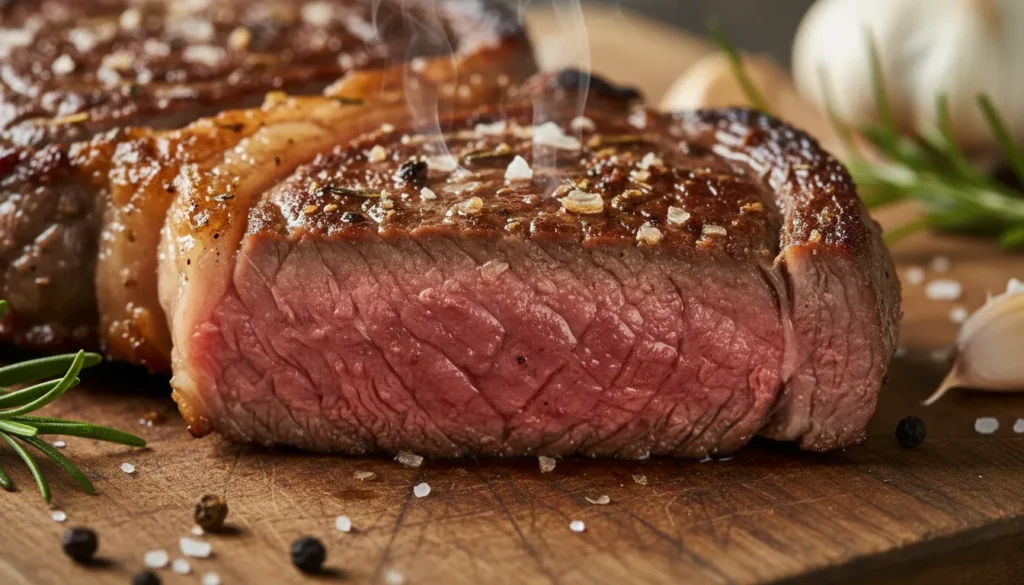
Ribeye’s marbling means it stays juicy across wider doneness range than lean cuts:
- Rare: 120-125°F (cool red center)
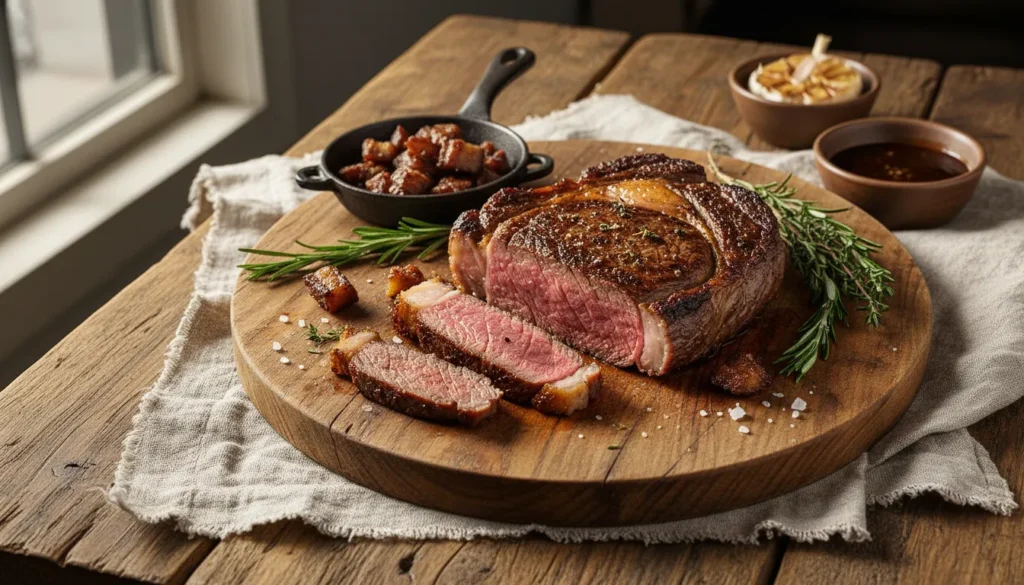
- Medium-Rare: 130-135°F (warm red center) – RECOMMENDED
- Medium: 140-145°F (warm pink center)
- Medium-Well: 145-150°F (slightly pink)
Ribeye can handle medium better than lean cuts, but medium-rare showcases the marbling best.
Pull 5 degrees below target for carryover cooking.
Resting
Transfer to cutting board, tent with foil, rest 8-10 minutes. Thick, fatty ribeye needs full resting time.
The marbling means juice redistribution is especially important.
Expert Tips for How to Cook a Ribeye
Tip 1: Don’t Skip Fat Cap Rendering This step differentiates indoor ribeye from other methods. Render that cap crispy for full ribeye experience.
Tip 2: Embrace the Fat Ribeye’s abundant fat is the point. Don’t fear it or trim it. When properly rendered and cooked, it’s delicious.
Tip 3: Use Rendered Fat The fat that melts into pan during cooking is liquid gold. Use it to baste, or save for cooking eggs/vegetables later.
Tip 4: Room Temperature is Critical Thick, fatty ribeye takes longer to warm than lean cuts. Full 45-60 minutes out of fridge essential.
Tip 5: Consider Reverse Sear For extra-thick ribeyes (2+ inches), reverse sear (oven then sear) renders fat even more thoroughly.
Serving Suggestions
Sides: Rich ribeye pairs with simple sides that don’t compete: roasted asparagus, baked potato, or Caesar salad.
Sauces: Honestly unnecessary—ribeye’s fat provides built-in richness. If desired, compound butter or simple pan sauce.
Wine Pairing: Ribeye’s richness demands full-bodied reds. Cabernet Sauvignon, Malbec, or Bordeaux match the intensity.
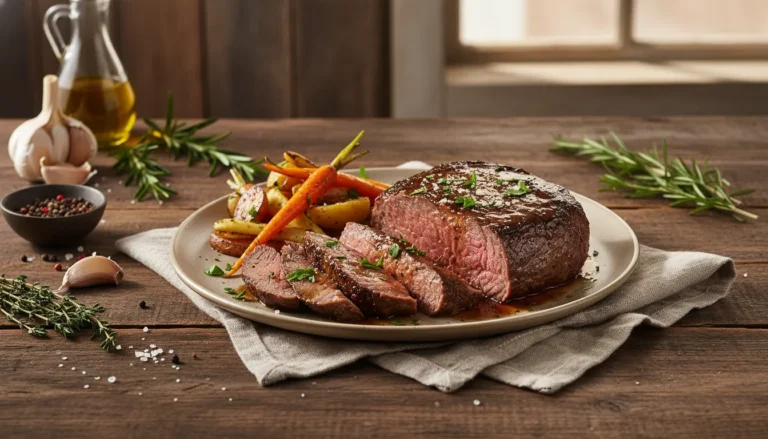
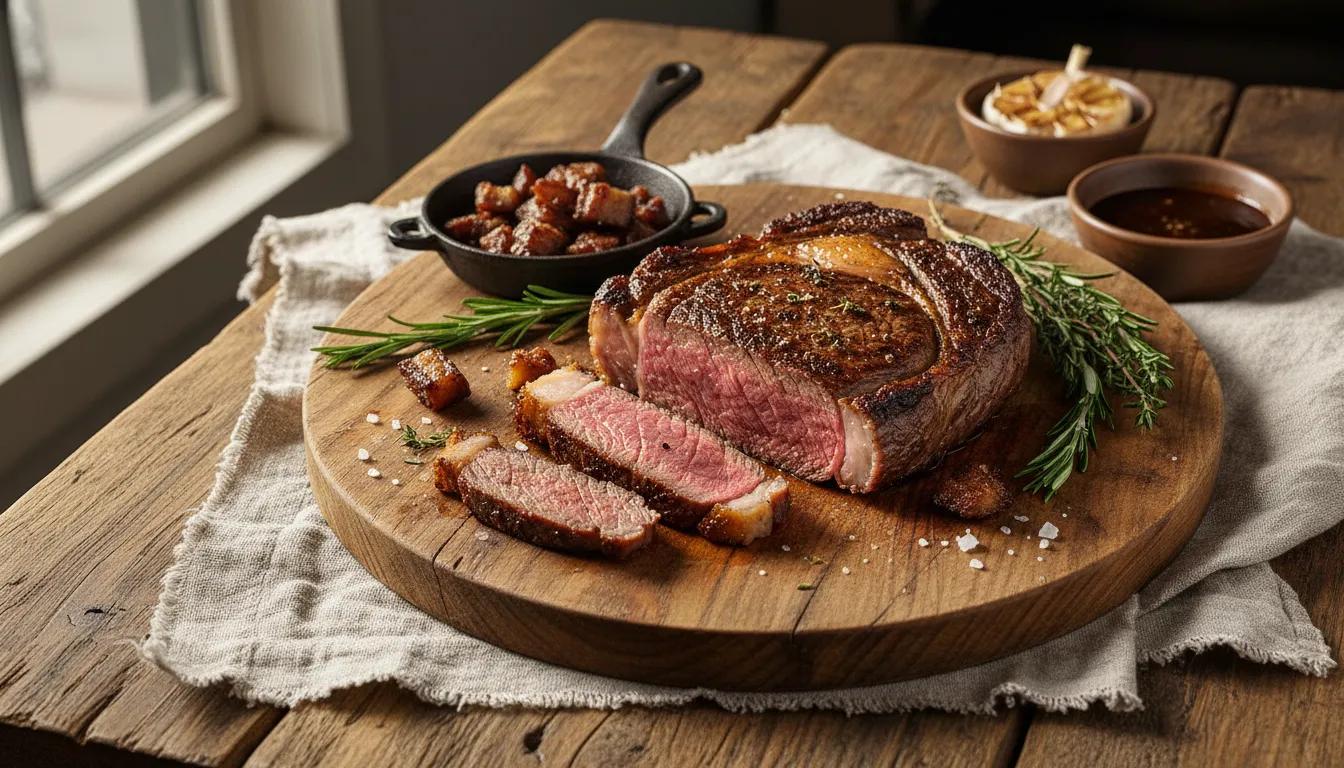
Presentation: Slice and fan to showcase marbling and crispy fat cap edge.
Storage & Reheating
Leftovers: Store airtight up to 3 days. Ribeye’s fat keeps it moist as leftovers.
Reheating: Bring to room temperature, warm in 250°F oven 10-12 minutes. The fat prevents drying during reheat.
Creative Uses: Leftover ribeye makes premium steak sandwiches, hash, or salad protein.
Frequently Asked Questions
Is the fat cap actually edible?
- Absolutely! When properly rendered and crisped, it’s one of ribeye’s best parts—rich, flavorful, crispy texture. Don’t waste it.
Can I cook ribeye this way without rendering fat cap first?
- You can, but you’ll miss the crispy texture and some fat won’t render properly, staying chewy. The fat-cap-first method is how to cook a ribeye optimally.
Why not just grill it?
- Grilling works but creates flare-ups from dripping fat. Indoor method gives you control. Many prefer indoor ribeye specifically for the fat cap control.
How do I know when fat cap is done rendering?
- It turns from opaque white to translucent/golden and firms up. Should look crispy, not raw or rubbery.
Conclusion
Learning how to cook a ribeye indoors with proper fat cap rendering proves you don’t need a grill for this premium cut. The controlled environment lets you render that signature fat safely into crispy perfection while delivering restaurant-quality crust. Once you’ve mastered the fat-cap-first technique, you’ll confidently cook ribeye year-round regardless of weather.
The beauty of indoor ribeye cooking is the control—no fire fears, no flare-ups, just pure technique creating consistently excellent results.
Heat that skillet and grab those tongs. Perfectly rendered, safely cooked ribeye awaits.
Rate this recipe and tell us your ribeye preference in the comments!