Air Fryer Tilapia Recipes: Best Parmesan Crusted Fillet
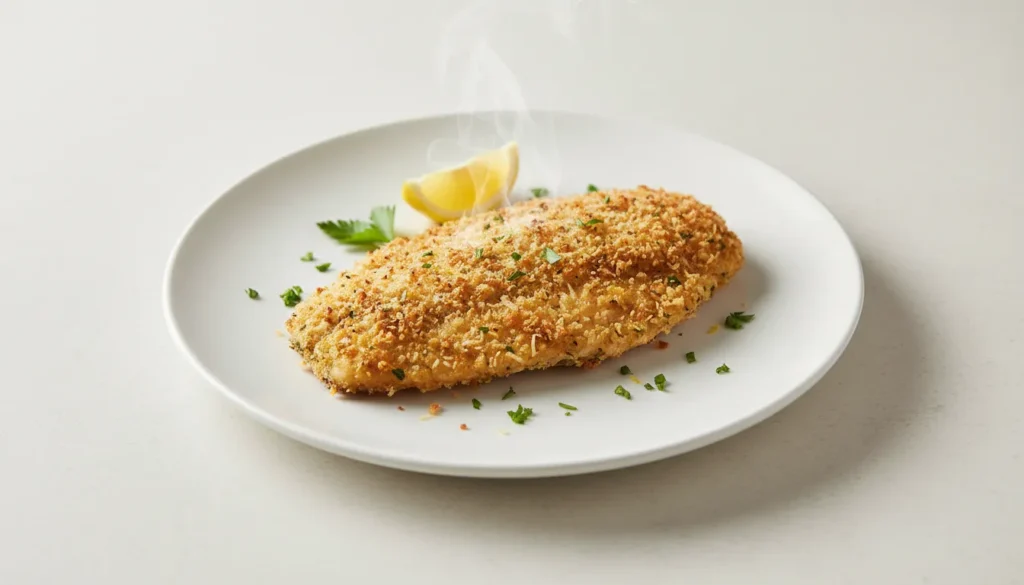
Cook perfect air fryer tilapia at 400°F for 8-10 minutes. Coat fillets in a Parmesan-breadcrumb mixture, spray lightly with oil, and air fry until golden brown and flaky. The crust stays crispy while the fish remains moist. Internal temperature should reach 145°F.
Eating on a budget doesn’t have to mean boring, bland dinners. Tilapia is one of the most affordable fish at the grocery store, but let’s be honest—plain baked tilapia can taste like, well, nothing. It needs help. And deep-frying? That defeats the purpose of eating light.
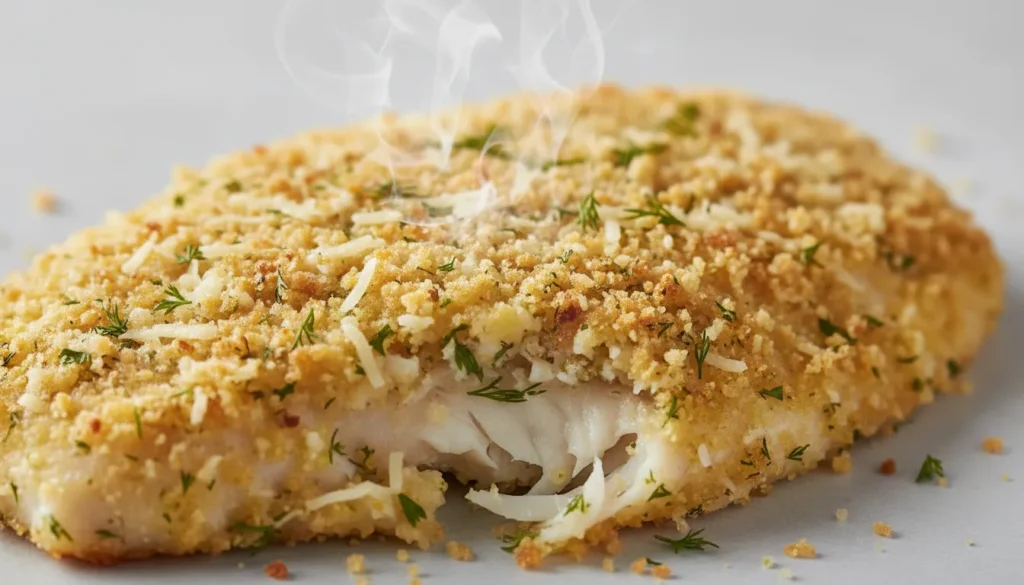
Here’s the solution: air fryer tilapia recipes that transform this budget-friendly fish into a gourmet meal. The Parmesan crust delivers incredible flavor and satisfying crunch, while the air fryer keeps the fish moist and tender inside—all without deep frying.
New to air frying? Our ultimate air fryer guide covers everything from setup to cleaning tips.
Why is the air fryer perfect for tilapia? The rapid hot air circulation creates an evenly crispy crust while gently cooking the delicate fish inside. No flipping required, no oil splatter, no soggy bottom—just perfectly crusted fish in under 15 minutes.
Ready to turn affordable tilapia into restaurant-quality dinner? Let’s dive in.
Why Air Fryer Tilapia is a Game Changer
Air fryer tilapia recipes deliver gourmet results at budget prices:
- Affordable protein—tilapia costs a fraction of salmon or cod
- Ready in under 15 minutes—faster than oven baking
- Crispy crust without deep frying—healthier and less messy
- Mild flavor profile—even picky eaters love it
- High protein, low fat—perfect for healthy eating goals
- Versatile seasonings—customize with any flavor profile
- Kid-friendly—the mild taste and crispy coating appeal to children
According to Healthline, tilapia is an excellent source of lean protein and is low in calories, making it a smart choice for health-conscious home cooks.
Choosing the Best Ingredients
Tilapia Selection
Fresh or frozen tilapia both work well. Look for fillets that are firm, white or slightly pink, with no strong fishy smell. If using frozen, thaw completely in the refrigerator overnight and pat very dry before coating.
Fillet size matters: Choose similar-sized fillets (4-6 oz each) for even cooking. Thin fillets cook faster; adjust time accordingly.
The Parmesan Crust
The combination of Parmesan cheese and breadcrumbs creates the perfect crust: flavorful, crispy, and golden brown. The Parmesan adds salty, nutty depth while the breadcrumbs provide crunch.
Panko vs. regular breadcrumbs: Panko creates an extra-crispy texture. Regular breadcrumbs work but produce a denser coating.
Ingredients List
| Quantity | Ingredient |
|---|---|
| 4 (4-6 oz each) | Tilapia fillets |
| ½ cup | Panko breadcrumbs |
| ⅓ cup | Parmesan cheese, grated |
| 1 tsp | Garlic powder |
| 1 tsp | Italian seasoning |
| ½ tsp | Paprika |
| ½ tsp | Salt |
| ¼ tsp | Black pepper |
| 2 | Eggs, beaten |
| 2 tbsp | All-purpose flour |
| Cooking spray | As needed |
| Lemon wedges | For serving |
Ingredient Notes
The Parmesan: Freshly grated Parmesan delivers the best flavor and melts into the crust beautifully. Pre-grated works but may not crisp as well.
Panko Breadcrumbs: These Japanese-style breadcrumbs are coarser than regular breadcrumbs, creating an extra-crispy texture. They’re the secret to restaurant-style crunch.
The Egg Wash: Beaten eggs help the Parmesan-breadcrumb mixture adhere to the fish. The flour coating before the egg creates even better adhesion.
Garlic Powder & Italian Seasoning: These pantry staples add flavor complexity without overwhelming the mild fish. Adjust quantities to taste.
Step-by-Step Instructions
Recipe Card : Air fryer recipes
🛠 Equipment Needed
- Air Fryer
- Three Shallow Dishes
- Paper Towels
- Cooking Spray
Prep Your Fish
Remove tilapia from packaging and pat completely dry with paper towels. This step is crucial—moisture prevents the crust from adhering properly and causes steaming instead of crisping.
Set Up Breading Station
Prepare three shallow dishes:
- Flour mixed with a pinch of salt and pepper
- Beaten eggs
- Panko-Parmesan mixture: Combine panko, Parmesan, garlic powder, Italian seasoning, paprika, salt, and pepper
Bread the Fillets
Dredge each tilapia fillet:
- Coat lightly in flour, shaking off excess
- Dip in beaten egg, letting excess drip off
- Press firmly into the Parmesan-panko mixture, coating both sides
Place breaded fillets on a plate and spray both sides lightly with cooking spray. This helps achieve golden-brown crispiness.
The Setup
Preheat your air fryer to 400°F for 3-5 minutes. Lightly spray the basket.
Arrange tilapia in a single layer—do not stack or overlap. Cook in batches if needed.
The Cook
Cook at 400°F for 8-10 minutes. There’s no need to flip—the air fryer cooks both sides evenly. Thinner fillets may be done in 8 minutes; thicker ones need the full 10.
Doneness Check
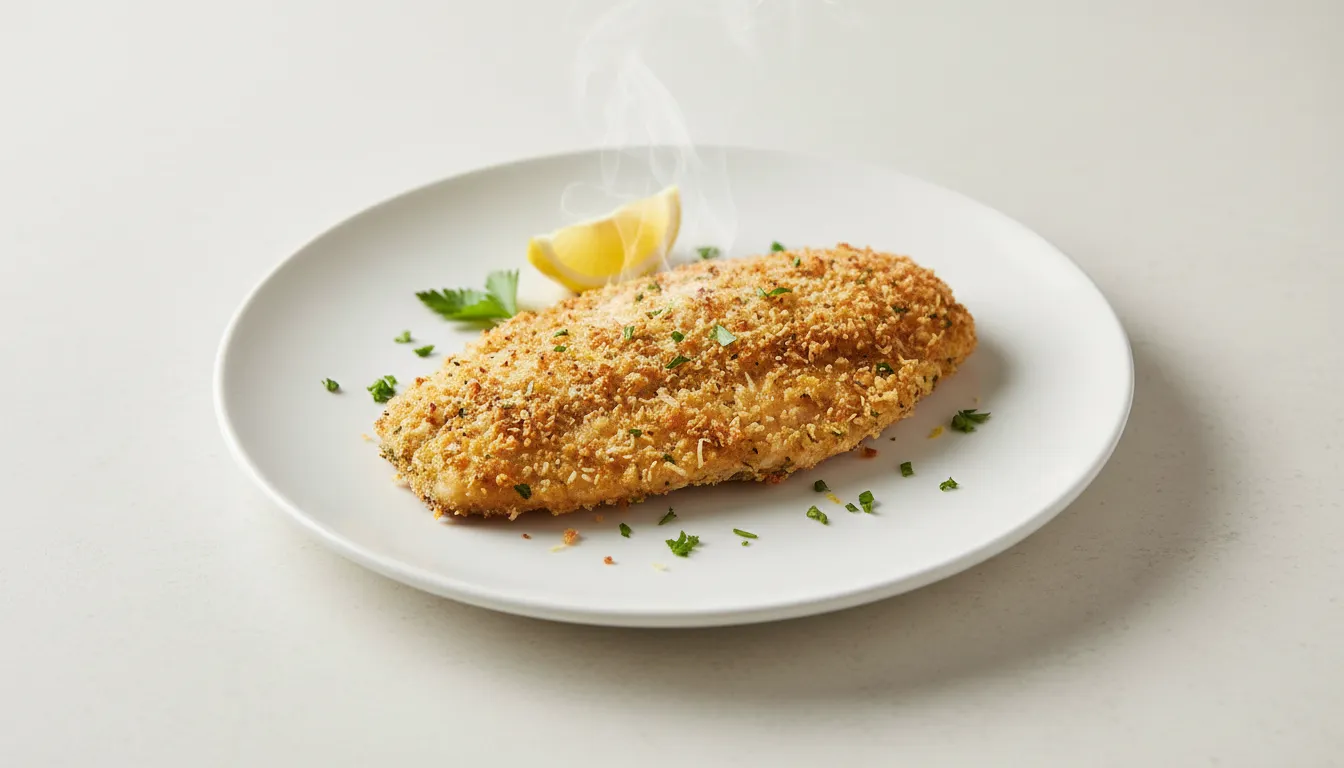
Fish is done when the internal temperature reaches 145°F and the flesh flakes easily with a fork. The crust should be golden brown and crispy.
Serve immediately with lemon wedges.
3 Secrets for Crispy Air Fryer Results
Tip 1: Dry the Fish Thoroughly. Moisture is the enemy of a crispy crust. Pat fillets with paper towels until completely dry—this makes a dramatic difference in how well the coating adheres and crisps.
Tip 2: Don’t Skip the Oil Spray. A light coating of cooking spray on the breaded fish helps achieve that golden-brown color and crispy texture. Without it, the crust can look pale and dry.
Tip 3: Press the Coating Firmly. Really press the Parmesan-panko mixture into the fish. A firm coating that adheres well won’t fall off during cooking.
Serving Suggestions & Pairings
Complete the Plate:
- Lemon wedges (essential!)
- Tartar sauce or aioli
- Steamed vegetables or air fryer asparagus
- Rice pilaf or roasted potatoes
- Fresh coleslaw
Make It a Fish Sandwich:
- Toasted brioche bun
- Lettuce, tomato, tartar sauce
- Crispy tilapia fillet
Taco Night:
- Warm corn tortillas
- Shredded cabbage, pico de gallo
- Lime crema
- Crispy tilapia pieces
Storage & Reheating
Refrigerator Storage: Store cooked tilapia in an airtight container for up to 2 days. Keep the fish and any sauces separate.
Reheating: Return to air fryer at 350°F for 4-5 minutes until heated through and re-crisped. The microwave will make the coating soggy—avoid it.
Not Recommended for Freezing: Breaded tilapia doesn’t freeze well after cooking. The coating becomes soggy when thawed.
Meal Prep Tip: Bread the fillets ahead of time and refrigerate for up to 24 hours. Cook fresh when ready to eat.
Frequently Asked Questions
Can I use other types of fish? Yes! This Parmesan crust works well on cod, swai, catfish, or any mild white fish. Adjust cooking time based on fillet thickness.
What if I don’t have panko? Regular breadcrumbs work but produce a denser, less crispy coating. Crushed corn flakes or crushed crackers are creative alternatives.
Why is my coating falling off? The fish may have been too wet, or the coating wasn’t pressed firmly enough. Also ensure the egg wash fully coats the fish before breading.
Can I make this without eggs? Yes! Use mayonnaise as a binder instead—it helps the coating adhere and adds moisture. Spread a thin layer on the fish before pressing into the breadcrumb mixture.
Conclusion
Air fryer tilapia recipes prove that budget-friendly doesn’t mean boring. This Parmesan-crusted fillet delivers restaurant-quality flavor and crunch using one of the most affordable fish at the grocery store. In under 15 minutes, you’ll have a crispy, golden, delicious dinner that the whole family will love.
The air fryer is the perfect tool for tilapia—it creates an evenly crispy crust while keeping the inside moist and flaky, all without the mess and calories of deep frying. Whether you’re watching your budget, your waistline, or just want a quick weeknight dinner, this recipe delivers.
Snap a photo of your crispy creation and tag us on Instagram! We’d love to see your tilapia victories.