Bbq burger recipes grill How to Stop Shrinkage
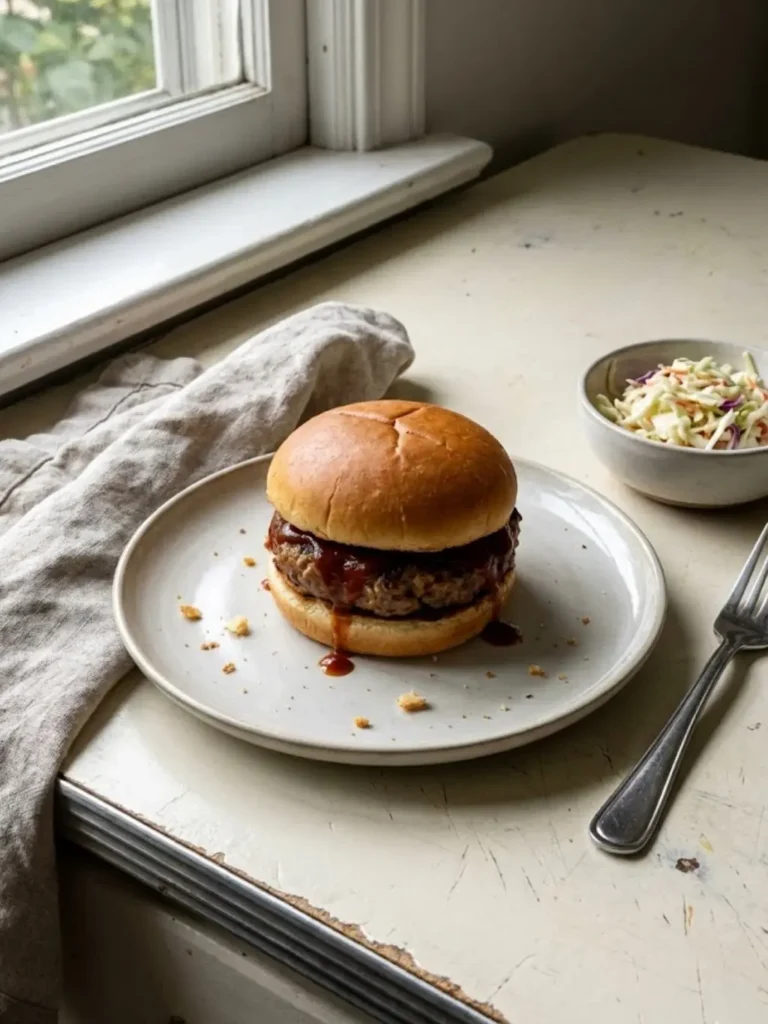
Perfect BBQ burger recipes for the grill require 80/20 ground beef, a thumb dimple in the center to prevent puffing, and cooking over medium-high heat (375-400°F) for 4-5 minutes per side until reaching 160°F internal temperature. The dimple technique stops shrinkage while keeping burgers juicy.
You’ve been there: Perfectly shaped burger patties hit the grill looking like they’ll fit your buns beautifully. Ten minutes later, you’re staring at shrunken, hockey-puck disasters that are smaller than the bun, dried out from edge to edge, and about as appetizing as tire rubber. Your guests smile politely while secretly planning their post-party drive-through run.
Here’s the good news: Shrinkage isn’t inevitable. With the right beef blend, proper shaping technique, and smart heat management, you can grill restaurant-quality burgers that stay juicy, maintain their size, and deliver that smoky char everyone craves.
The secret comes down to understanding the science: As ground beef cooks, proteins contract and moisture evaporates. But when you form patties correctly (with that critical thumb dimple) and manage your grill’s heat zones properly, you control both processes. The Maillard reaction creates that savory, caramelized crust on the outside while indirect heat gently finishes the interior without overcooking.
Fire up the grill. We’re making the best BBQ burger recipes grill masters dream about all winter long.
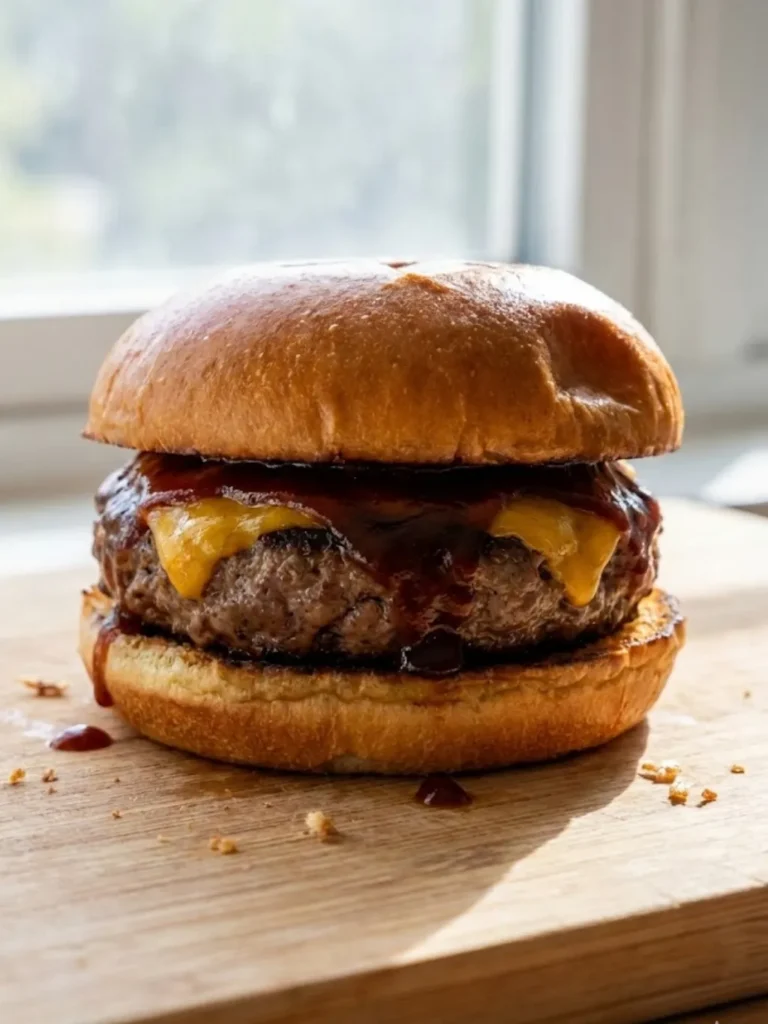
Why These Grilled Burgers Are Backyard Heroes
Master this technique and you’ll be the grill legend of your neighborhood:
- Crowd-pleaser guaranteed—everyone loves a perfectly grilled burger
- Stays the right size—the dimple trick prevents that frustrating shrinkage
- Juicy from edge to edge—80/20 fat ratio and proper cooking keeps moisture locked in
- Authentic smoky flavor—nothing beats real fire and proper searing
- Minimal cleanup—grill grates are easier to clean than stovetop splatter
- Feeds a crowd efficiently—cook multiple burgers simultaneously
- Versatile canvas—works with any topping combination you can imagine
- Perfect char marks—visual appeal that makes mouths water before the first bite
Choosing the Best Ingredients for the Grill
Quality ingredients separate mediocre burgers from legendary ones:
The beef matters most. Choose 80/20 ground chuck (80% lean meat, 20% fat). This is the sweet spot—enough fat to keep burgers juicy and flavorful without creating grease fires, but not so lean that they dry out over direct heat. Don’t go leaner than 85/15 or you’re asking for dry, tough burgers. Freshly ground beef from the butcher counter beats pre-packaged every time if available.
Avoid pre-formed patties. Those uniform frozen discs from the freezer aisle contain binders and fillers that create a different texture. Hand-formed patties from fresh ground beef deliver superior flavor and the exact size you need.
Fat content is your friend. That 20% fat renders during cooking, basting the meat from the inside while adding deep, beefy flavor. Lean ground beef (90/10 or 93/7) makes health-conscious sense for meatballs or tacos, but over high grill heat, it turns into dry disappointments.
The bun foundation: Choose sturdy buns that can handle burger juice without dissolving into mush. Brioche buns add richness, pretzel buns provide texture, but classic sesame seed buns work beautifully. Make them slightly larger than your raw patties—remember, the burger will shrink slightly despite your best efforts.
Ingredients List
Everything needed for backyard burger perfection:
| Quantity | Ingredient |
|---|---|
| 2 lbs | Ground chuck (80/20 blend) |
| 2 tsp | Kosher salt (coarse) |
| 1 tsp | Black pepper (freshly ground) |
| 1 tsp | Garlic powder (optional) |
| 8 slices | Cheddar or American cheese |
| 8 | Hamburger buns |
| 2 tbsp | Canola or avocado oil (for grates) |
| – | Lettuce, tomato, onion, pickles (for serving) |
| – | Condiments of choice |
Ingredient Notes
Understanding the “why” behind each component makes you a better griller:
Oil for the grates, not the meat: Use canola oil (400°F smoke point) or avocado oil (520°F smoke point) to coat your grill grates before cooking. Never use butter on grill grates—it burns instantly and creates bitter flavors plus sticking problems. The beef’s own fat provides plenty of lubrication for the patty itself.
Salt timing is critical: Season burgers with salt RIGHT BEFORE grilling, not 30 minutes ahead. Early salting draws moisture out through osmosis, starting the drying process before burgers even hit the grill. Apply generous coarse kosher salt from 10 inches above the patties for even coverage—those larger crystals create better crust formation than fine table salt.
Skip the BBQ sauce until the end: Sugar-based sauces burn over direct heat, turning acrid and black. If you want sauced burgers, brush sauce on during the final 2-3 minutes of cooking when burgers are nearly done. This gives you caramelized glaze without the burnt taste.
Seasoning philosophy: For beef burgers, you don’t need much beyond salt and pepper—the beef should shine. Save complex spice rubs for turkey or chicken burgers that need flavor help.
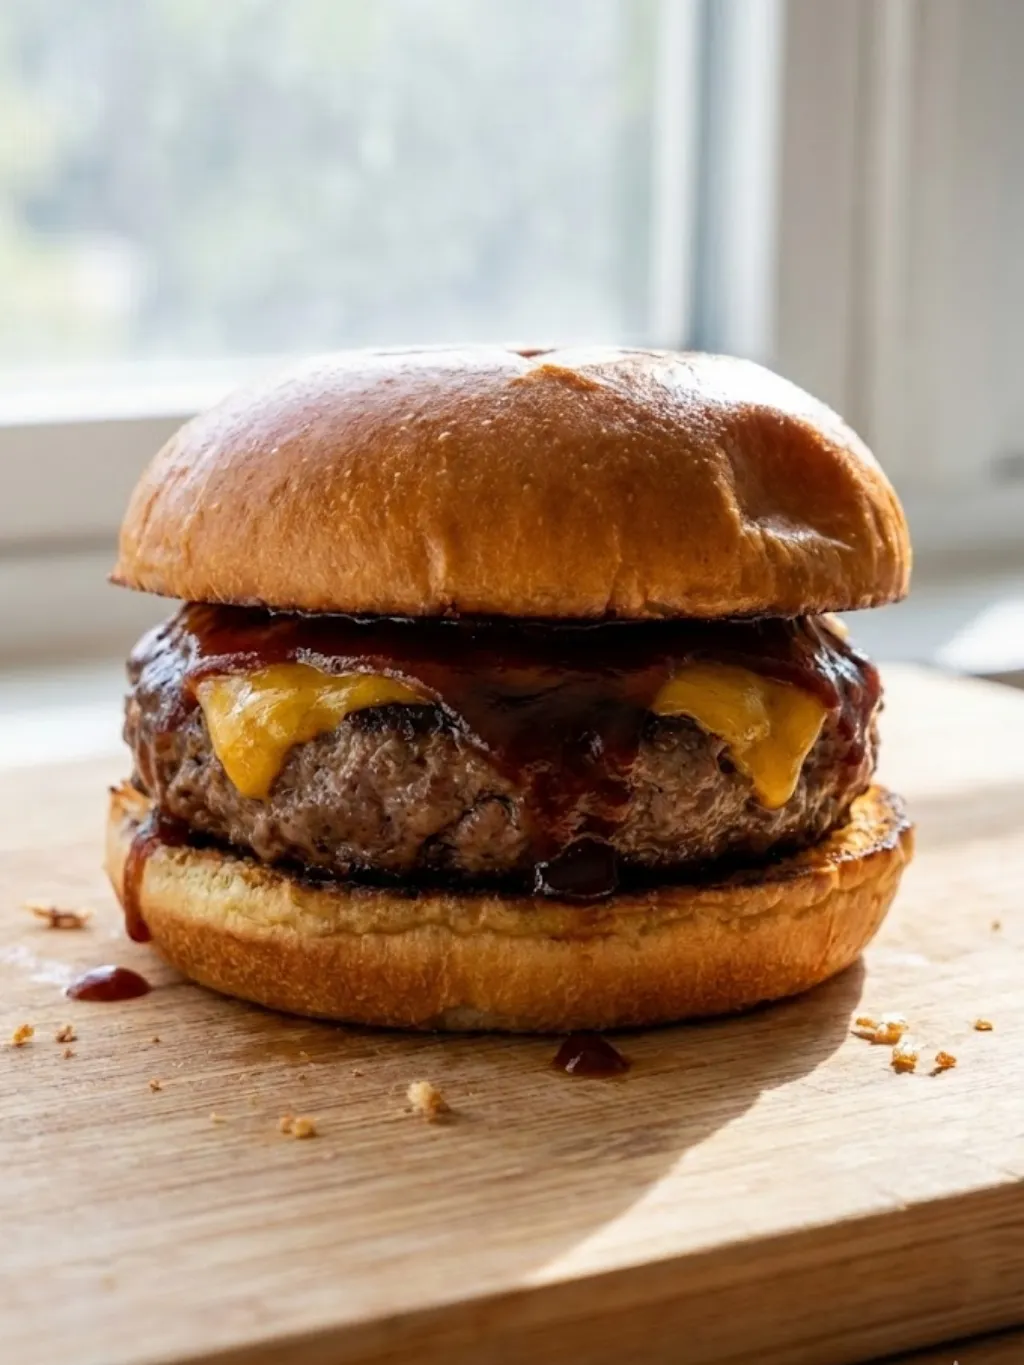
Recipe Card
🛠 Equipment Needed
- Gas or Charcoal Grill
- Long-Handled Tongs
- Instant-Read Meat Thermometer
- Wire Grill Brush
- Spatula
Step-by-Step Instructions
Follow these precise techniques for professional-level grilled burgers:
Prep & Season
Remove ground beef from refrigerator and divide into 8 equal portions (4 ounces each). Gently form each portion into a ball, then flatten into patties about 4 inches wide and ¾ inch thick—roughly ½ inch wider than your buns.
Critical dimple technique: Use your thumb to press a deep indent (about ½ inch) into the center of each patty. This is the secret to preventing shrinkage and the dreaded burger bulge. As proteins contract during cooking, the edges pull toward the center. The dimple gives that contraction somewhere to go, resulting in a flat, evenly thick burger instead of a football-shaped dome.
Pat the outside of patties dry with paper towels—surface moisture prevents proper searing. Season both sides generously with kosher salt and freshly ground black pepper right before grilling.
The Setup
Create two heat zones on your grill—this is fundamental to grilling mastery. For gas grills, set burners on one side to high heat and the other side to low or off. For charcoal, bank all coals on one side of the grill. This gives you a direct heat zone (hot side for searing) and an indirect heat zone (cooler side for gentle finishing).
Preheat the grill with lid closed for 10-15 minutes until the direct zone reaches 375-400°F. This thorough preheating is crucial—it burns off residue, creates a non-stick surface by sealing the grates’ microscopic pores, and ensures immediate searing.
Clean and oil the grates: Use a stiff wire brush on the hot grates to remove any debris. Fold a paper towel, grip it with long tongs, dip in oil, and rub across the grates thoroughly. This prevents sticking better than any spray.
The Cook
Place burger patties on the direct heat zone with dimple-side up. Close the lid and resist the urge to peek for 4 minutes. You’ll hear sizzling—that’s the sear forming. If you see flames, you’ve got a flare-up from dripping fat. Don’t panic—just move burgers to the indirect zone temporarily until flames subside.
The golden rule: Don’t press the burgers. That satisfying sizzle from pressing with a spatula? That’s your burger’s precious juices running into the flames, taking flavor and moisture with them. Leave them alone.
After 4 minutes, flip burgers once—the only flip they’ll get. Cook another 4-5 minutes for medium doneness. During the last minute, add cheese slices to the hot side and move to indirect heat with the lid closed to melt cheese without burning bottoms.
Doneness Check
Stop guessing. Use a meat thermometer. Insert an instant-read thermometer horizontally into the side of the burger, ensuring the probe reaches the center:
- Medium-rare: 130-135°F (not recommended for ground beef safety)
- Medium: 140-145°F (slight pink center)
- Medium-well: 150-155°F
- Well-done: 160°F (USDA recommended safe temperature for ground beef)
Visual cues: Look for clear juices running from the burger when pressed gently. The exterior should show beautiful char marks with a deeply browned crust.
Rest for 5 minutes after removing from grill, loosely tented with foil. This allows juices to redistribute throughout the meat instead of running out when you bite.
3 Secrets for Pitmaster-Level Results
These insider techniques separate backyard cooks from grill masters:
Secret #1: The Magic of Resting. I know those burgers look perfect coming off the grill and you’re starving, but patience pays off. Let burgers rest for 5 minutes before serving. Cutting or biting into a burger immediately causes all those reabsorbed juices to flood out onto the plate. A properly rested burger stays juicy through every bite.
Secret #2: Don’t Touch It Until It Releases. When you first place burgers on the grill, they’ll stick to the grates. This is normal. After 3-4 minutes of searing, the proteins release naturally and the burger lifts cleanly, bringing those gorgeous grill marks with it. If you try forcing it early, you’ll tear the crust and leave half your burger stuck to the grates. If it sticks, it’s not ready to flip.
Secret #3: Clean Grates Are Non-Negotiable. A dirty grill creates three problems: sticking, off-flavors from old charred bits, and uneven heat distribution. Clean your grates when they’re hot (easier to remove debris) both before and after cooking. This single habit dramatically improves your results.
Serving Suggestions & Sides
Complete your backyard burger experience with classic accompaniments:
The classic side lineup:
- Grilled corn on the cob—butter, salt, and a char make it irresistible
- Creamy coleslaw—the cool crunch contrasts beautifully with hot burgers
- Potato salad—classic mustard-based or mayo-rich, your choice
- Crispy fries—hand-cut and deep-fried or even air-fried for healthier option
- Grilled vegetables—zucchini, bell peppers, and onions get smoky and sweet
Drink pairings that cut through the richness:
- Cold beer—lagers and IPAs both work brilliantly
- Red wine—Zinfandel or Malbec can handle the char and fat
- Iced tea—sweet or unsweetened, a refreshing non-alcoholic option
- Lemonade—acidity balances the rich beef perfectly
Pro move: While the grill is hot after burgers, toast your buns face-down over direct heat for 30-60 seconds. The slight char adds texture and flavor while creating a moisture barrier that prevents soggy bottom buns.
For more grilling inspiration and techniques, explore our complete collection of Grilling & BBQ Recipes.
Storage & Leftovers
Properly handle leftovers for food safety and quality:
Refrigerator storage: Let burgers cool to room temperature (no longer than 30 minutes), then transfer to airtight containers. Store patties and buns separately—assembled burgers get soggy fast. Cooked burgers stay fresh for 3-4 days refrigerated.
Avoid the microwave disaster: Microwaving turns grilled burgers into gray, rubbery disappointments. Instead, reheat gently in a 350°F oven for 8-10 minutes wrapped loosely in foil to retain moisture. Even better, wrap in foil and reheat on the grill over indirect heat for 5-7 minutes to restore some of that smoky flavor.
Freezing option: Cooked burgers freeze well for up to 3 months. Wrap individually in plastic wrap, then place in freezer bags. Thaw overnight in the refrigerator before reheating.
Make-ahead strategy: Form patties up to 6 hours ahead and refrigerate until grilling time. Let them sit at room temperature for 15 minutes before hitting the grill for more even cooking.
Frequently Asked Questions
Charcoal vs. Gas: Which is better for burgers?
Charcoal delivers superior smoky flavor and higher heat for better searing. Gas offers convenience, precise temperature control, and faster setup. For pure flavor, charcoal wins. For weeknight ease, gas is hard to beat. Both can produce excellent burgers with proper technique.
How do I stop my burgers from sticking to the grill?
Three-step solution: (1) Preheat grill thoroughly for 10-15 minutes, (2) Clean grates with a wire brush while hot, (3) Oil the grates generously right before adding burgers. Also, don’t flip too soon—wait until the crust releases naturally at 4 minutes.
Can I use a grill pan indoors?
Yes, though results differ. Cast iron grill pans over high heat can create decent char marks and some smoky flavor. Preheat the pan for 5 minutes over medium-high heat, oil it well, and use your kitchen exhaust fan. You’ll miss the authentic smoke flavor but can still make a solid burger.
Why do my burgers puff up like meatballs?
You’re skipping the dimple! Press that thumb indent deep into the center of each raw patty. The proteins contract during cooking, pulling the edges toward the center. The dimple compensates for this shrinkage, leaving you with a flat burger.
For more expert burger grilling techniques, check out this comprehensive guide from Food Network on how to grill the perfect burger.
Conclusion
Mastering BBQ burger recipes grill techniques transforms your backyard cooking from “guy burning meat” to “pitmaster producing restaurant-quality results.” The combination of proper beef selection (80/20), strategic dimple formation, two-zone heat management, and patient resting creates burgers that stay juicy, maintain their size, and deliver that coveted smoky char.
The shrinkage problem that’s plagued home cooks for generations? Solved with a single thumb press. The dryness issue? Fixed by choosing the right fat ratio and not pressing burgers while cooking. The sticking frustration? Eliminated by proper grate preparation.
Fire up that grill and put these techniques to work. Your family and friends will taste the difference immediately. Rate this recipe below and tag us in your backyard burger photos—we love seeing your grill marks!